现在大部分电脑都用了UEFI与以前的使用相比,引导系统BIOS快速启动。但也会给习惯BIOS用户带来麻烦,按照以前的方法安装系统计算机无法识别PE或者启动盘,当然现在有很多PE是支持UEFI启动的。有些用户甚至认为安装不能安装WIN7.它只能被迫使用。WIN8和WIN10系统。WIN7占有率还是很高的,习惯用户强迫他使用。WIN8,WIN他还不习惯,造成了很多不必要的麻烦。好的不废话,今天写教程用UEFI GPT装WIN7
准备工具:U盘4G或者以上;WIN7 64位ISO文件;ISO to usb(或软盘);正常使用的电脑(用U盘写镜像);官网下载相应型号的网卡驱动(如果没有,可以用自带万能网卡驱动的驱动精灵驱动生活。360驱动等)
在这里演示使用ISO to usb(软盘通过上一篇文章说过),下面打开ISO to usb
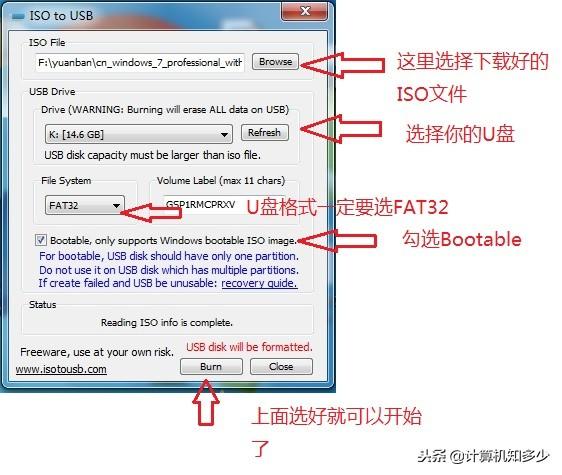
关键点是:一是选择FAT32分区,二是检查Bootable选项
点击Burn,耐心等待完成

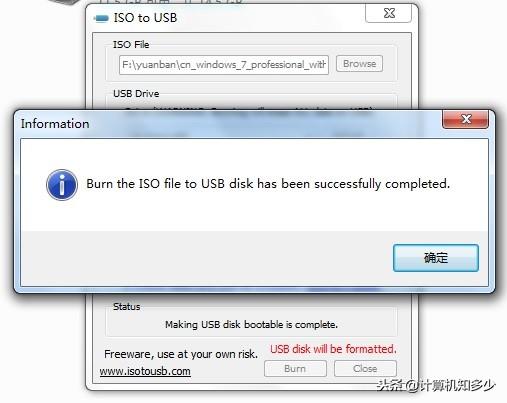
弹出提示框完成,点击确认。
即使在这里写镜像,这样写的镜像也只能在这里BIOS指导系统的安装。如果需要用UEFI指导还需要做一点修改
①正常使用的64位找到一个bootx64.efi 路径C:\\EFI\\Boot 没用的可以发私信\\"GPT\\"或者网上找

电脑把bootx64.efi复制到U盘efi\\boot\\bootx64.efi 没用boot自己建一个文件夹
②把Shell.efi和Bootmgfw.efi复制到U盘根目录 如果没有这个文件,我可以私信发送GPT或者百度下载
完成这两部分可以引导到UEFI了
下面的电脑开机,设置U盘启动,按键可参考下图,不同主板按键不同,演示用电脑DELL 3020
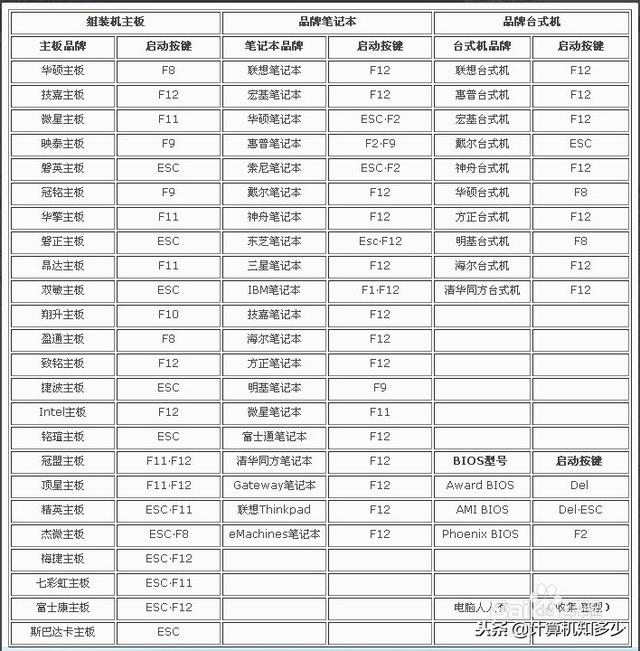
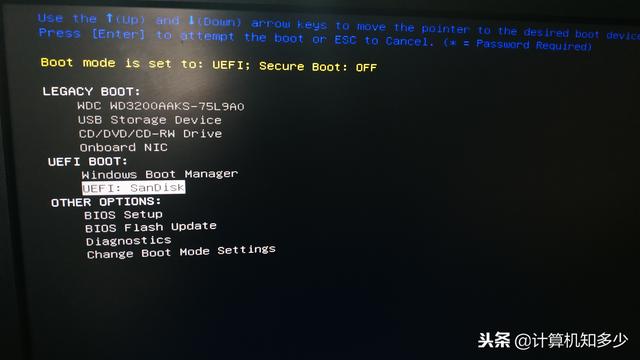
开机按F12 选择带UEFI的U盘
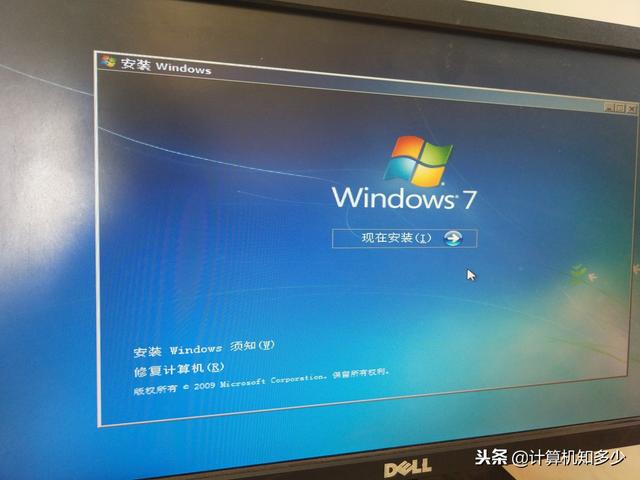
加载

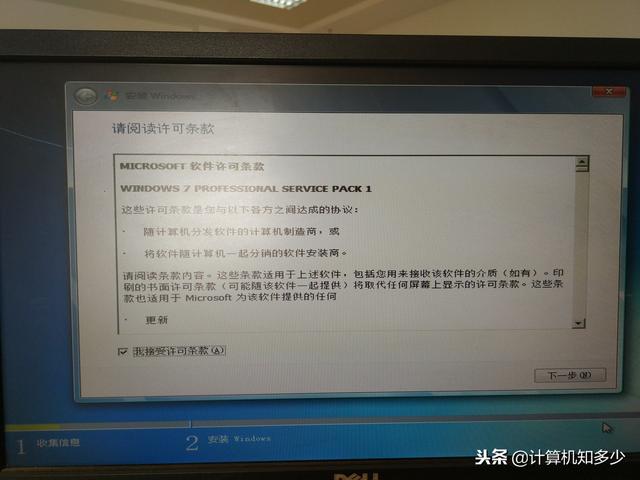
现在安装检查条款
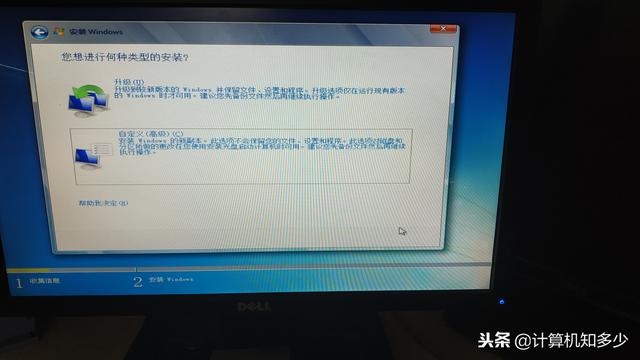
选择自定义
下一步选择磁盘分区,磁盘格式必须是GPT,是MBR先转为分区GPT,否则下一步就不能进行了
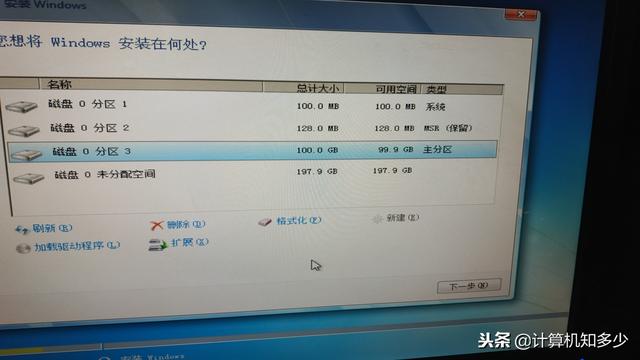
下一步
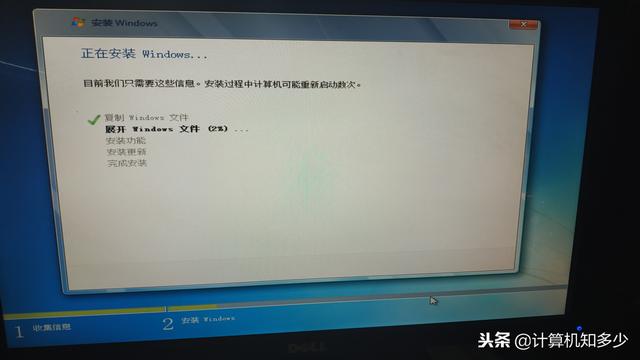
耐心等待完成,过程电脑会自动重启,第一次重启时可以拔下U盘。再做一些简单的设置就可以进入桌面了。一些简单的设置可以进入桌面。即使系统安装完成,下一步也是安装驱动和激活。