dell电脑一键ghostwin7
(dell如何操作计算机一键恢复?
戴尔xps15笔记本是一款性能与价值并重的轻薄商务本,外观经典方正,质感十足,接触过戴尔xps15笔记本电脑的用户都知道,出厂预装系统是win10系统,许多用户不知道如何将其它win7系统,下面小编整理戴尔xps15笔记本win10改win7系统图文教程,帮助大家。
一、准备工作
1)准备一个拥有8G容量U盘,制成U盘启动盘;(知识拓展:U盘启动盘是什么?)
2)转移戴尔xps硬盘中所有重要文件;
3)下载Ghost Win7系统文件到U盘;==>Ghost Win7(永久激活)
二、戴尔xps15笔记本BIOS设置
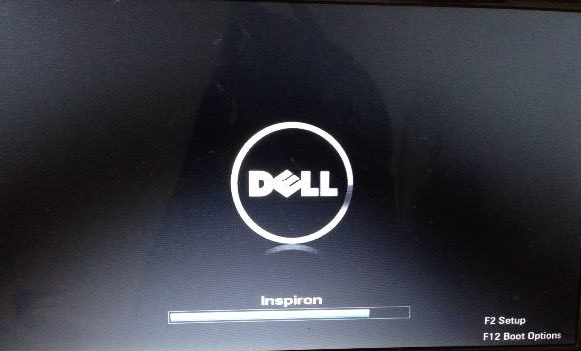
1.开机显示戴尔LOGO连续按连续按F2”键进入BIOS主菜单;
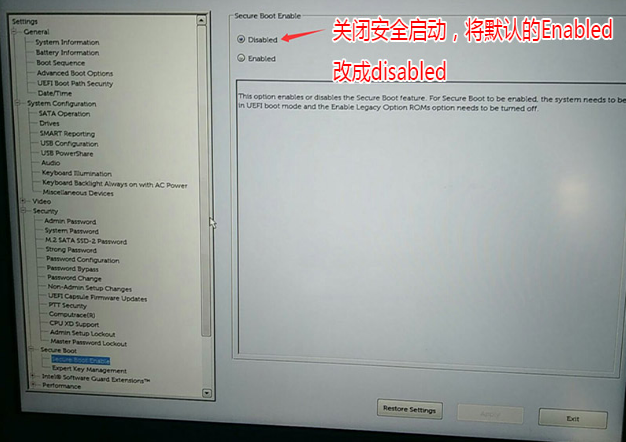
2.展开左栏列表中的Secure BOOT”目录,选择“Secure Boot Enable”选项敲击Enter回车键,切换勾选选项为Disabled”;
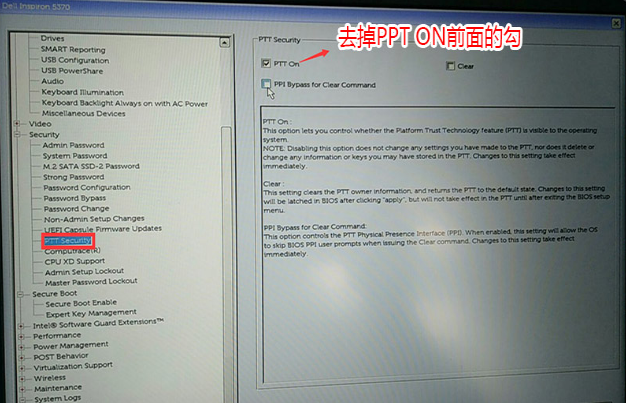
3.第二步,展开左栏Security选择子目录下的目录PTT Security”选项,点击去掉“PTT On选项勾选;
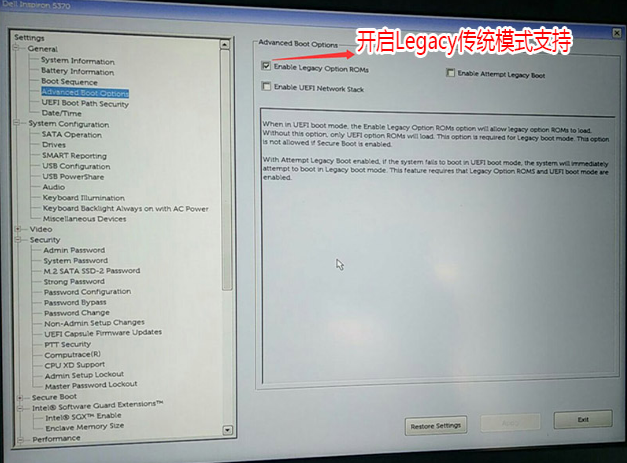
4.第三步,展开左栏General并选择目录Advarced Boot Options”选项,在右侧面板中勾选Enable Legacy Option ROMs”选项;
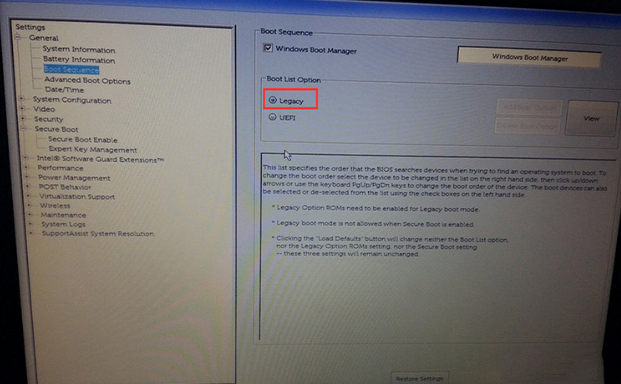
5.第四步,展开左栏General选择目录Boot Sequence”选项,右栏面板切换勾选选项Legacy”;
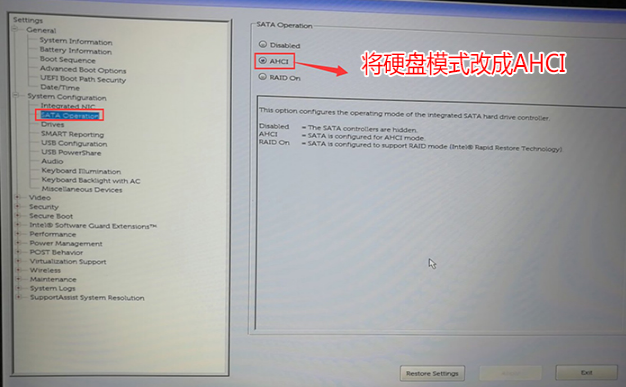
6.第五步,展开左栏System Configuration并选择目录STAT Operatior选项,检查右侧面板中的AHCI所有设置完成后,保存并退出选项BIOS。
三、戴尔xps15笔记本安装步骤
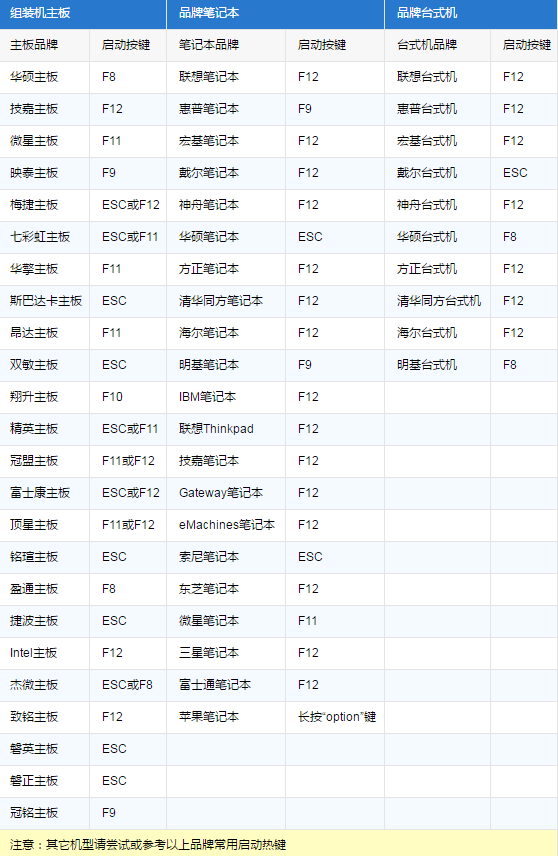
1)插入U盘启动盘,在启动笔记本的过程中不断按下F12”启动键;
2)在快速启动菜单中选择U盘启动项,敲击Enter回车键;
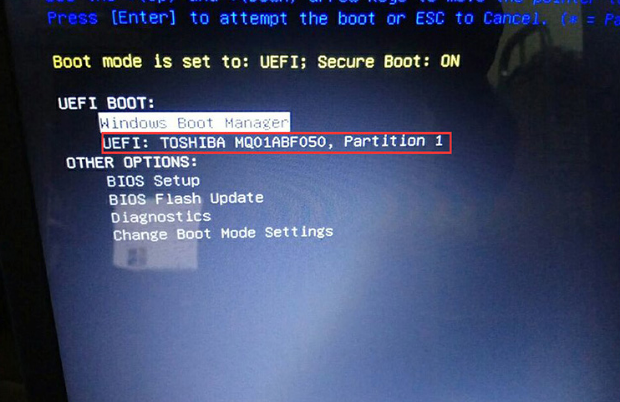
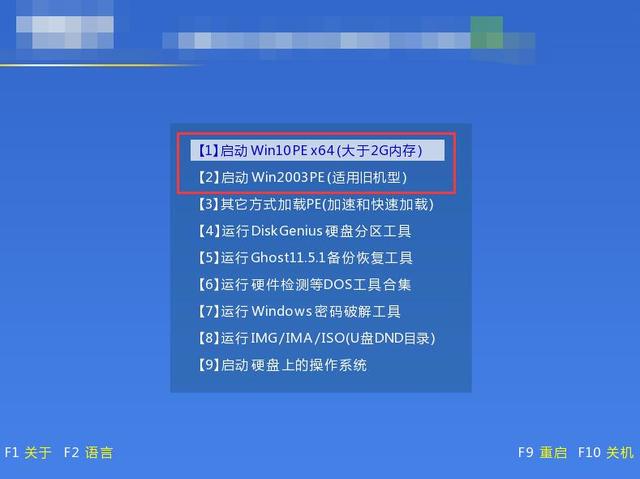
3)显示U盘启动菜单后,选择任何一个WinPE系统回车进入;
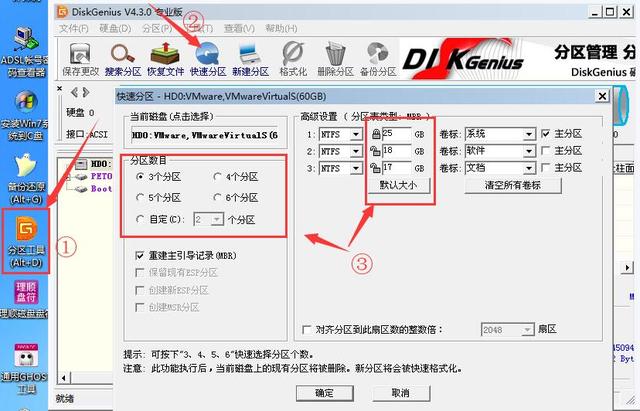
4)显示WinPE桌面后,打开桌面上的分区工具,删除原硬盘中的所有分区,将硬盘的格式转换为“MBR模式,然后分盘硬盘;

5)分区后,打开桌面上的安装工具;

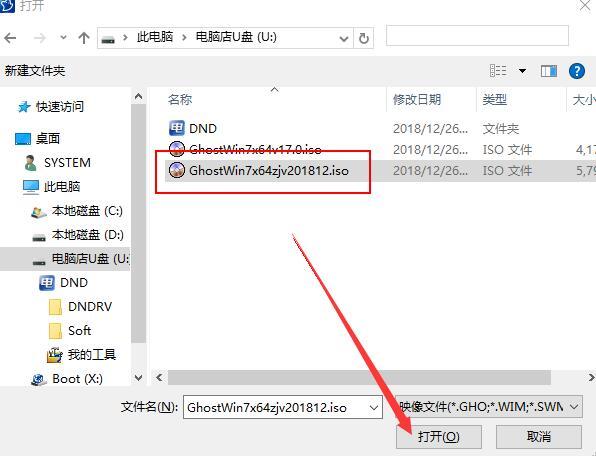
6)打开存储在U盘中的U盘Ghost Win7系统文件;
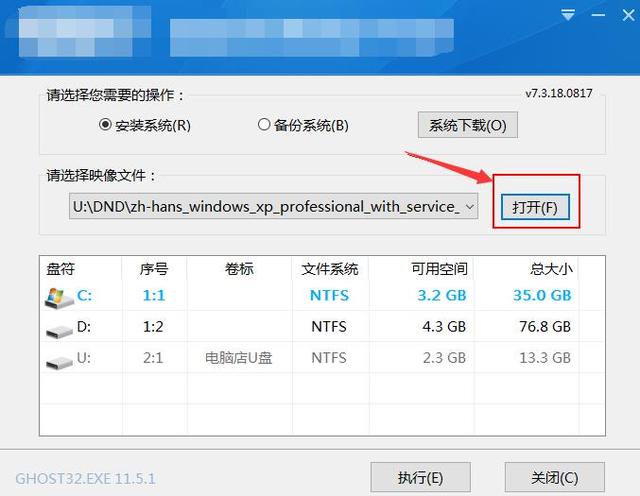
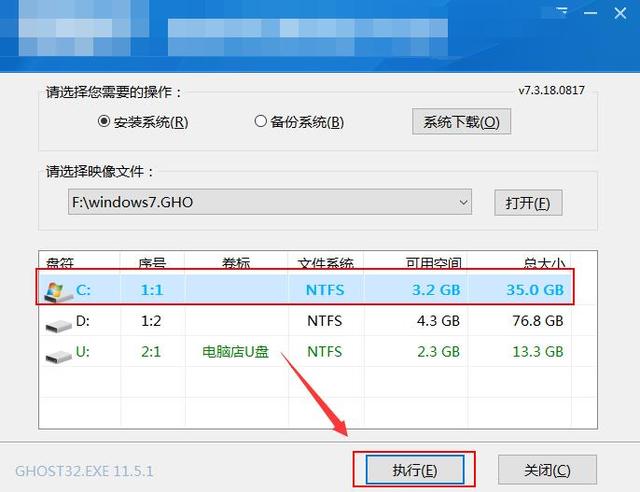
7)点击选中盘符区域的C盘,完成设置后开始安装系统;
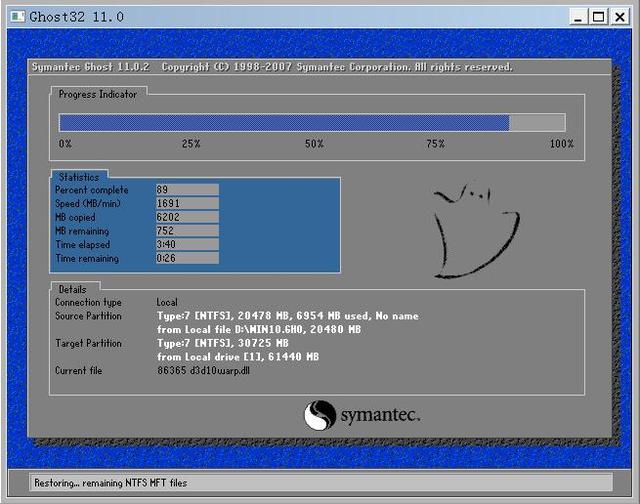
8)等待Ghost安装工具进度条达到100%,WinPE系统将提示重启计算机,关机时拔出U盘,以免重启后再次进入U盘启动盘;
9)下一步属于自动安装环节,等待所有驱动和系统环境释放,再次自动重启;

10)显示新的Windows7桌面后,表示重装任务顺利完成。

上面分享的是戴尔xps15笔记本win10改win7系统握更多的计算机知识吗?
上面分享的是戴尔xps15笔记本win10改win7系统的图文教程,想掌握更多的计算机知识吗?请注意不要回顾官方网站!