u今天我给大家介绍一个制作u盘启动的工具。

然后给大家看这个工具叫这个

然后点击下载安装,然后插入u盘,给大家演示一下
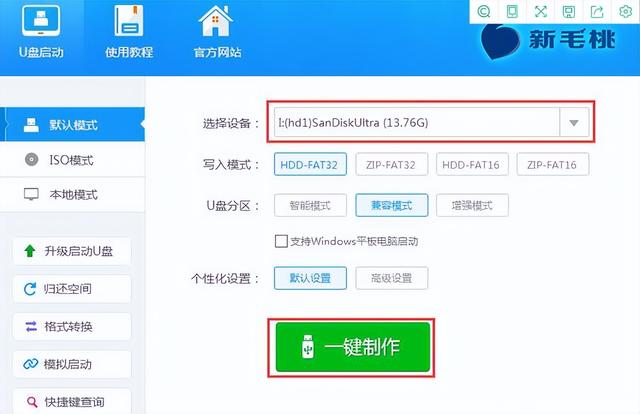
这个过程是什么?我插上u盘后,它会识别它,然后它会自动帮助我选择它。然后点击一键制作u盘启动盘
安装一般是默认的,然后这些不需要移动,他开始为你做这个系统的安装板
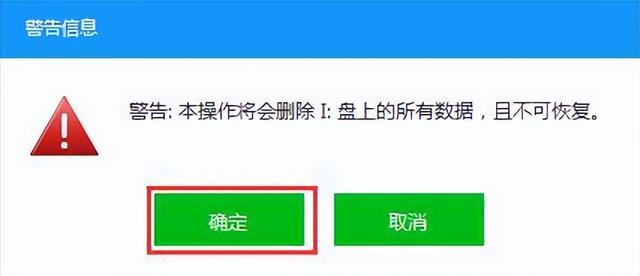
然后在这样做之前,一定要备份u盘中的数据
如果你不备份,他应该有一个格式化,对吧?他默认这个我不敢。他默认是这个勾选
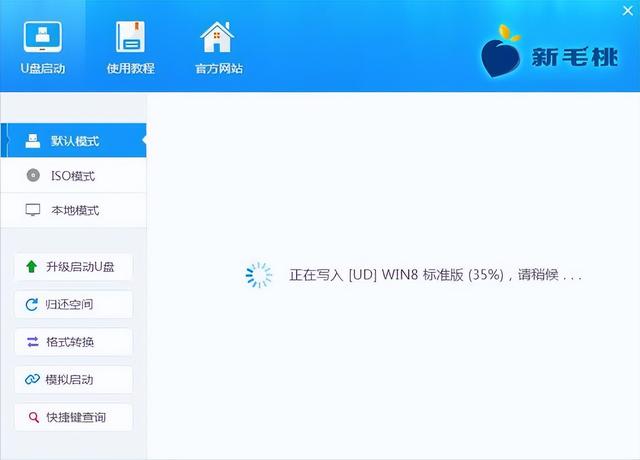
等他点开后,等他跑完了

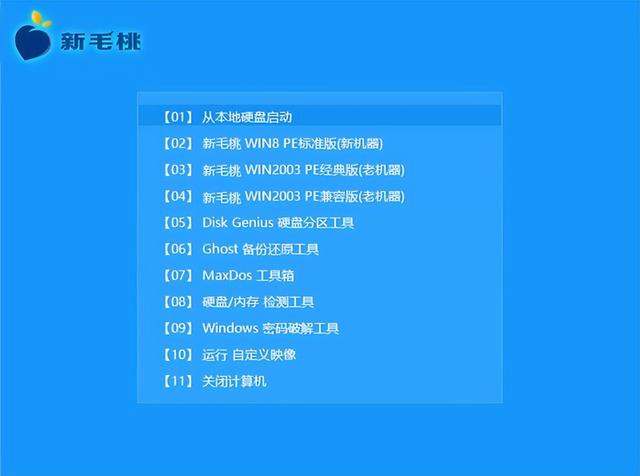
跑完后,点击模拟启动,安装系统的界面将自动出来
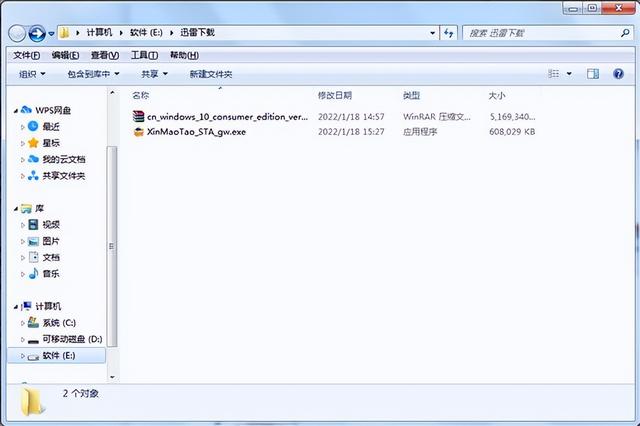
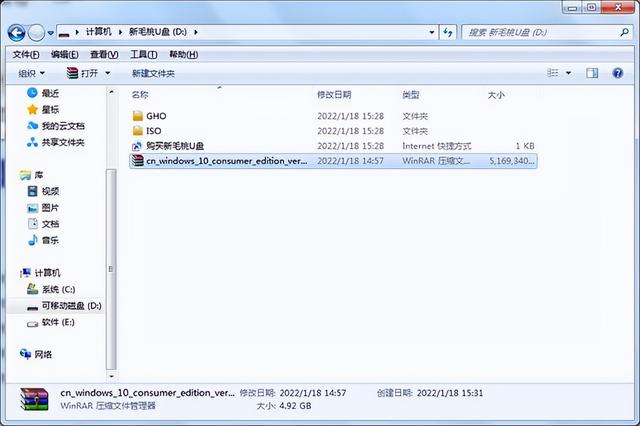
然后下载一个系统镜像,启动系统镜像复制的新桃u盘