本期主题:制作多系统并存ISO启动引导.
需要工具:ventoy、U盘一个
官网下载ventoy-1.0.21-windows.zip 然后解压。
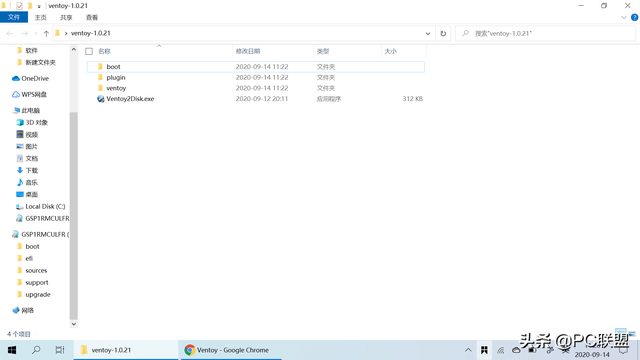
解压ventoy-1.0.21-windows.zip
双击运行 Ventoy2Disk.exe可执行文件!
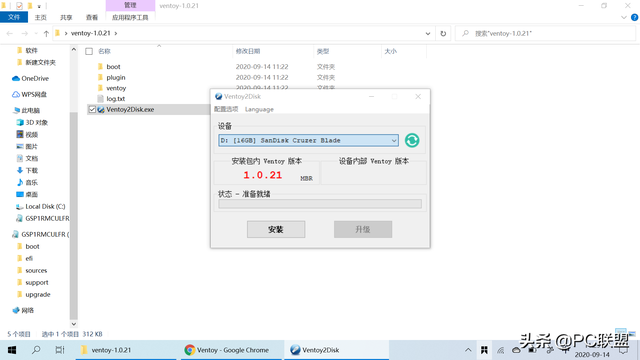
运行 Ventoy2Disk.exe
选择需要安装的U盘作为设备下拉菜单。安装时注意U盘会格式化记得在安装前保存U盘中的重要文件。
安装包内Ventoy版本是当前安装包的版本,设备内部Ventoy版本U盘版本Ventoy版本,我们以前没有安装U盘Ventoy所以没有显示。
需要切换MBR和GPT分区可以调整配置选项-分区类型
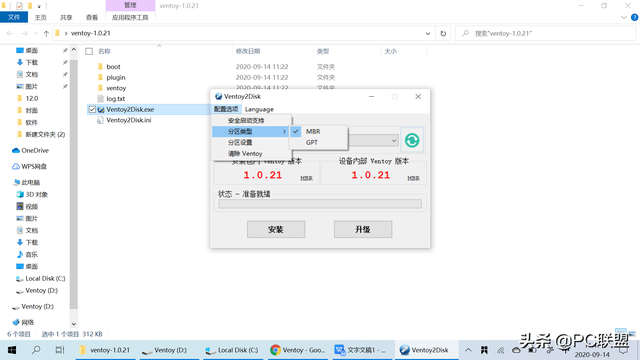
切换MBR和GPT分区
选择要安装的U盘后,直接点击安装。
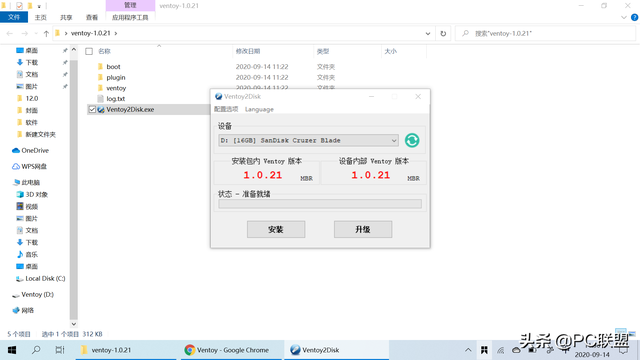
安装完成
设备内部安装完成后Ventoy版本显示显示安装成功!
接下来,原版ISO直接将系统文件复制到U盘中。
我这里放了win7、win10

ISO系统文件直接复制到U盘
将U盘插入电脑,bios调整启动项进入Ventoy可以看到我们放进去的系统包,按上下键选择,回车键确定安装!
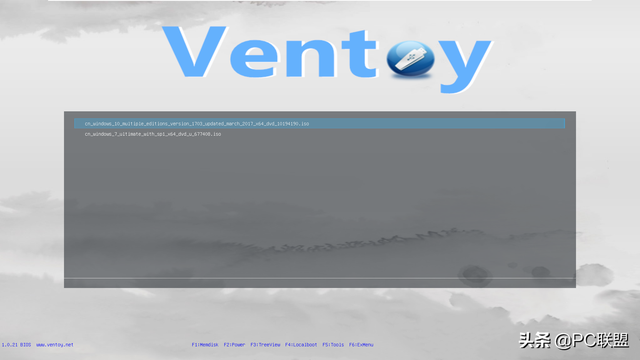
进入到Ventoy的引导
以下是官方测试的支持系统
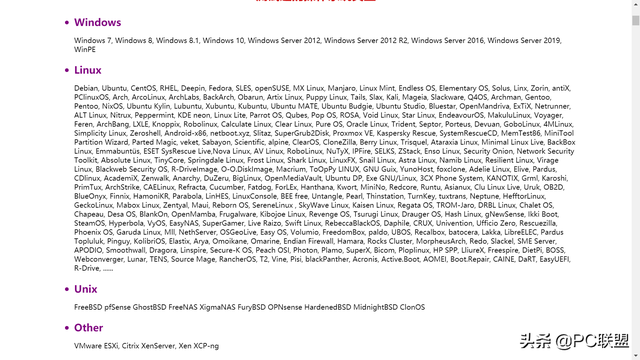
官方测试的支持系统
今天的内容到此为止。如果你有任何问题,你可以留言。如果你喜欢,请注意。
如果纠正错误的地方,谢谢!