苹果macbook如何设置u盘启动?
(macbook如何设置u盘启动)
一、制作MacOS启动U盘
1.制作和启动U盘需要满足两个条件:
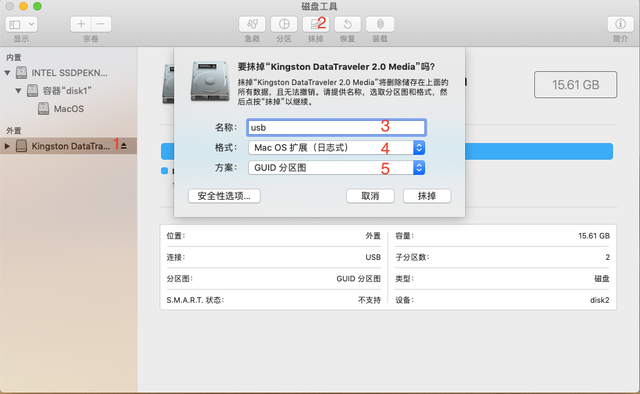
A. 准备16GB或上述U盘,并格式化为【MacOS扩展格式】
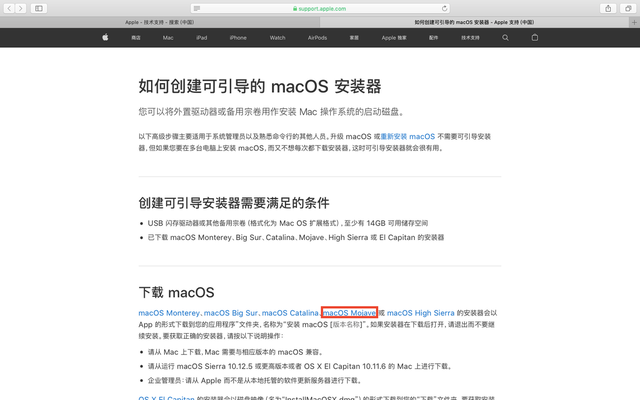
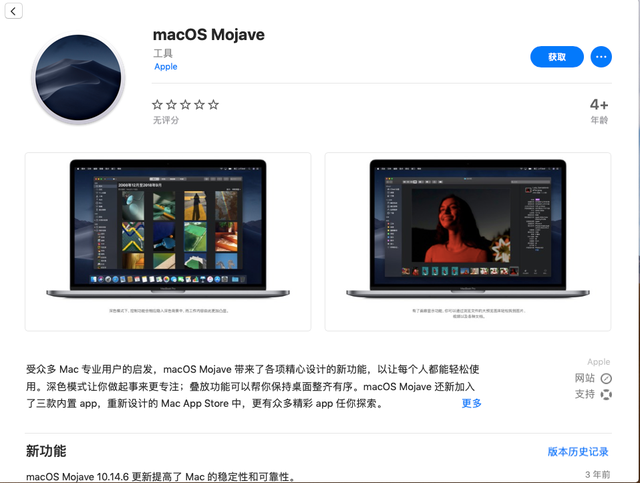
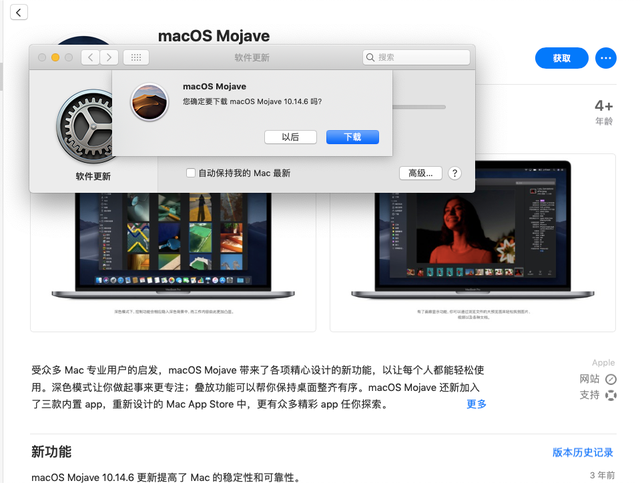
B. 已下载MacOS Mojave的安装器

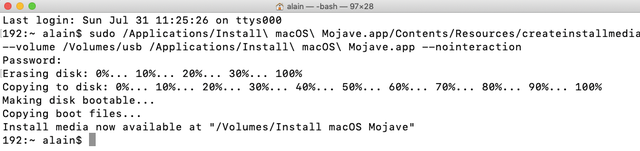
2、在【启动台】→【其他】→【终端】输入以下命令
sudo /Applications/Install\\ macOS\\ Mojave.app/Contents/Resources/createinstallmedia --volume /Volumes/usb /Applications/Install\\ macOS\\ Mojave.app –nointeraction
敲回车后,然后输入启动密码。等待时间长,直到出现【Install media now available at”/Volumes/Install macOS Mojave”】,说明MacOS成功启动U盘制作。等待时间长,直到出现【Install media now available at”/Volumes/Install macOS Mojave”】,说明MacOS成功启动U盘制作。然后退出终端并弹出U盘。
注:“usb目前使用的U盘名称。如果不是这个名字,请将这些命令中的usb用U盘名代替。
参考: 如何创建可引导的 macOS 安装器 - Apple 支持 (中国)
二、使用启动U盘安装MacOS Mojave
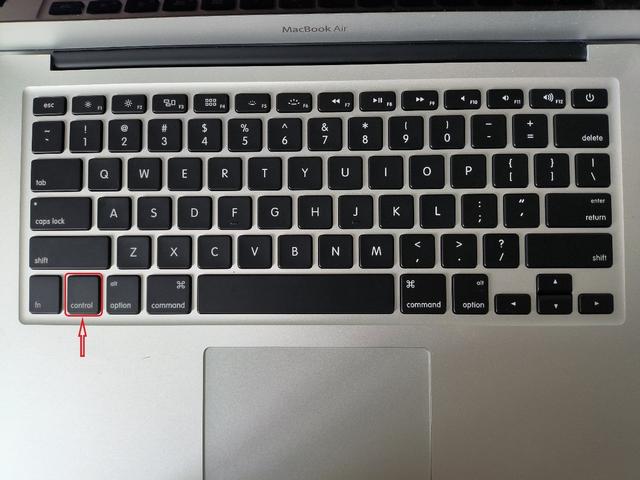
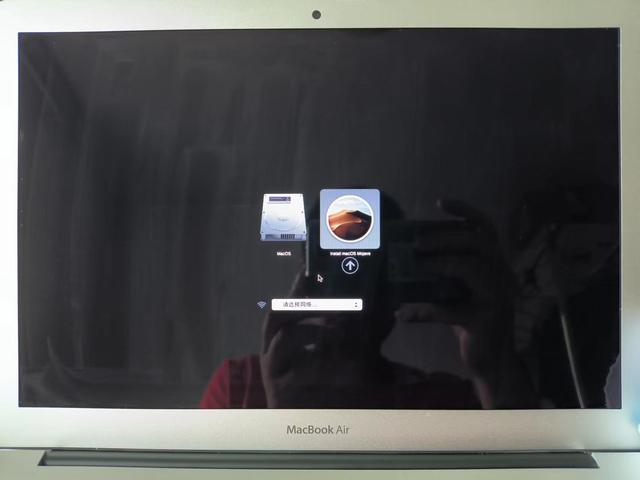
1、将Mac计算机启动或重启后,立即按住【Option(alt)】键不放,直到显示启动U盘【Install macOS Mojave】,松开 【Option】键。然后选择通过键盘方向键启动U盘,然后敲回车键。然后选择通过键盘方向键启动U盘,然后敲回车键。
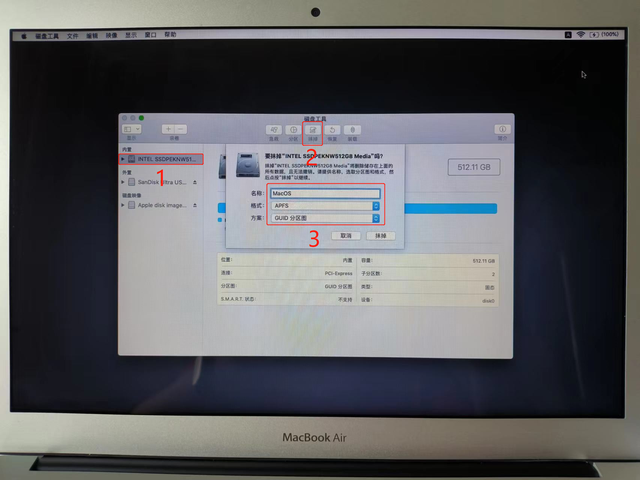
2、从【macOS实用工具】中选择【磁盘工具】,然后擦掉磁盘。
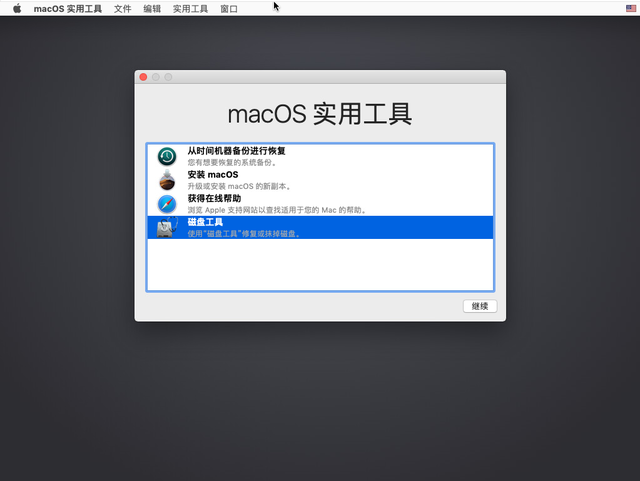
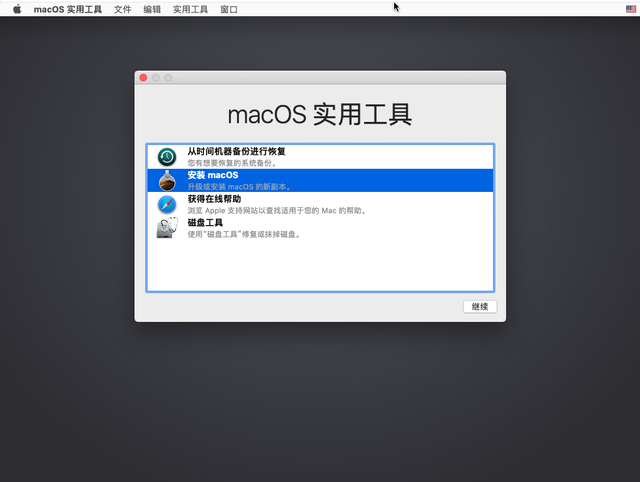
3、从【实用工具】窗口中选择【安装macOS】,然后点【继续】。
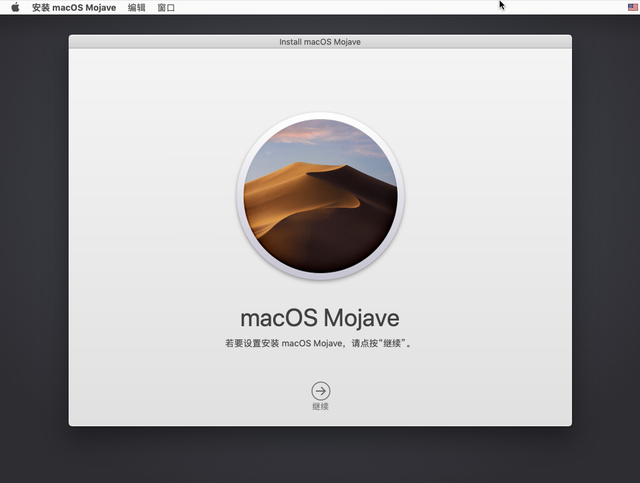
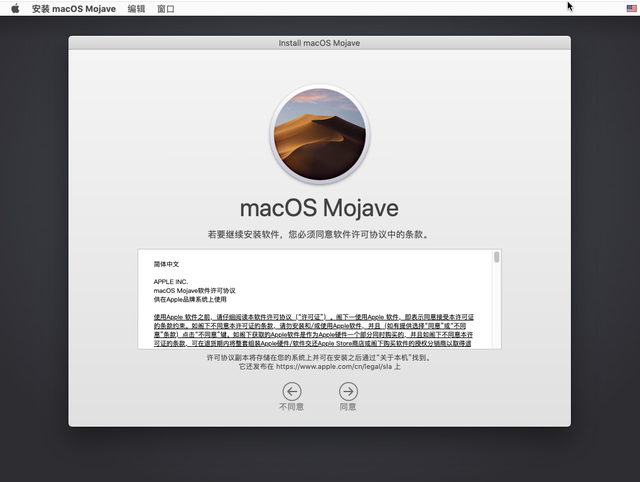
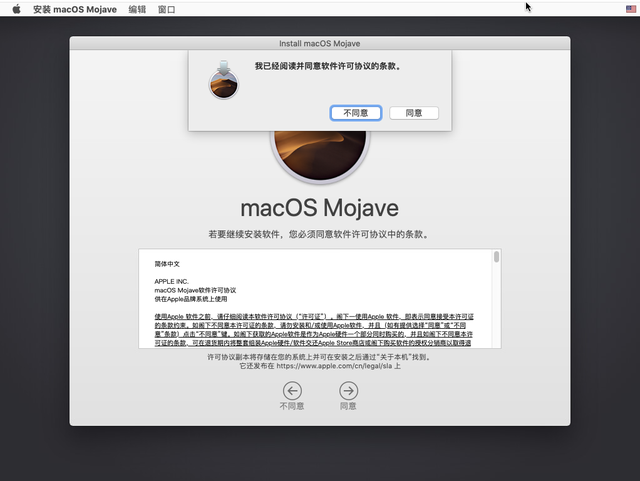
4.选择安装界面【继续】,然后点【同意】。
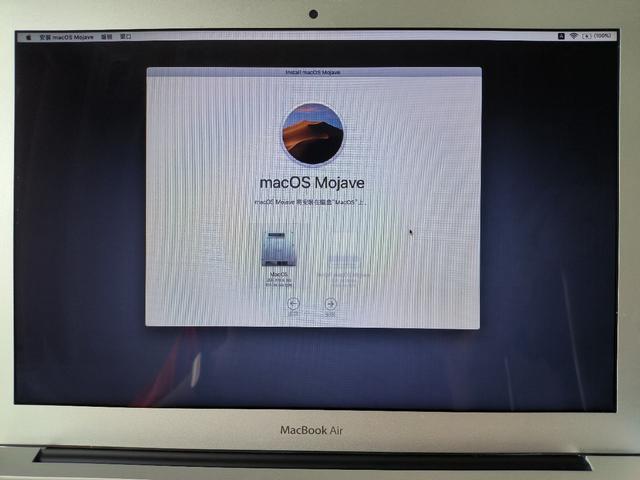
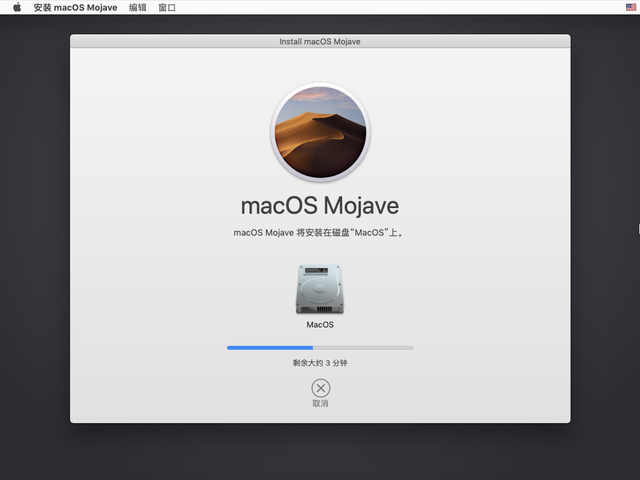
5、选择MacOS Majove安装在刚刚抹去的磁盘上,然后点击【安装】。
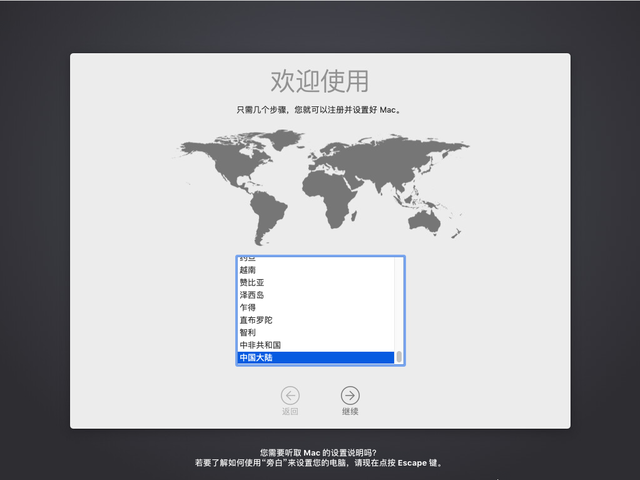
6、选择【中国大陆】,然后点【继续】。
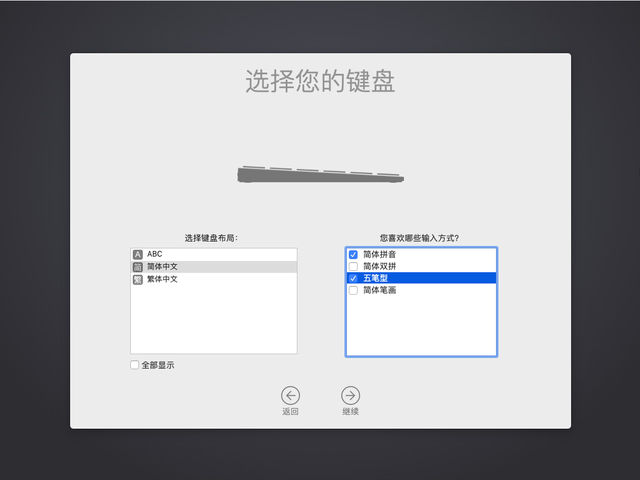
7.根据自己的需要选择合适的输入法,然后点击【继续】。
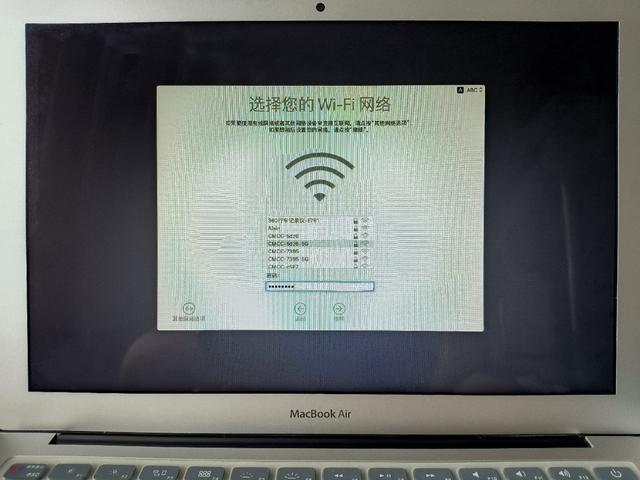
8.选择要连接的WIFI输入密码后点网络【继续】。
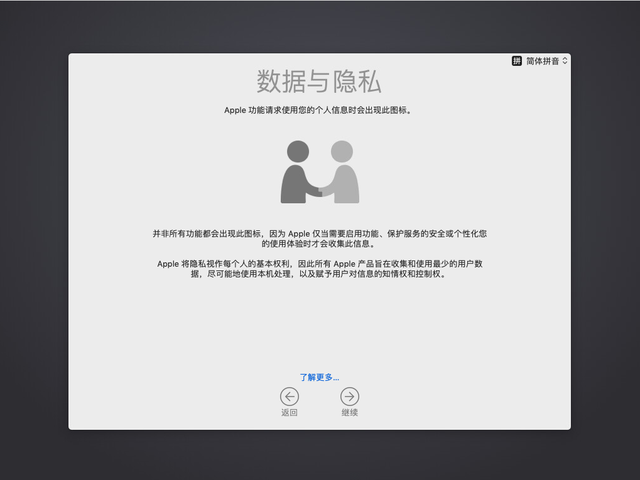
9据与隐私,点【继续】。
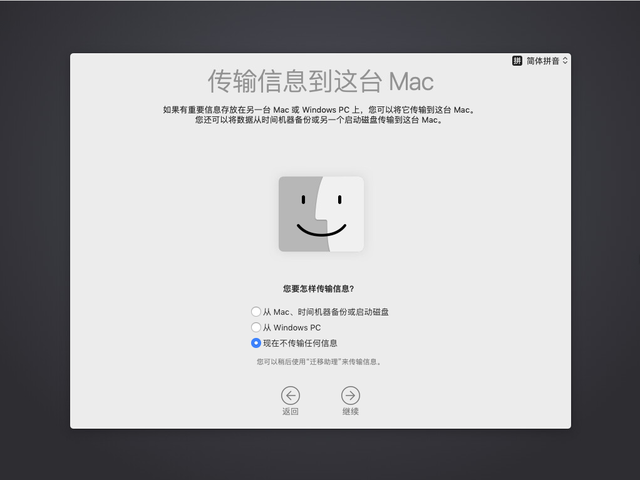
10、选择【现在不传输任何信息】,然后点【继续】。
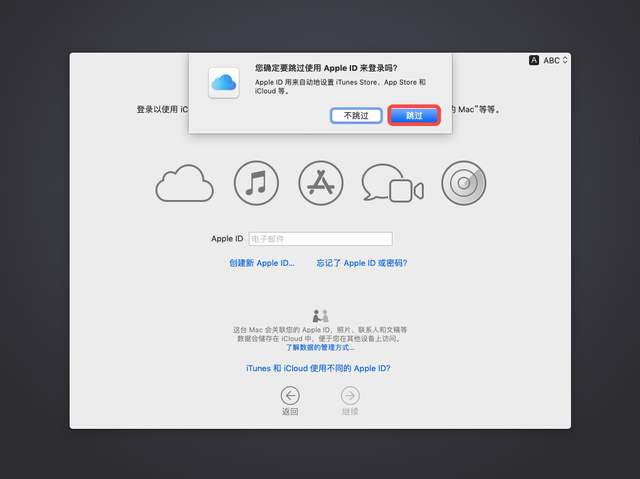
11、Apple ID登录设置选择【稍后设置】,然后选择【跳过】Apple ID帐户登录,最后点【继续】。

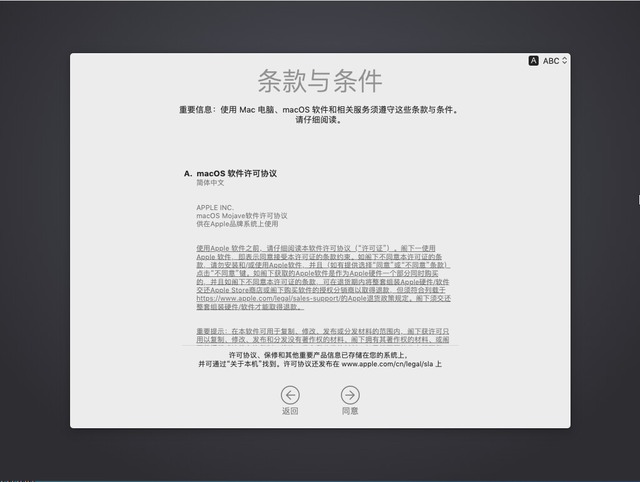
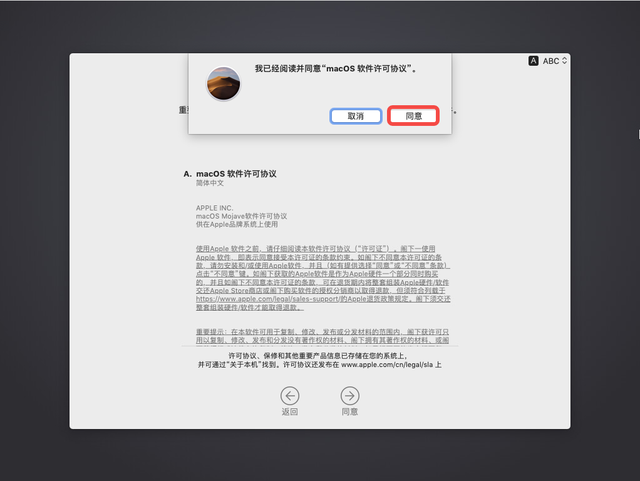
12.选择条款和条件【同意】。
13.创建计算机账户,输入用户名和密码,然后点击【继续】。

14.快速设置,选择【继续】。

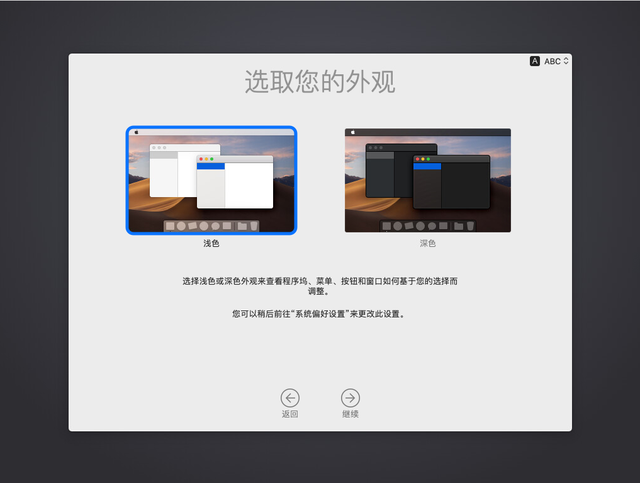
15.根据喜好选择相应的主题外观,然后点击【继续】。
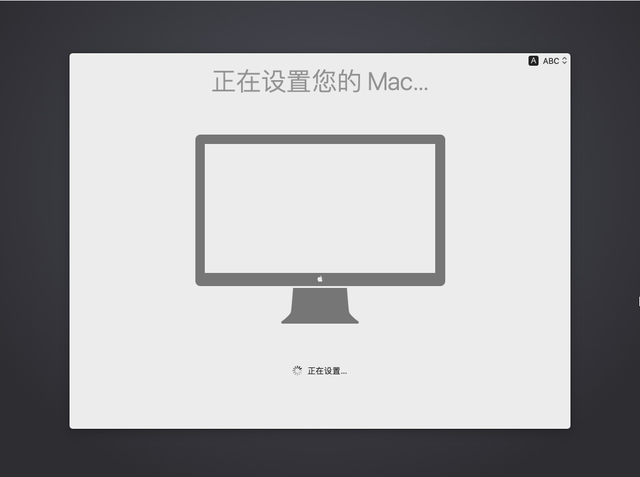
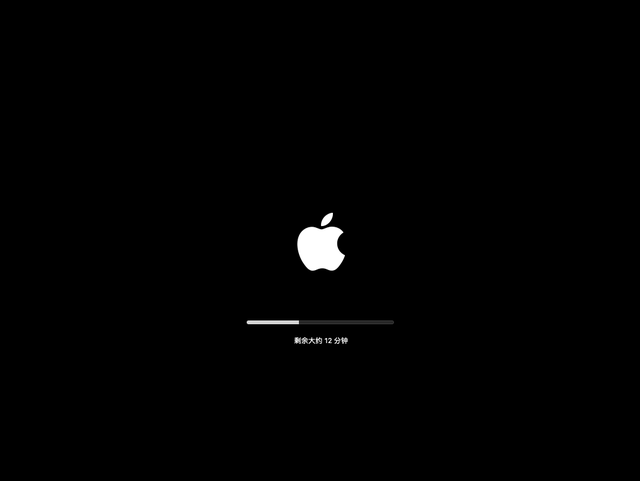
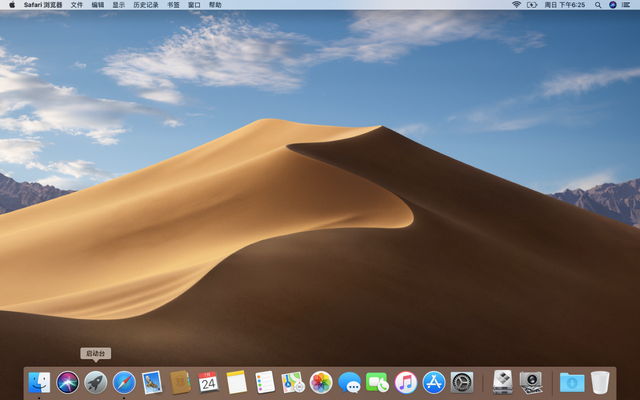
16、MacOS Mojave系统安装成功。
三、在MacOS系统中安装Windows 10
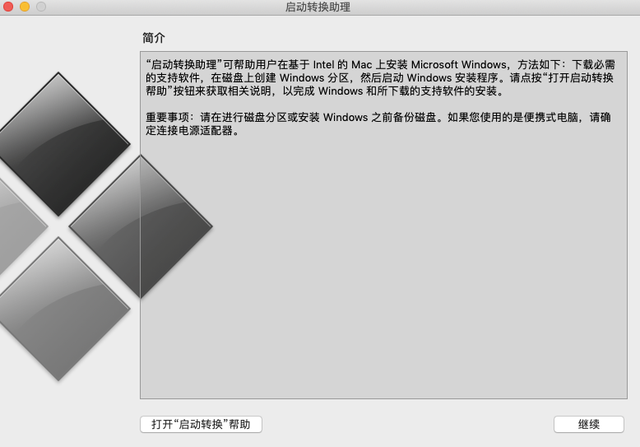
1、依次打开【启动台】→【其他】→【启动转换助理】
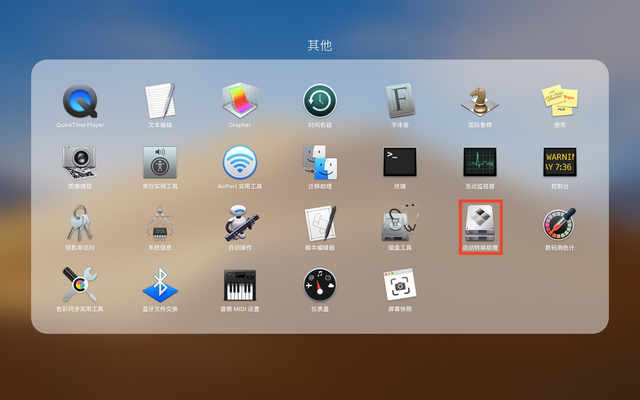
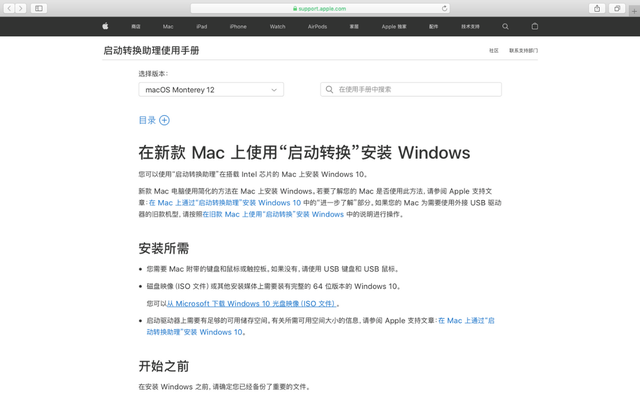
2、打开【启动转换助理】后左下角【打开启动转换帮助】
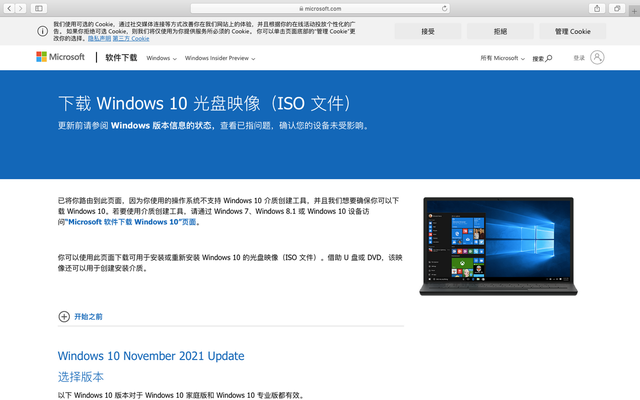
3.在弹出的网页中,选择【从Microsoft下载Windows 10光盘映像(ISO),然后选择并下载适合自己的文件Windows操作系统。

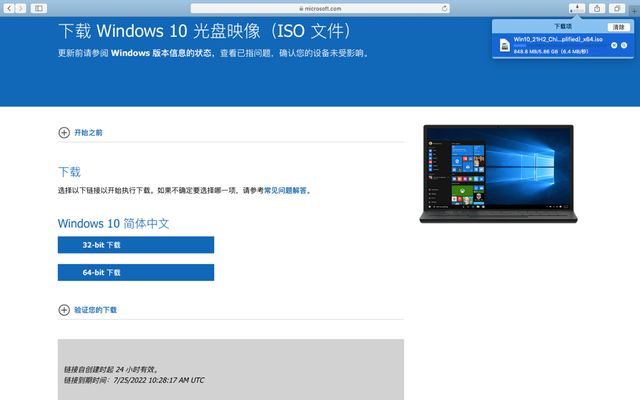
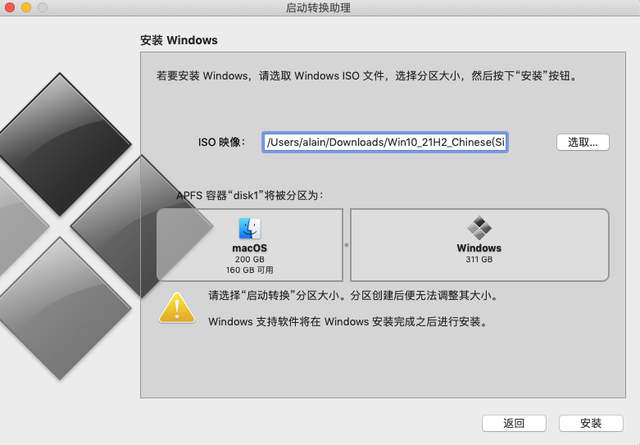
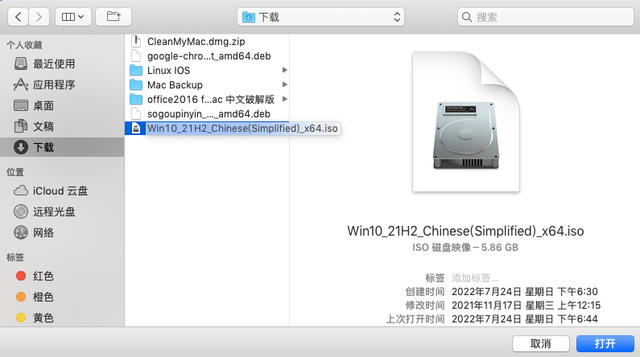
4、在【启动转换助理】界面中选择【选取】浏览下载的Windows并调整图像文件MacOS和Windows系统磁盘分区的大小,然后点击【安装】。
5.启动转换助理将自动下载Windows系统所需的支持软件。
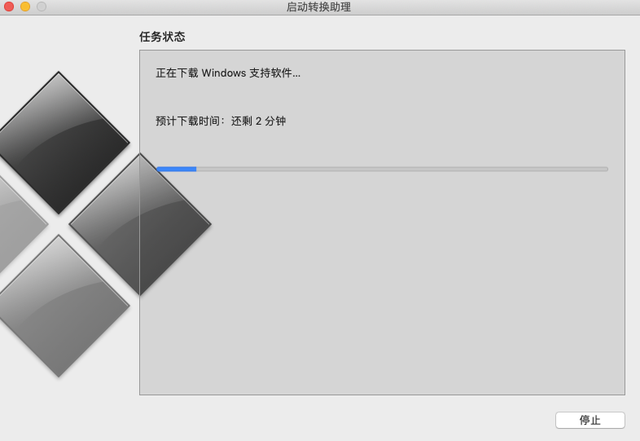
5.启动转换助理将自动下载Windows系统所需的支持软件。
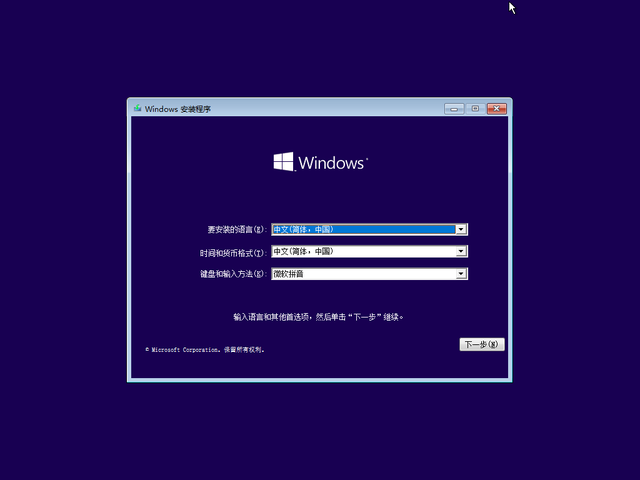
6、系统重启后,会自动进入Windows安装程序界面,选择安装语言、时间和键盘,然后点击【下一步
】。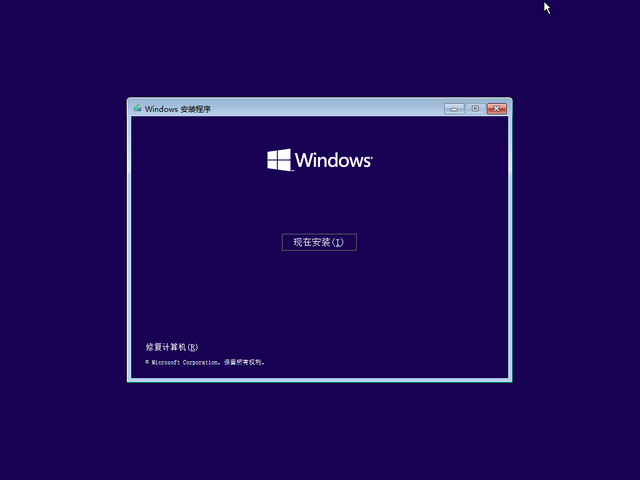
7、点【现在安装
】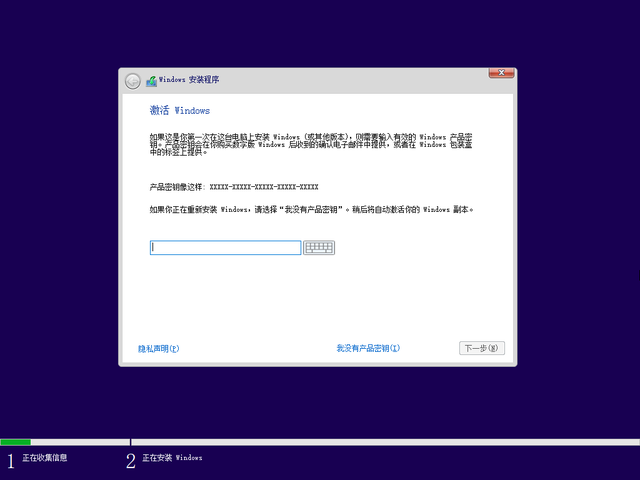
8、点【我没有产品密钥
】,跳过这一步。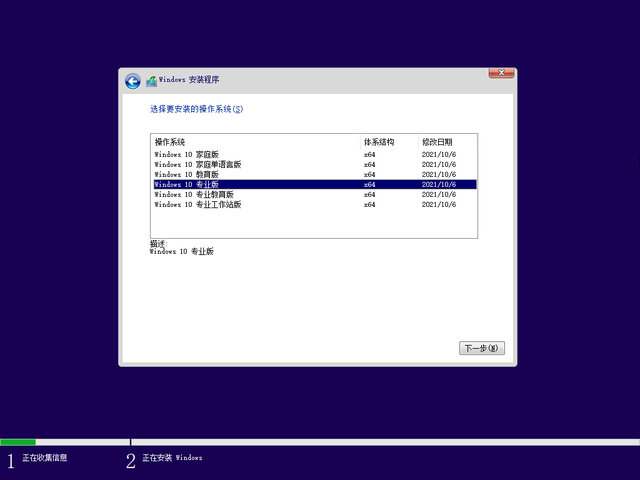
9.选择要安装的操作系统【Windows 10专业版】,然后点下一步。
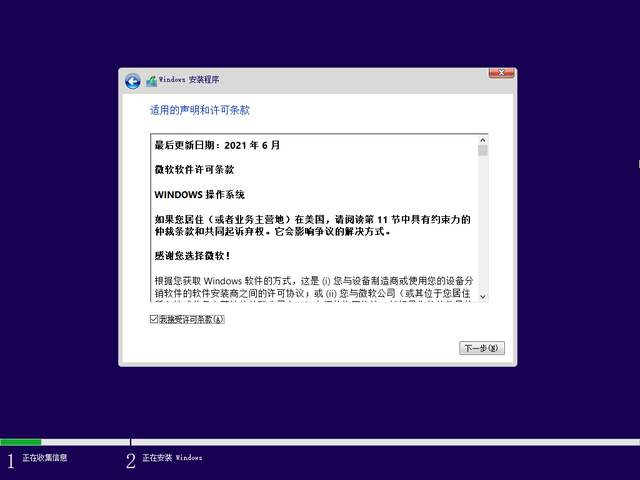 10、勾选【
我接受许可条款】,然后点【下一步
】。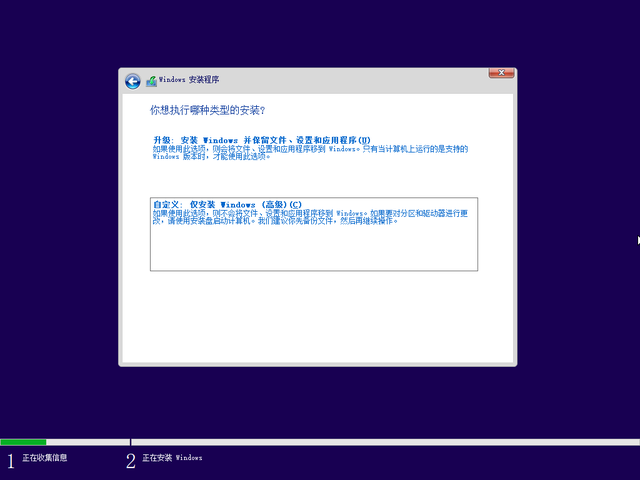
11.安装类型的选择是【自定义:仅安装Windows(高级)(C)】。
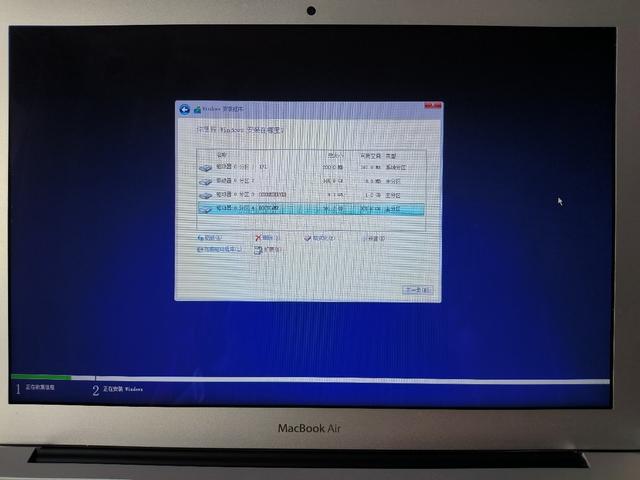 12、选择【
BOOTCAMP
】分区,然后【格式化
】,点【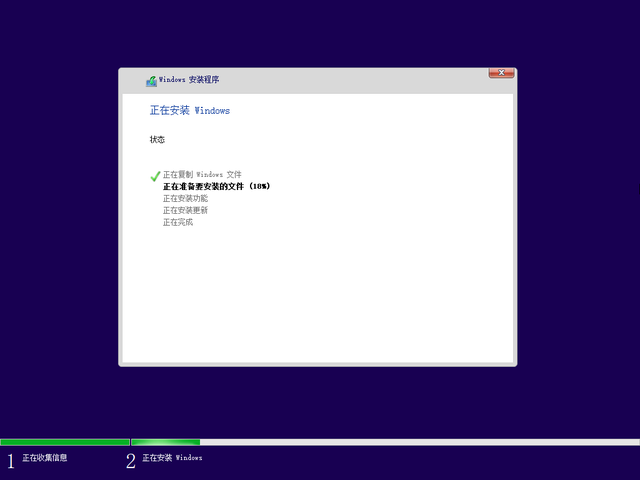 下一步
下一步】。
13、Windows系统将在安装程序运行后自动启动。
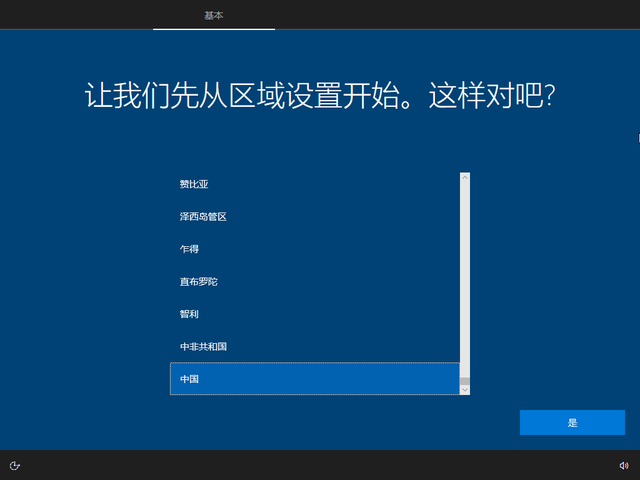 14.设置区域为【
中国】,然后点【是
】。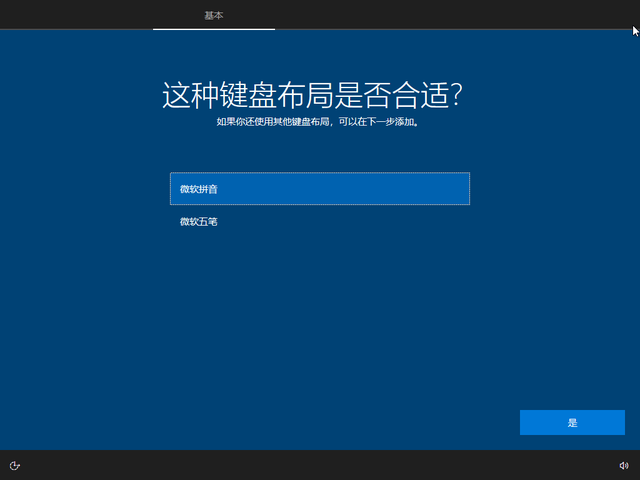
15.选择适合自己的输入法,然后点击【是
】。
16、跳过添加第二种键盘布局,然后点【跳过
】。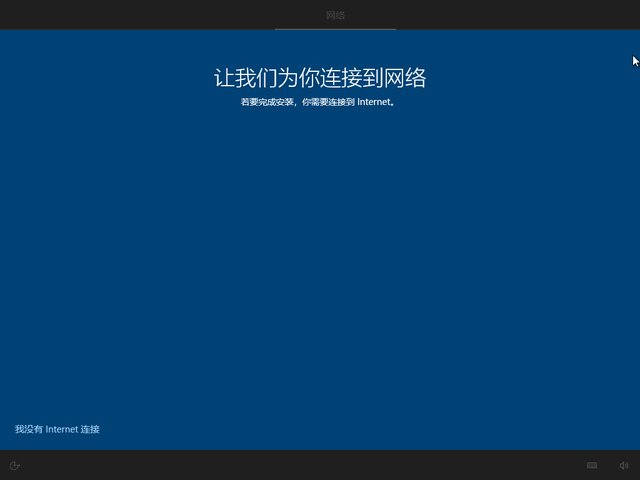
17、选择【我没有Internet连接
】。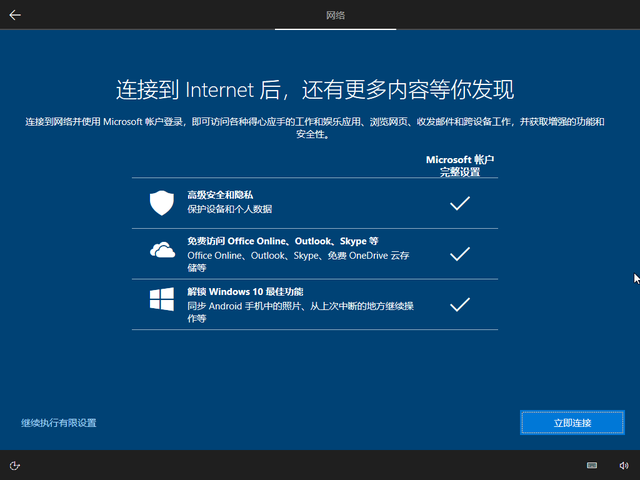
18、选择【继续实施有限设置
】。
输入要创建的帐户名,然后点击【下一步
】。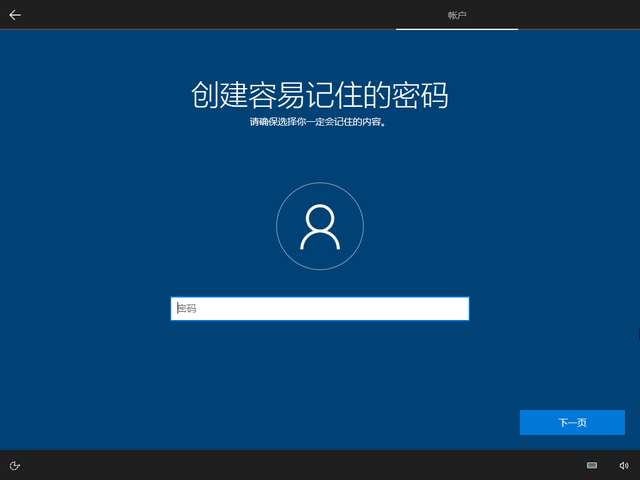
20.密码暂时不设置,直接点击【下一步
】。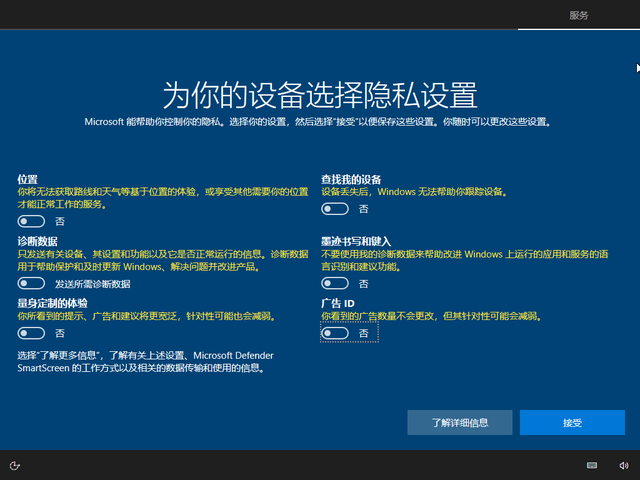
21.关闭所有隐私设置,然后点击【接受
】。 22、选择【
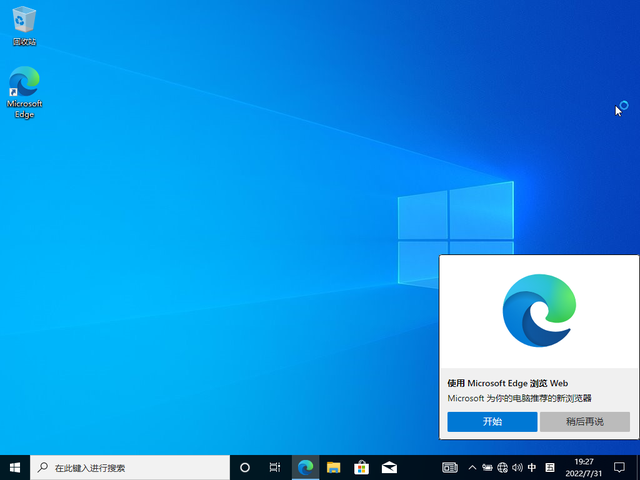 以后再说
以后再说】
23、Windows系统安装完成。
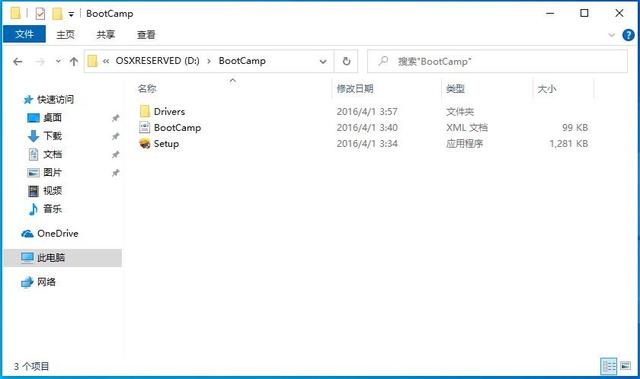
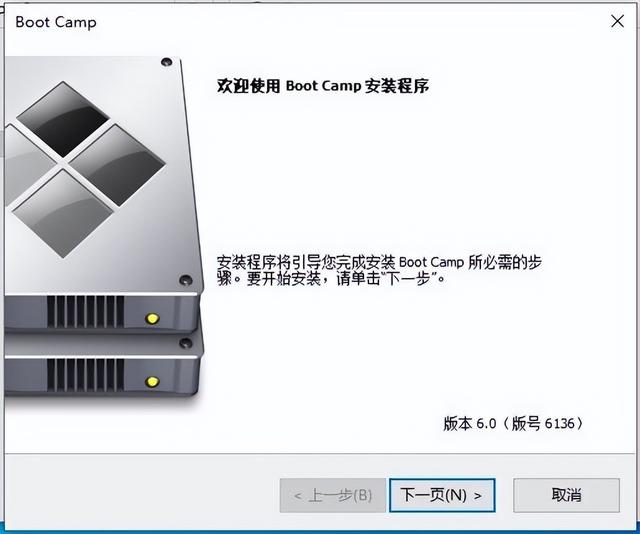
24.打开文件夹:OSXRESERVED\\BootCamp,双击【
Setup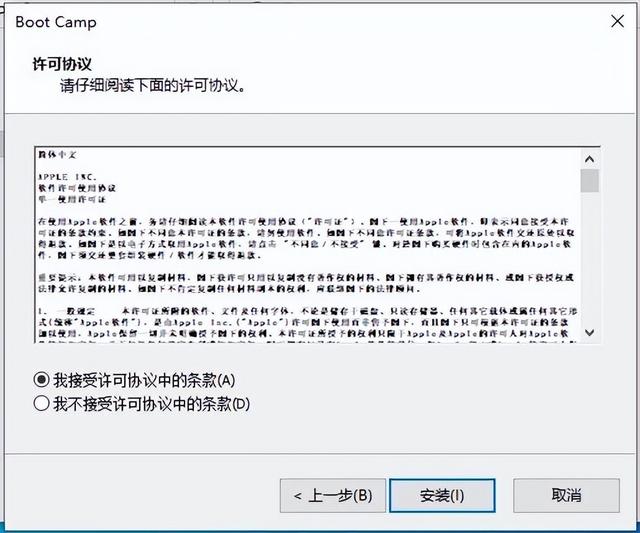 】安装Boot Camp。
 25、点击【
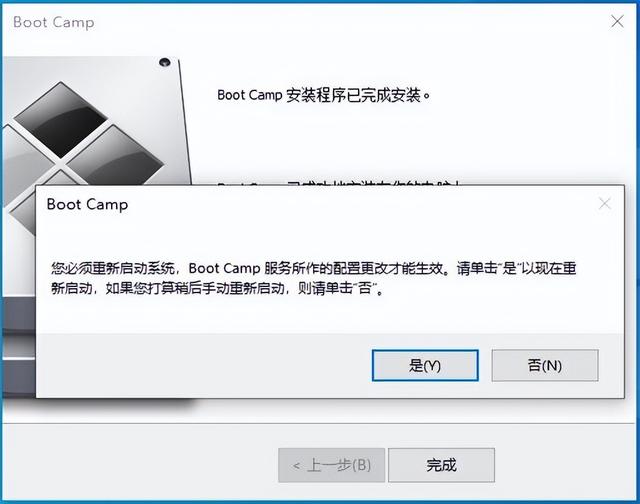 完成
完成】之后,系统会弹出对话框提示重启系统【
是】。
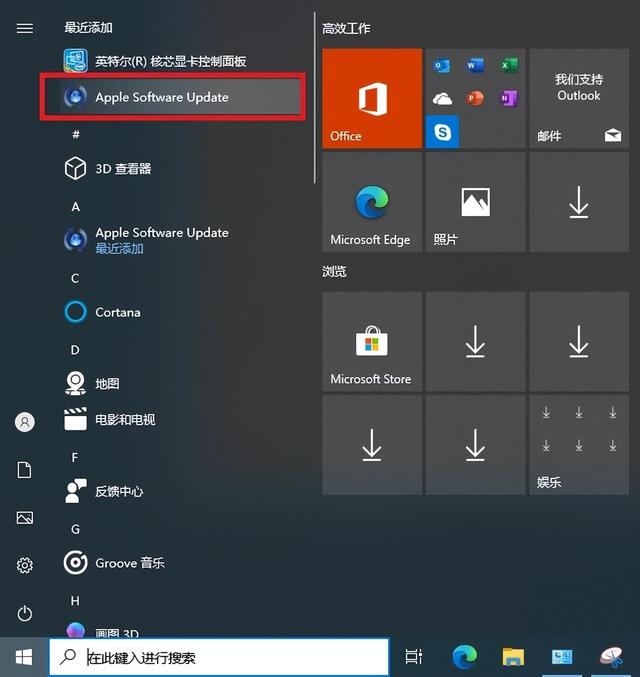 26、打开【
开始】菜单,点击【Apple Software Update】。
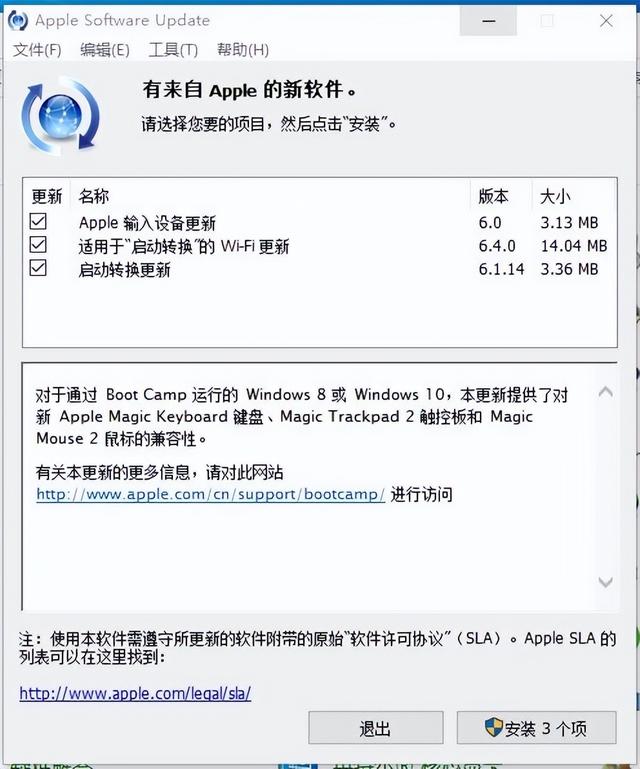 27、打开【
Apple Software Update
】后,选择【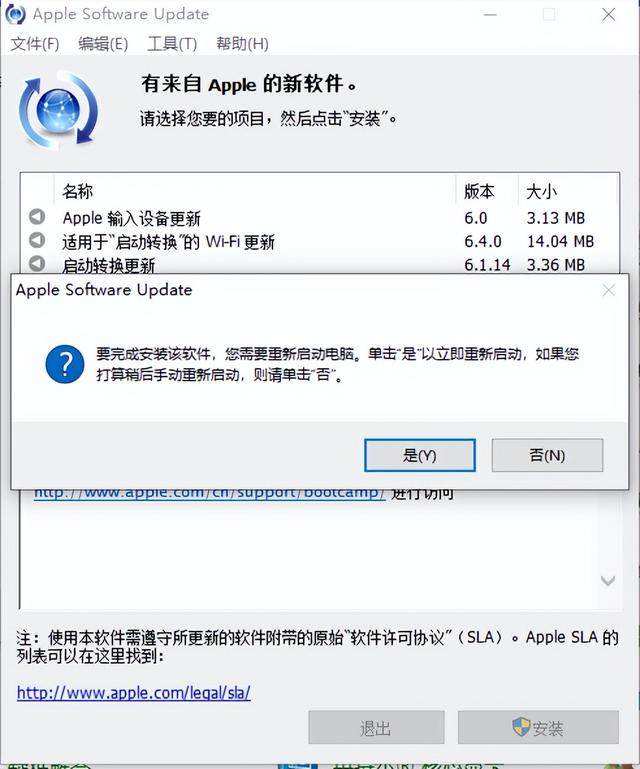 安装3个项
安装3个项】,然后选择弹出对话框【
是】。重启系统后MacOS Windows 安装双系统。