说到ghost备份还原系统的方法,相信大家都一定不会陌生。ghost是系统的镜像文件,在系统出现一些小问题时,可以帮助我们快速恢复系统。如果你也同样的需求,那么可以看一下这篇ghost 教程图文详解,详细讲述了如何使用ghost备份 还原系统!

一、Ghost介绍!
Ghost,其实是美国赛门铁克公司推出的一款出色的硬盘备份还原工具,可以实现FAT16、FAT32、NTFS、OS2等多种硬盘分区格式的分区及硬盘的备份还原。
二、Ghost使用注意事项!
1、 Ghost的备份还原是以硬盘的扇区为单位进行的,也就是说可以将一个硬盘上的物理信息完整复制
2、 其中,Ghost可以克隆系统中所有的东西,包括声音动画图像,连磁盘碎片都可以帮你复制
3、 Ghost支持将分区或硬盘直接备份到一个扩展名为.gho的文件里,也就是我们常说的镜像文件,或者你也可以直接备份到另一个分区或硬盘里
4、 ghost只支持Dos的运行环境
三、ghost 教程图文详解!
1、 一般情况下,我们可以把ghost文件复制到U盘,或者刻录进启动光盘,用启动盘进入Dos环境后,在提示符下输入ghost,回车即可运行ghost
2、 我们按任意键进入ghost操作界面,出现ghost菜单,主菜单共有4项,从下至上分别为Quit(退出)、Options(选项)、Peer to Peer(点对对,主要用于网络中)、Local(本地)
3、 一般情况下我们只用到Local菜单项,其下有三个子项:Disk(硬盘备份与还原)、Partition(磁盘分区备份与还原)、Check(硬盘检测),前两项功能是我们用得最多的,下面的操作讲解就是围绕这两项展开的。
四、ghost 教程备份Windows系统图解!
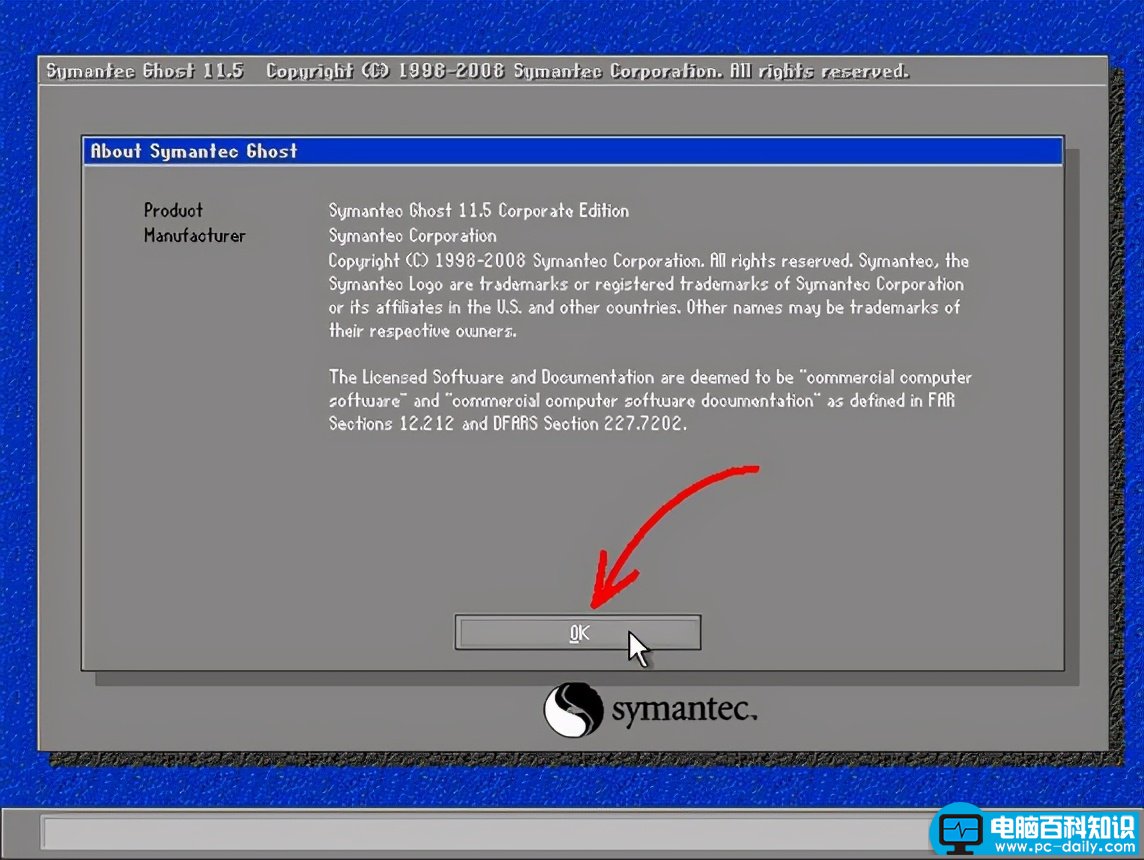
1、 运行Ghost后,单击“OK”
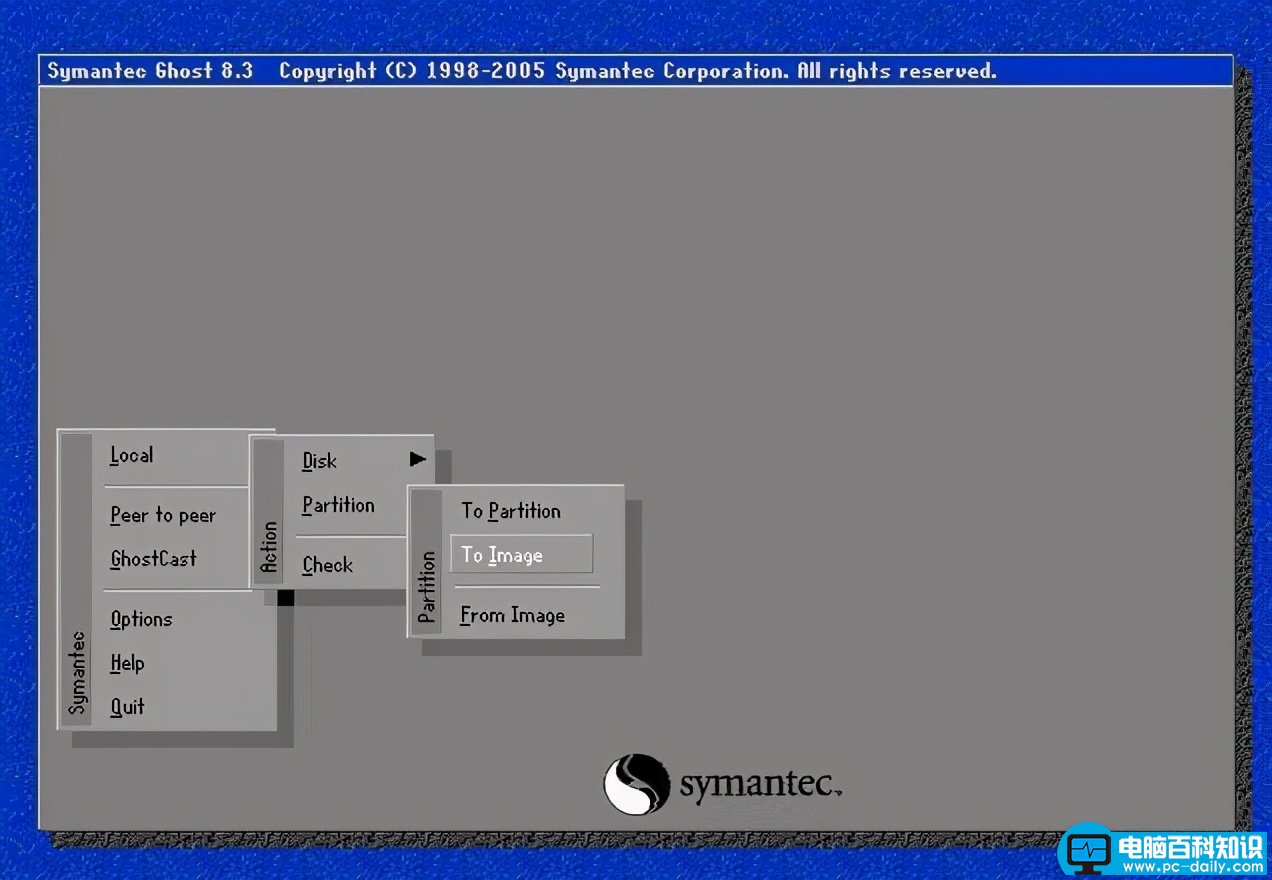
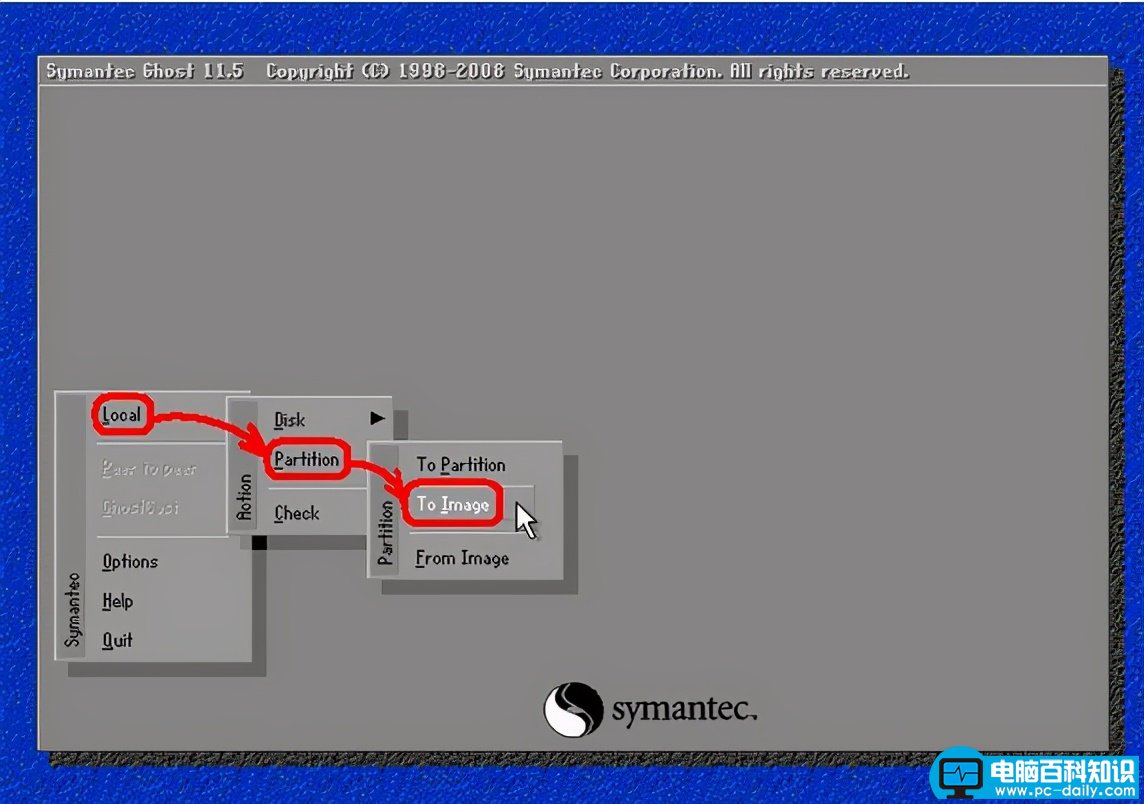
2、 依次单击“Local”→“Partition”→“To Image”(意为:本地→分区→到镜像文件)
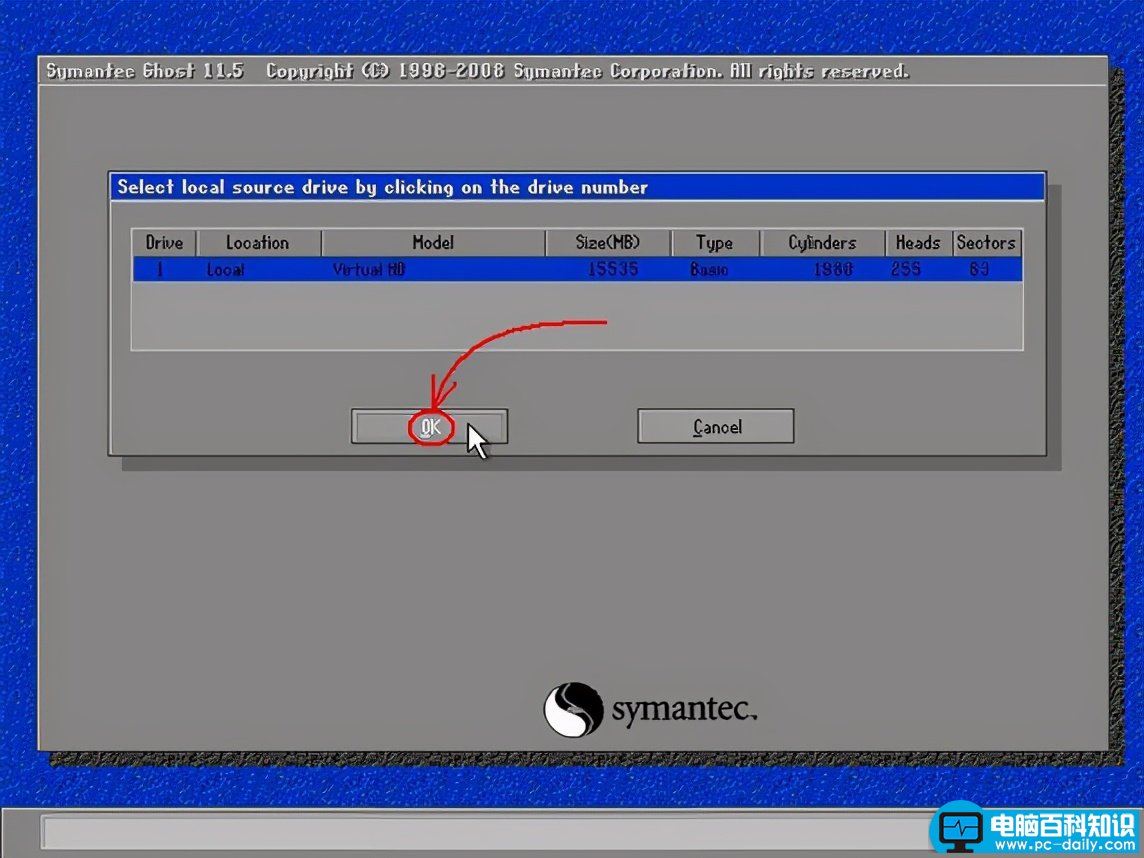
3、 出现选择本地硬盘窗口,单击要备份的分区所在硬盘,再单击“OK”
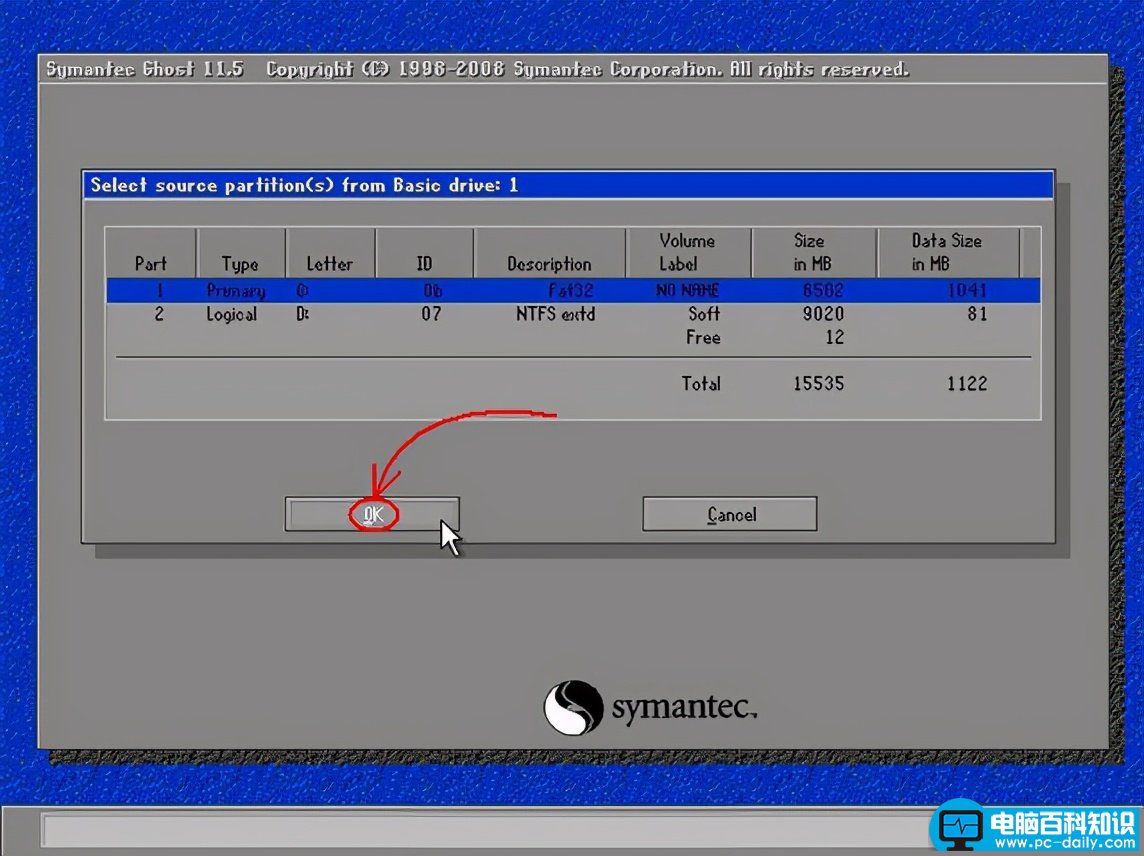
4、 出现选择源分区窗口,也就是选择要备份的分区,单击系统所在的分区,通常为1区,再单击“OK”
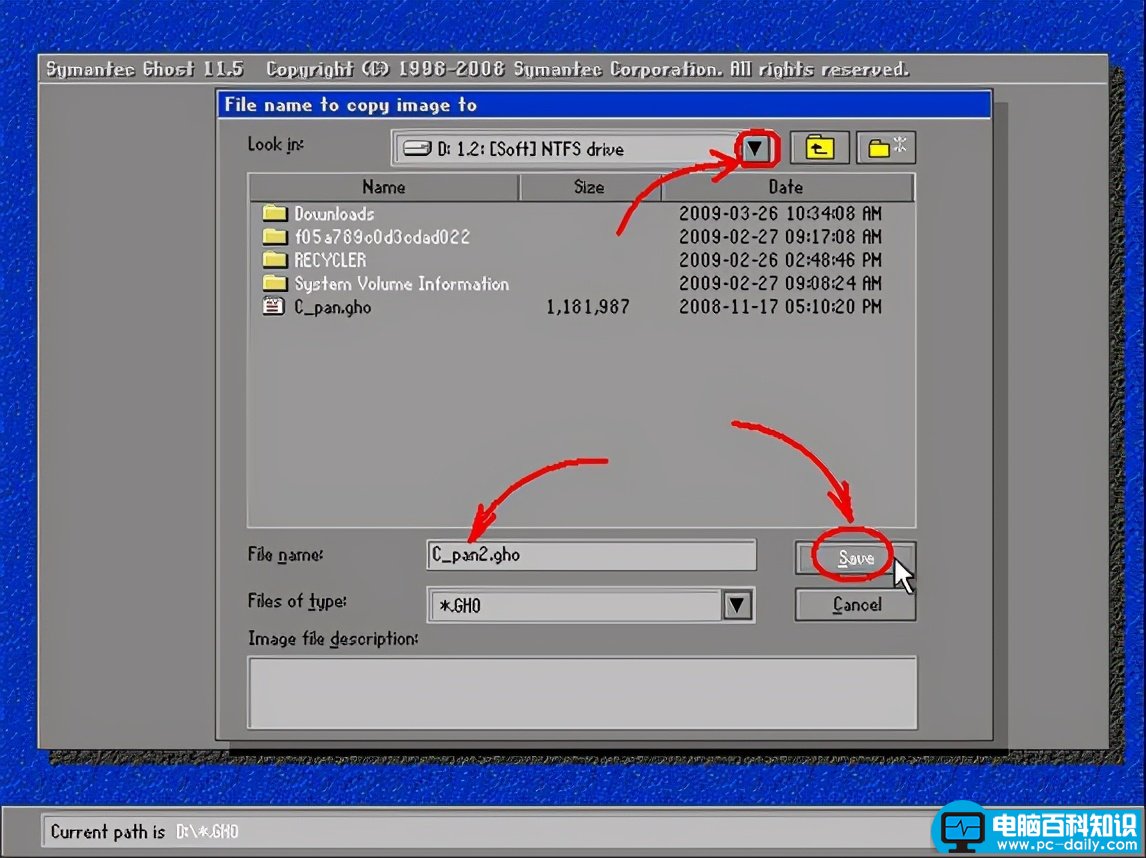
5、 弹出存储位置对话框,如图所示,选择要存储镜像文件的分区,在“File name”处输入镜像文件的文件名后,单击“Save”保存
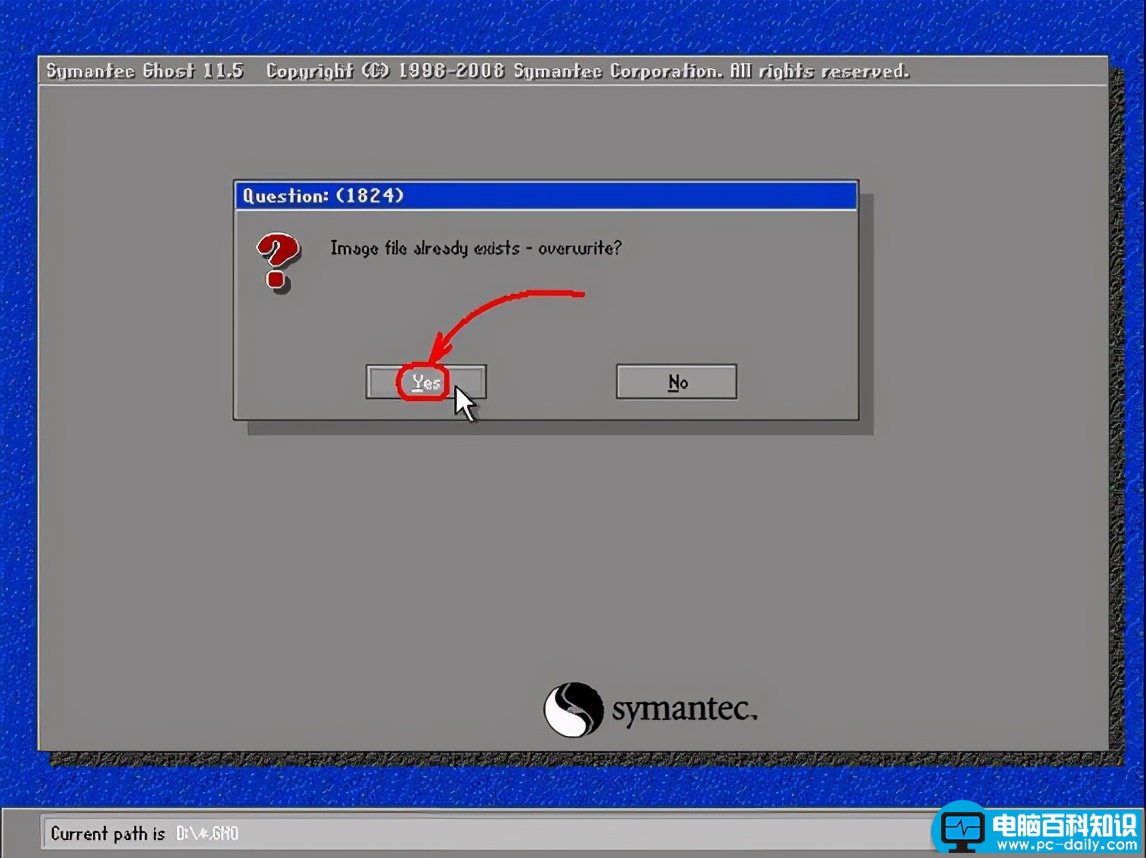
6、 如果你想覆盖之前备份的Windows镜像文件,那么第5步时,找到并点击该文件,弹出是否覆盖的提示时,单击“Yes”覆盖
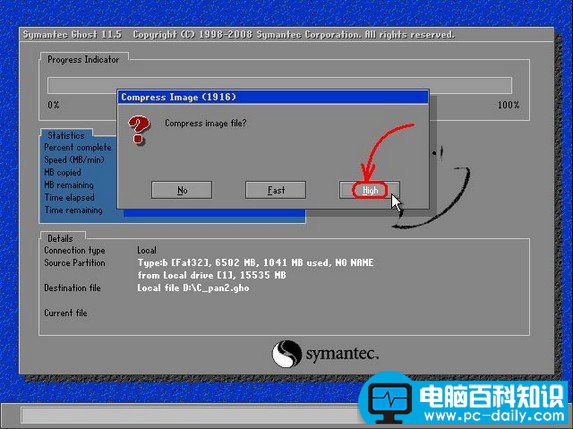
7、 出现“是否压缩镜像文件”选项,包括:“No(不压缩)、Fast(快速压缩)、High(高压缩比压缩)”三个选项,压缩比越低,备份速度越快,但占用磁盘空间越大,一般选“High”以节省磁盘存储空间,低配置电脑可以选择“Fast”或“No”
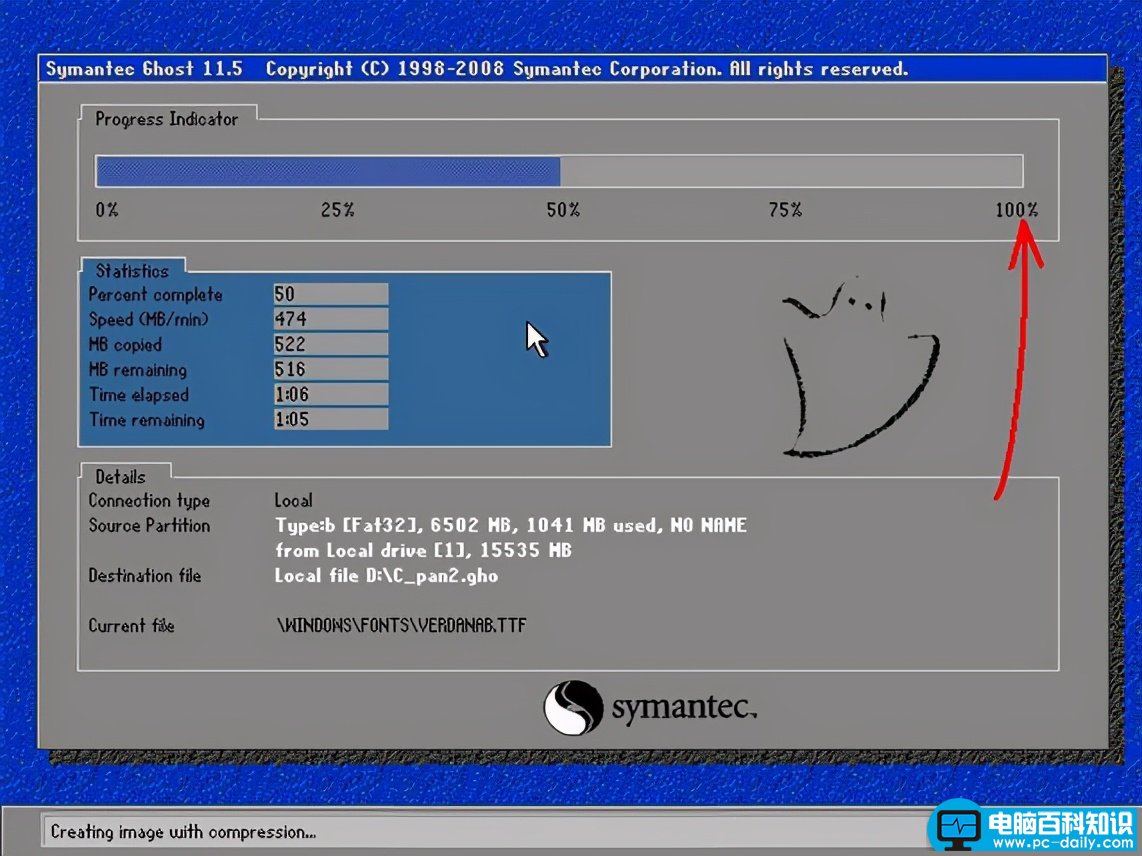
8、 确认建立镜像文件时,单击“Yes”开始备份

9、 开始备份过程,请耐心等待,期间如果弹出确认窗口,一般是因为所备份分区较大,需要建立分卷镜像文件,单击“OK”确认即可,如果弹出出错窗口,请确认硬盘可用空间足够的情况下,继续排查硬件系统故障
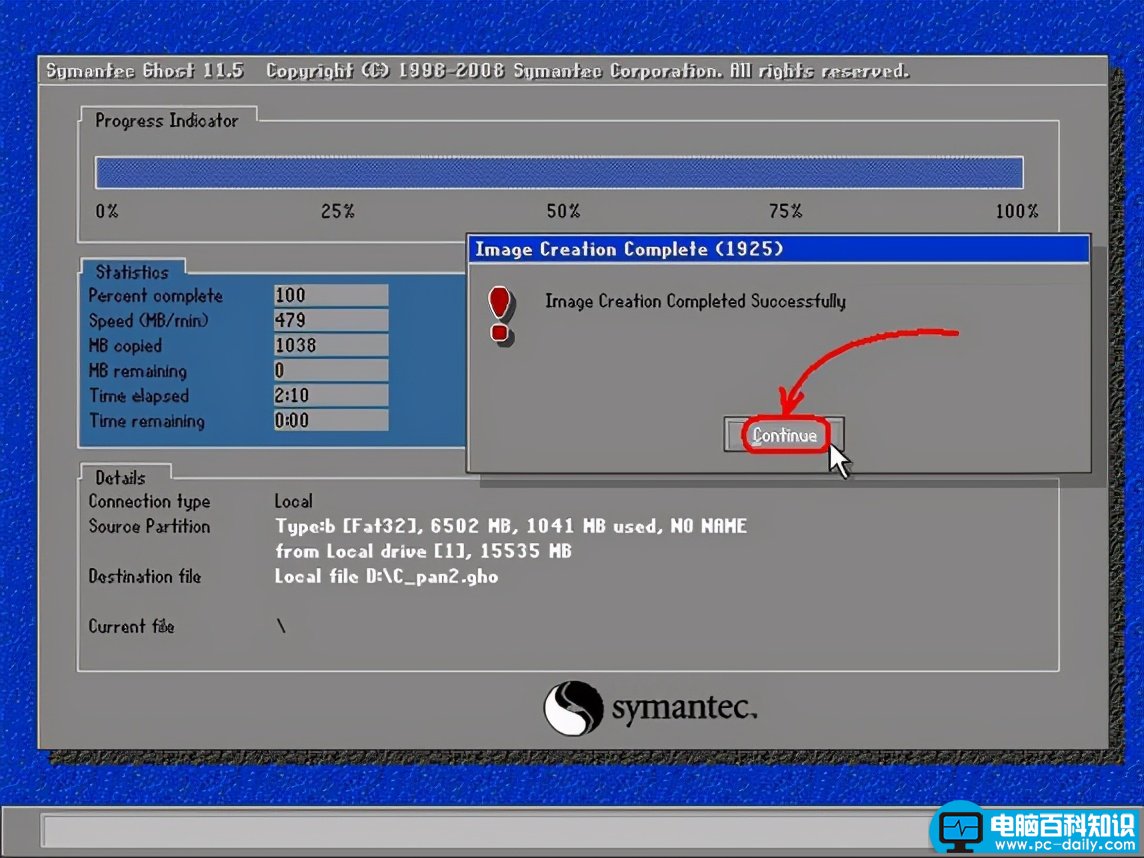
10、 创建成功后,如下图所示,Windows系统已经备份完毕,单击“Continue”回到Ghost初始界面
11、 然后,单击“Quit”准备退出Ghost
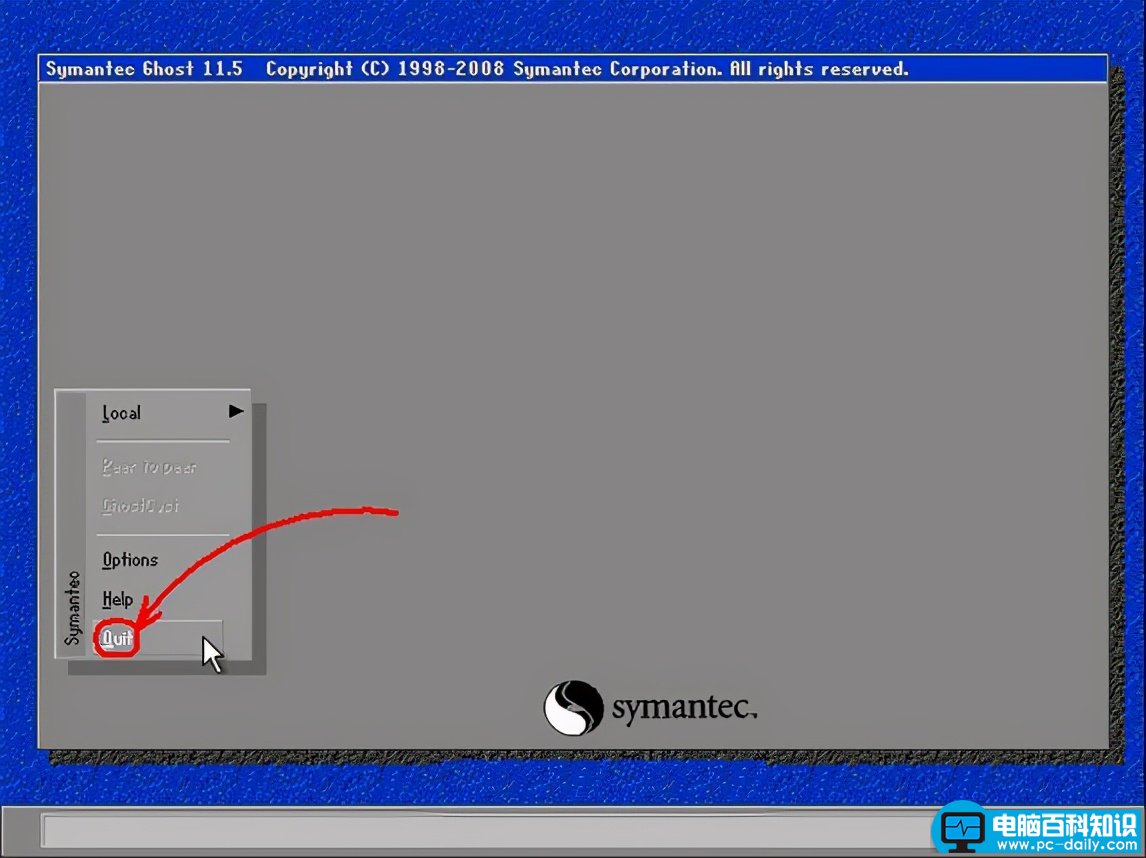
12、 最后,弹出确认对话框:你真的要退出吗?单击“Yes”退出Ghost,你可以关机或重启电脑
五、ghost 教程还原Windows系统图解!
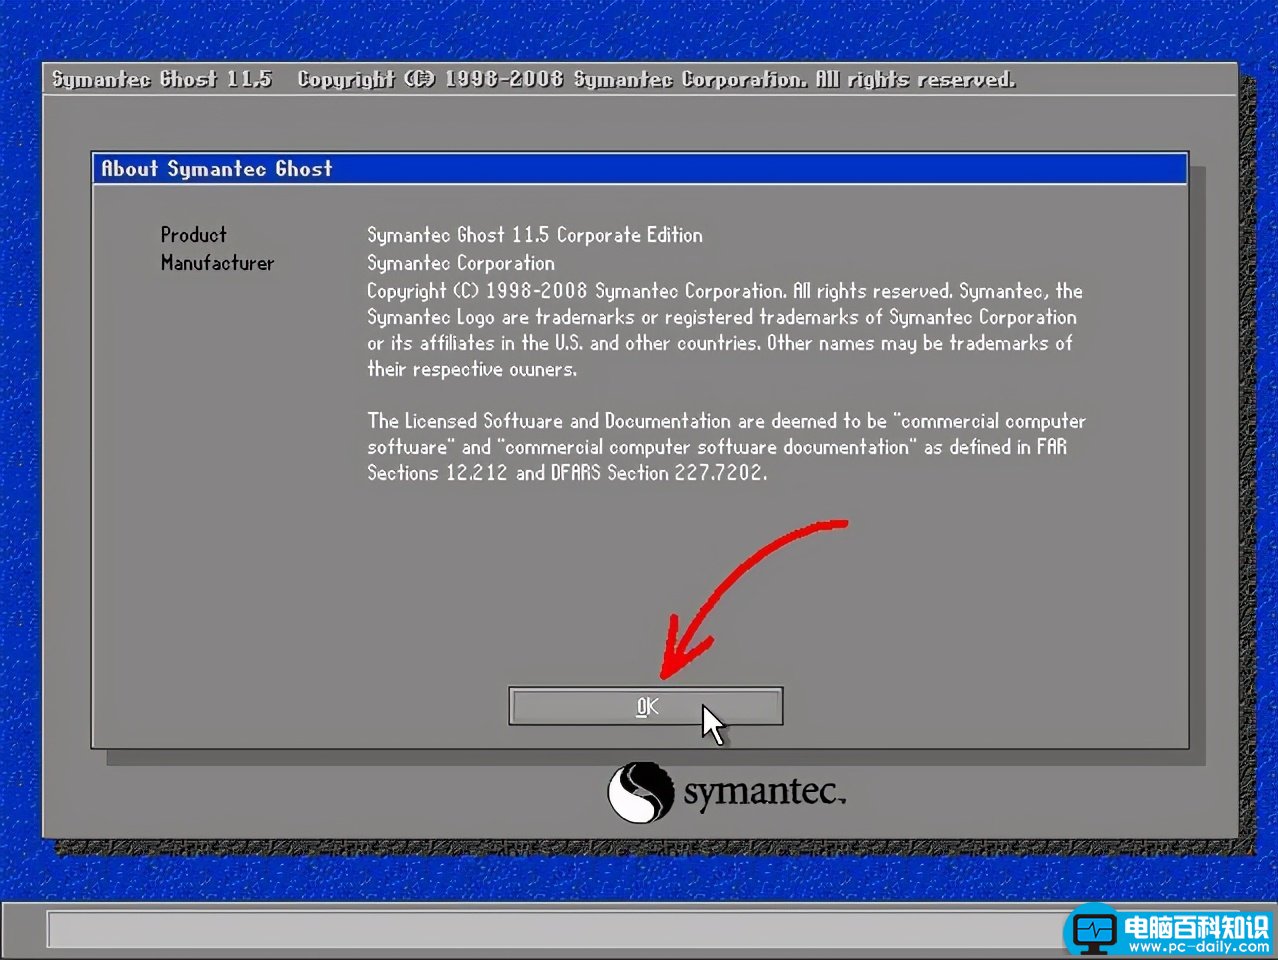
1、 启动Ghost后显示“关于Ghost”信息,点击“OK”
2、 然后,依次单击“Local”-“Partition”-“From Image”(即:本地-分区-从镜像文件)

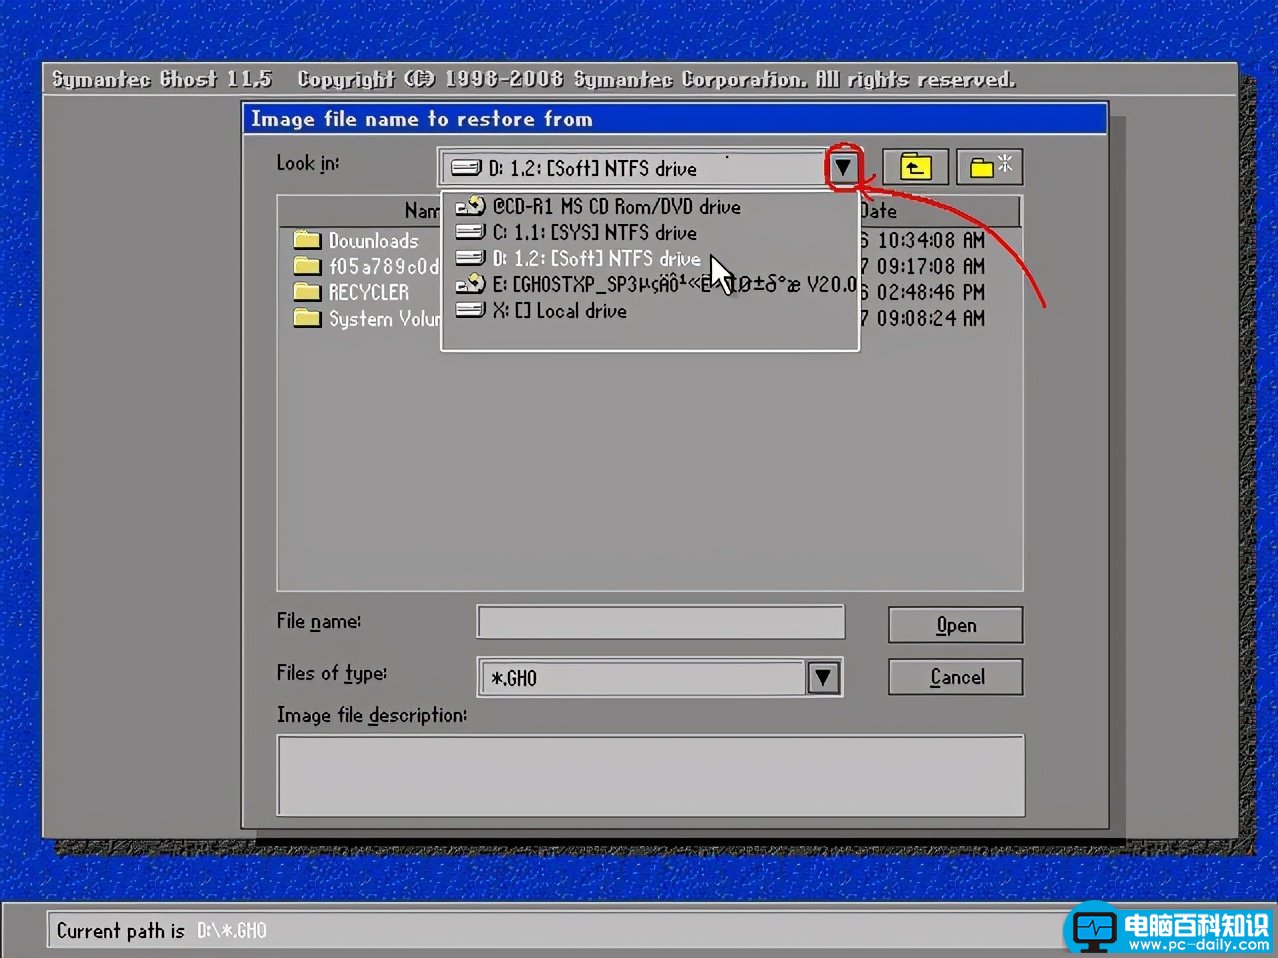
3、 在弹出的界面中,单击小黑三角按钮,再从下拉列表中选择镜像文件备份位置,假设是D盘
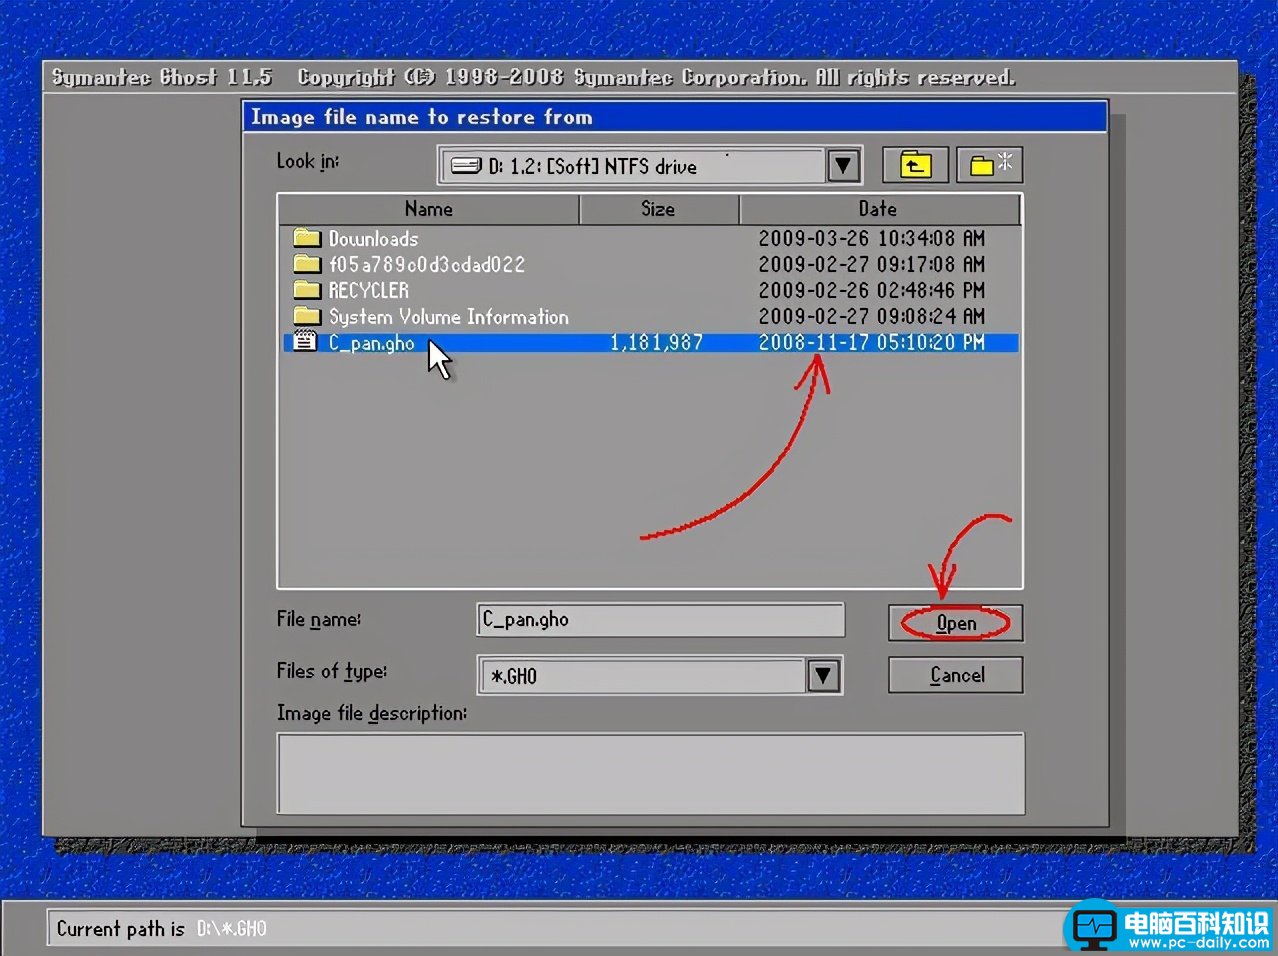
4、 然后,继续单击“某文件夹”找到镜像备份.gho文件,选择完毕后,点击“Open”
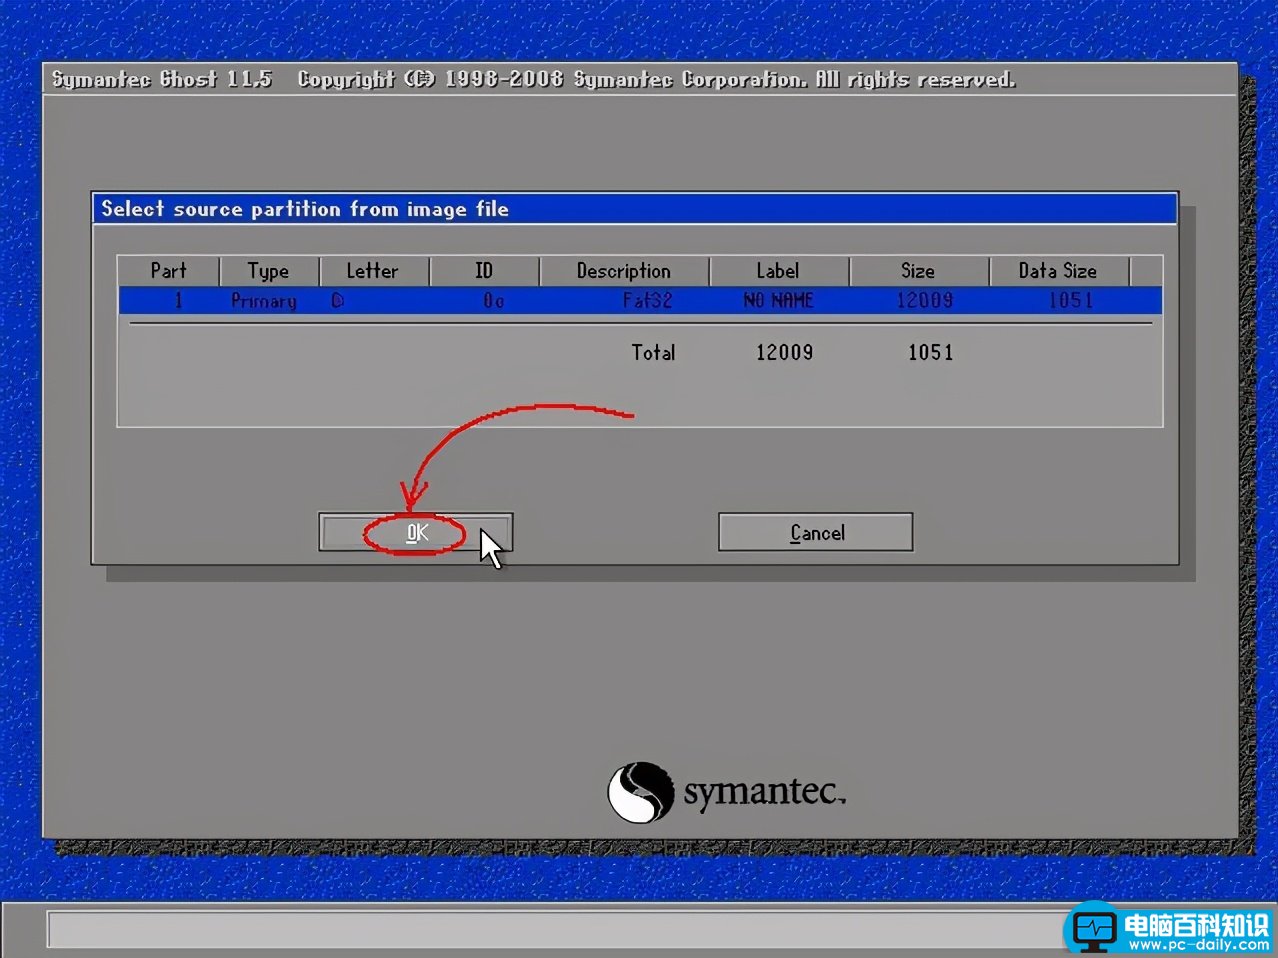
5、 弹出新的窗口时,页面显示镜像文件的一些信息,点击“OK”继续,“Cancel”是指中止、取消
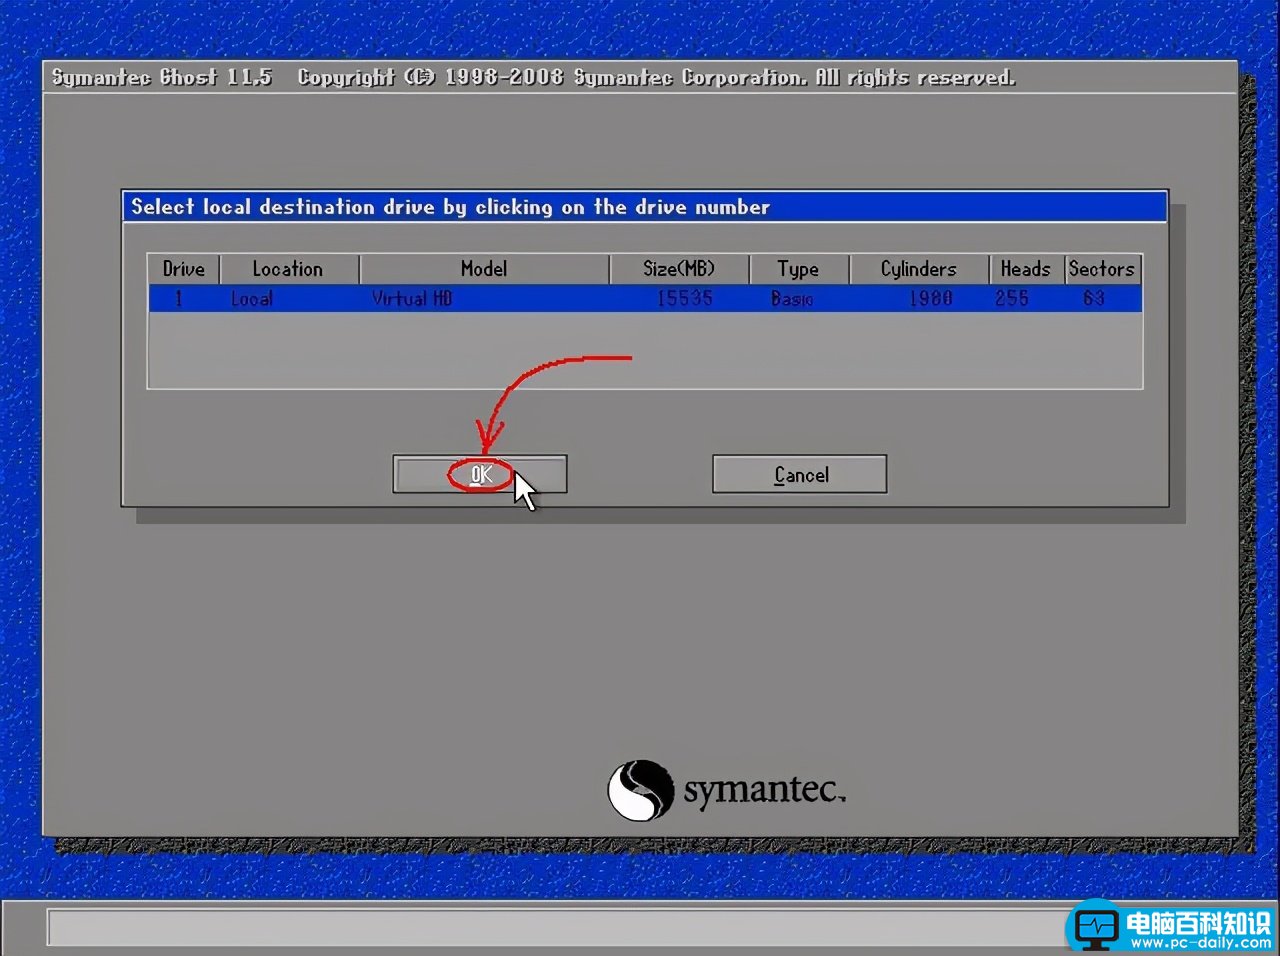
6、 然后,我们选择要恢复的硬盘,如果只有一个硬盘,那直接“OK”,多硬盘的朋友则要选对磁盘,一般启动系统的硬盘为1号,光盘启动要看主从关系
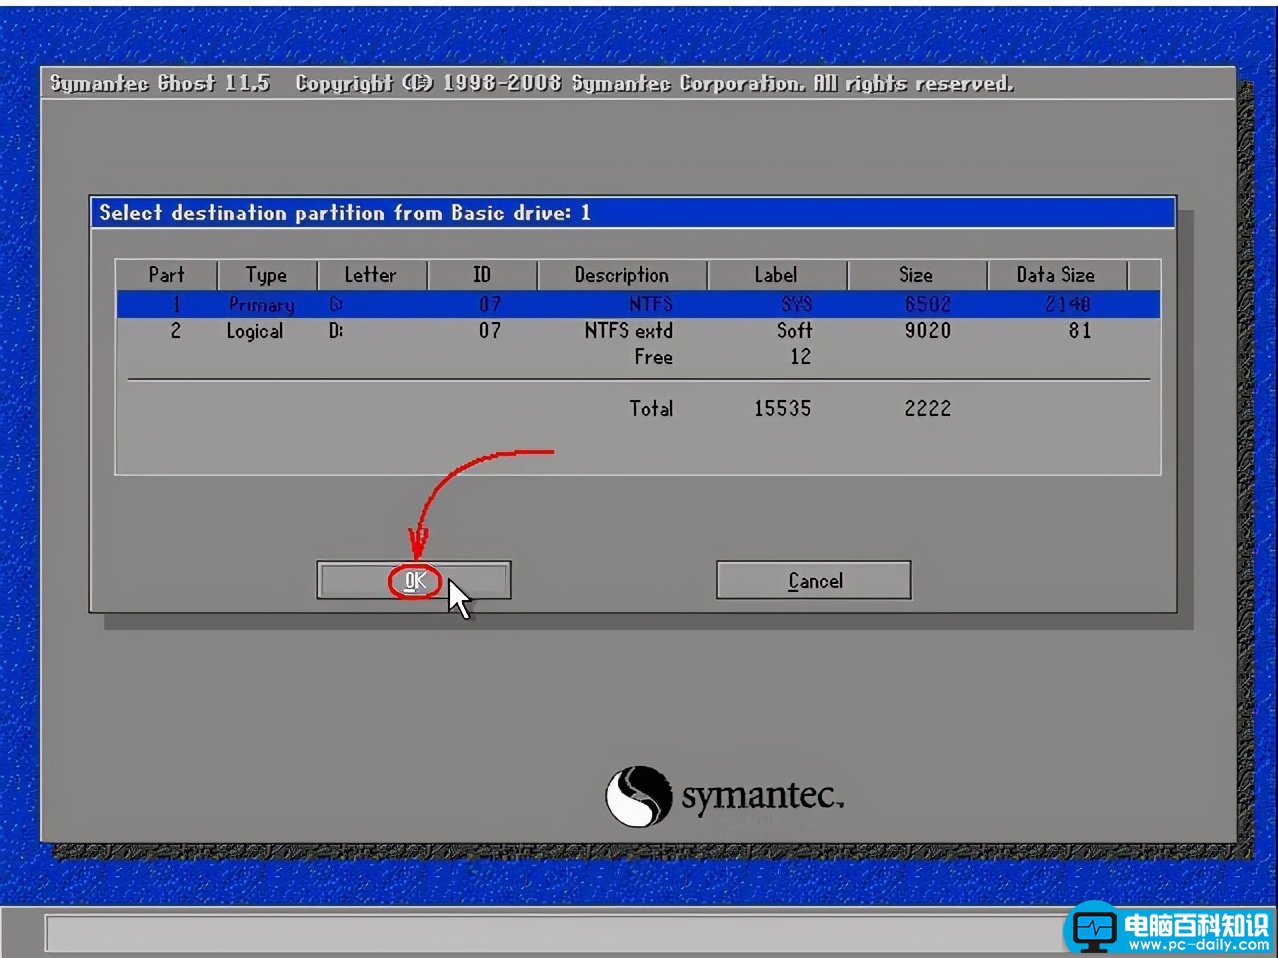
7、 接着,选择要恢复的分区,通常系统分区就是1区,也就是C盘,操作需要谨慎,不要选择错,否则有用的数据会被覆盖掉
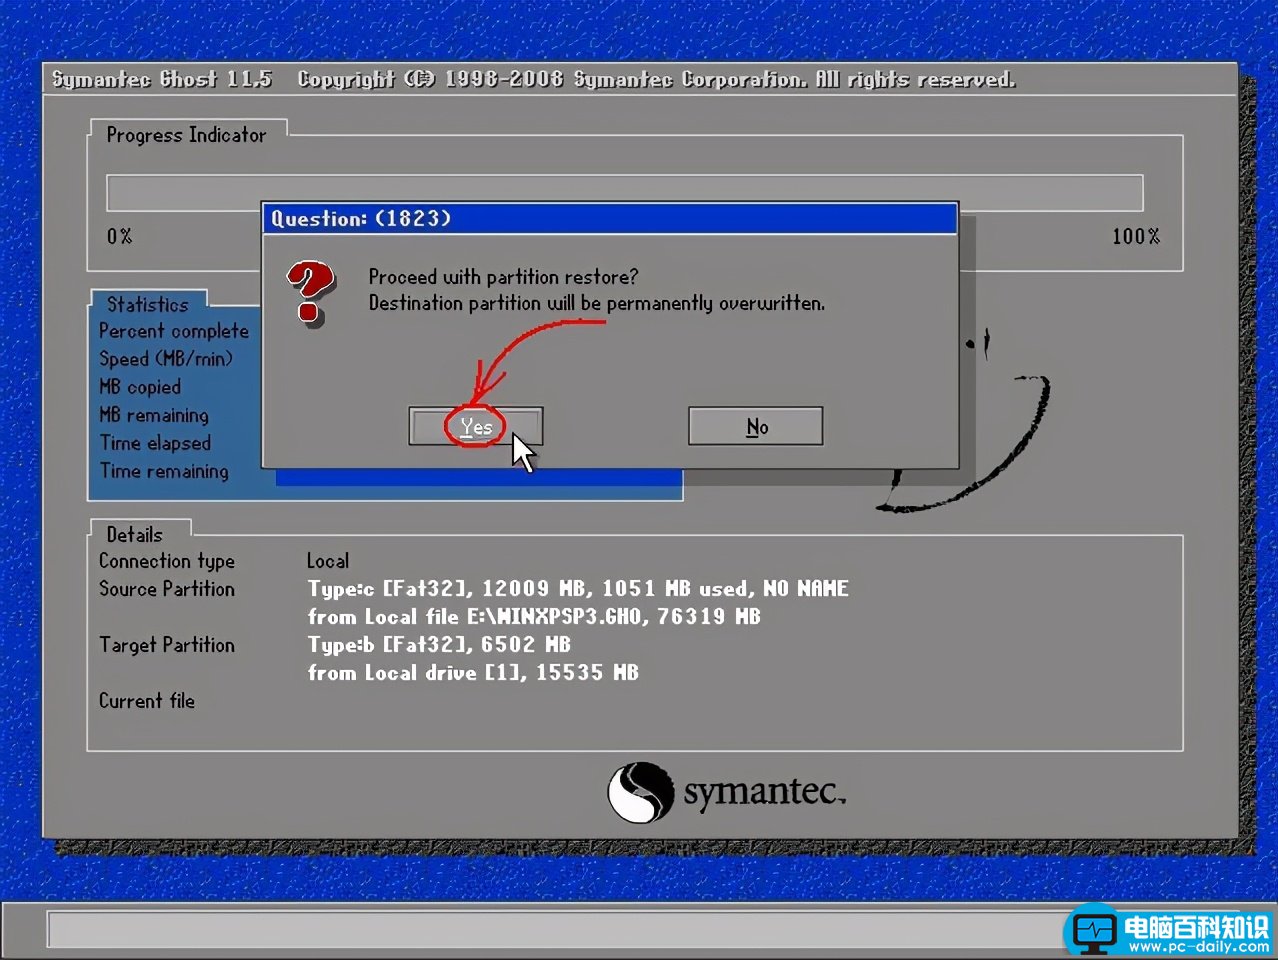
8、 弹出确认覆盖所恢复的分区数据窗口时,如果发现自己操作有误,单击“No”取消,重新设置,确认无误点击“Yes”即可
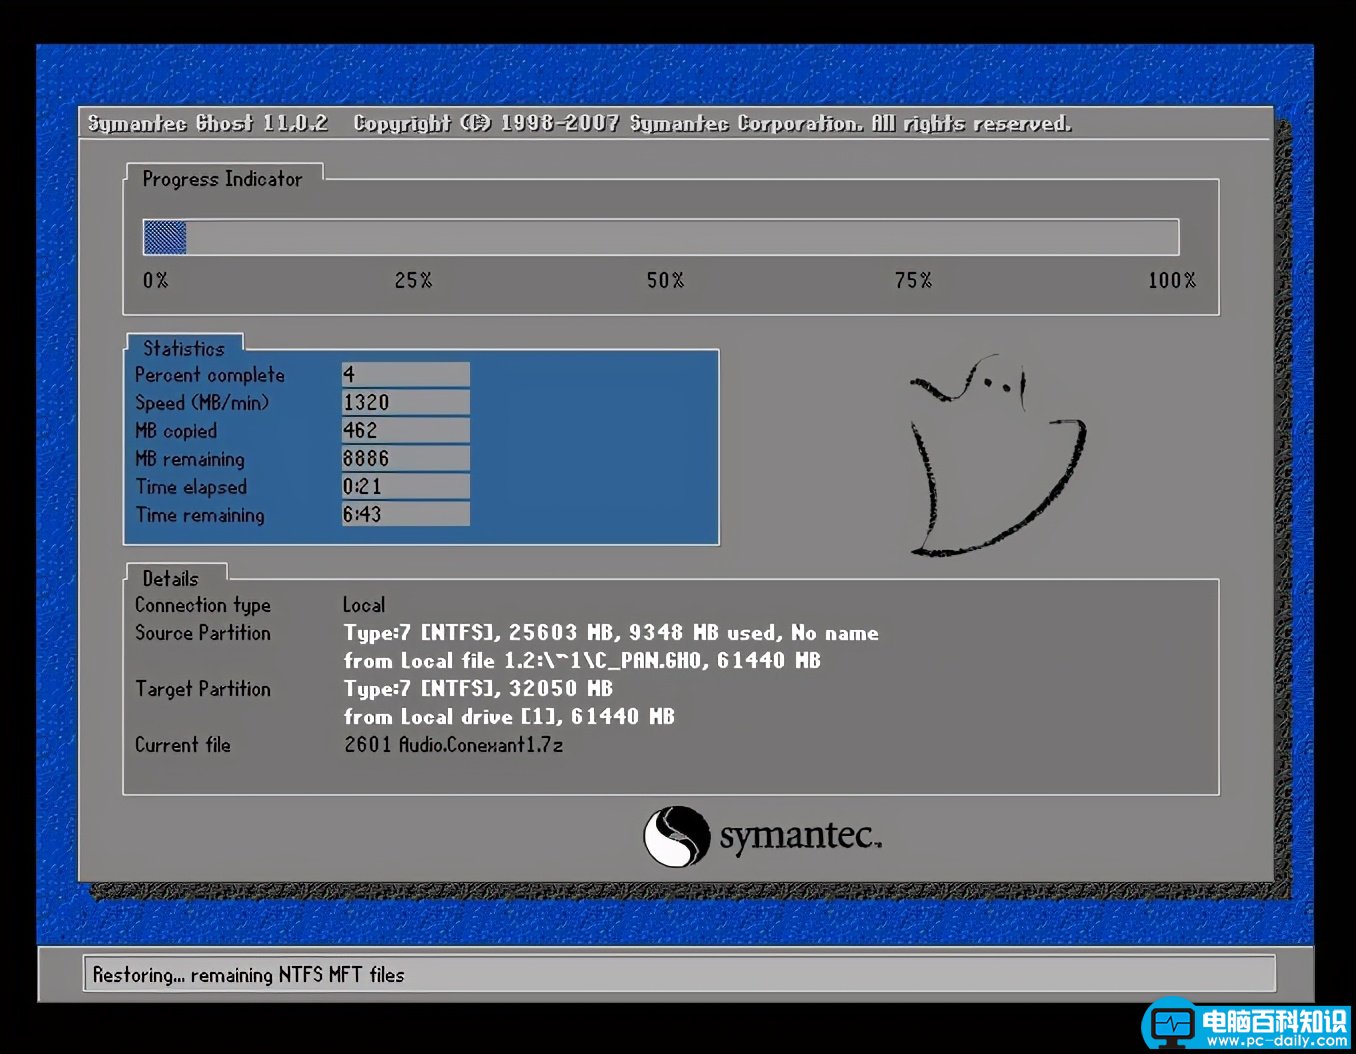
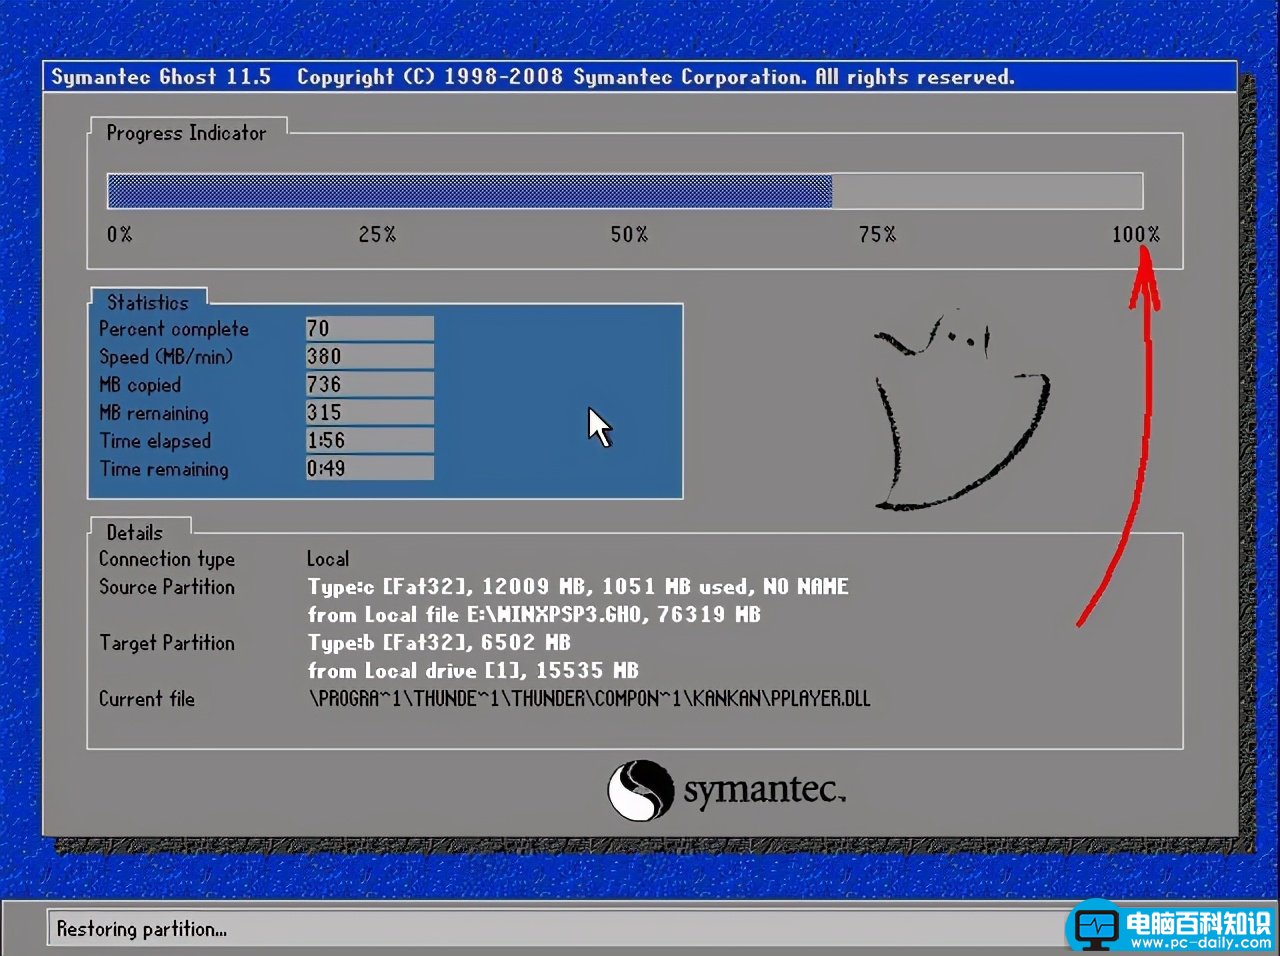
9、 然后,电脑就会进行还原恢复Windows系统,请耐心等待
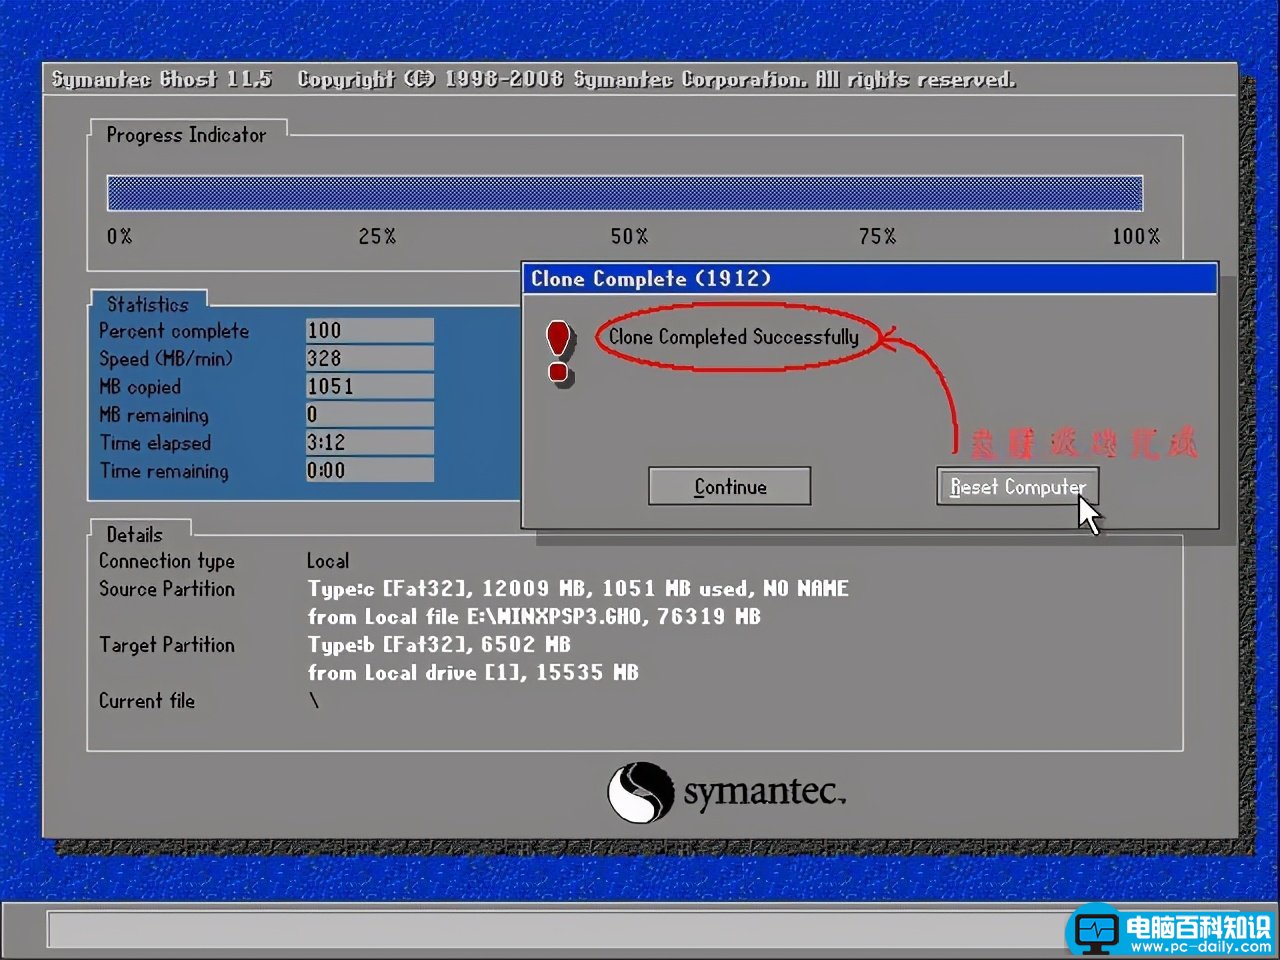
10、 弹出成功完成对话框时,表示电脑Windows系统已经恢复如初了,你可以选择“Reset Computer”重新启动电脑,或者单击“Continue”回到Ghost的初始界面
以上就是ghost 教程Windows图文详解,主要讲述了ghost 教程备份 还原系统图解。如果你也需要使用ghost 进行Windows系统还原或者备份,那么你可以参考以上的步骤进行操作,希望可以帮助到有需要的朋友!