最近许多网友询问小编关于win7系统l2tp设置的一些方法技巧,小编汇总了一些经验,今天就来讲一讲l2tp设置方法。
设置方法
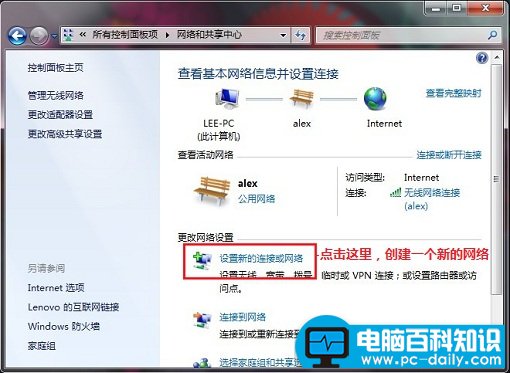
第一步:打开控制面板-网络和共享中心(如图)

第二步:点击-设置新的连接或网络(如图)
第三步:选择-连接到工作区-下一步(如图)

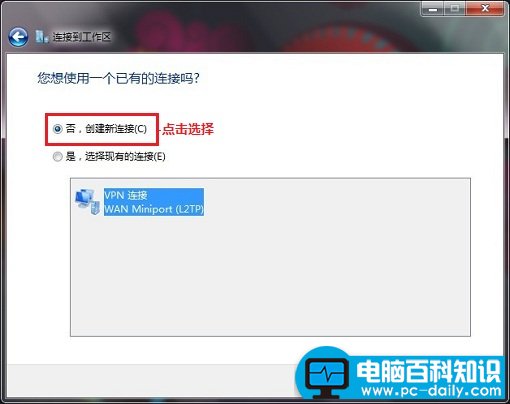
第四步:选择”否,创建新连接“(如图)
第五步:选择-使用我的Internet连接(如图)

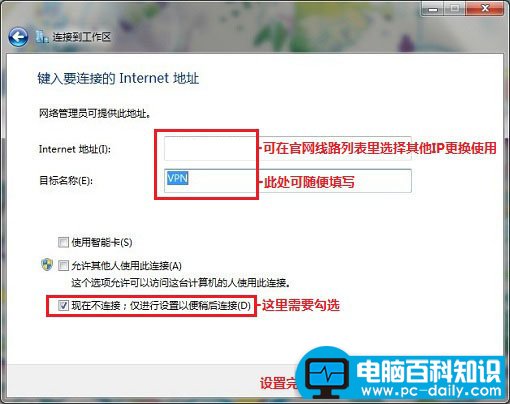
第六步:Internet地址栏填写(在官网的线路列表里选择其他国家IP线路使用)目标名称填写(可以随便填写),
勾选-现在不连接,仅进行设置以便稍后连接,点击下一步(如图)
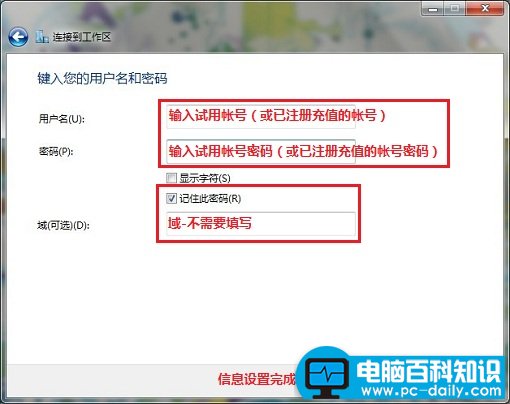
第七步:填写你在网站上注册的用户名和密码,点击创建,然后点关闭(如图)
第八步:任务栏右侧系统托盘的Intenet,选择已经设置好的连接,点击右键,选择属性(如图)

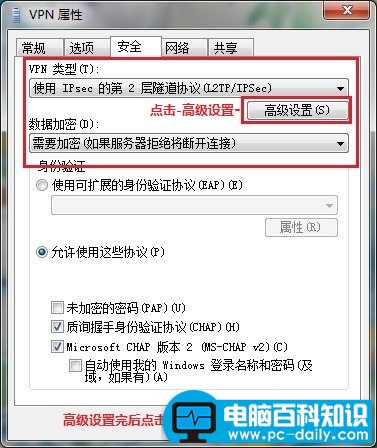
第九步:在安全选项卡中,类型选择L2TP/IPSec,然后点击高级设置(如图)
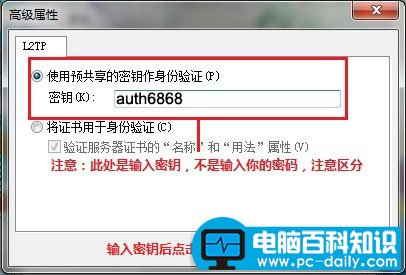
第十步:选择-使用预共享的密钥作为身份验证,密钥输入888888 ,否则连接不上,点确定(如图)
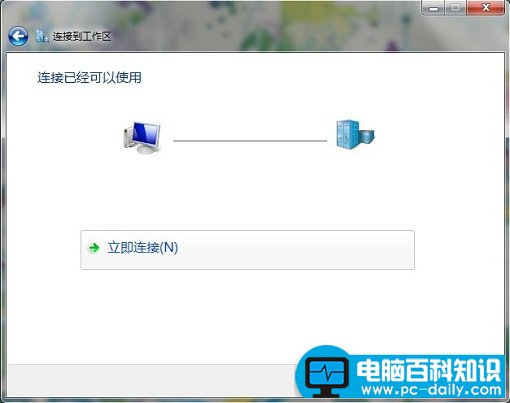
第十一步:任务栏右侧系统托盘的Intenet,选择已经设置好的-点击连接(如图)
