今天德哥为大家推荐一篇即使是菜鸟小白,从来没有重装过系统的朋友,只需安装操作步骤一步一步来,都可以成功的保姆式教程,希望是你需要的,现在我们先来了解了解系统重装的一些常识和注意事项!!!
一、为什么要制作U盘启动盘?
制作U盘启动盘不仅可以帮你重装系统,而且也可以通过其内部紧急系统修复电脑里的各种问题,比如备份数据,删除顽固病毒,修复磁盘引导分区,给硬盘分区,数据备份,安装电脑系统等等。
二、准备工具
1、准备一个容量至少位8G的空U盘或移动硬盘(内存卡+读卡器也可以)一个(如果是有数据的U盘,请先备份好之后再格式化);
2、U盘启动盘制作软件(你也可以在网上下载别的软件来制作,比如本文选择的微软PE工具箱);
3、待安装的笔记本或者台式机一台。
三、安装须知
1、此系统集合教育版、企业版和专业版(既三合一原装系统)
2、安装系统前确保桌面、C盘重要文件已经备份,否则会被清除。
四、系统下载
至于安装包,推荐大家关注公众号:菜鸟软件网,在后台回复【系统】即可获取!!!,本文以Windows10系统为例,其它系统通过公众号回复【系统】即可获取!
五、安装教程
一、U盘启动盘制作
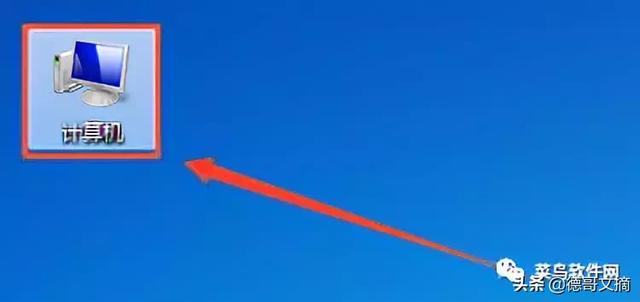
1、将U盘插进电脑USB端口,如图所示
 电脑
电脑2、在桌面找到并双击打开【此电脑或计算机】
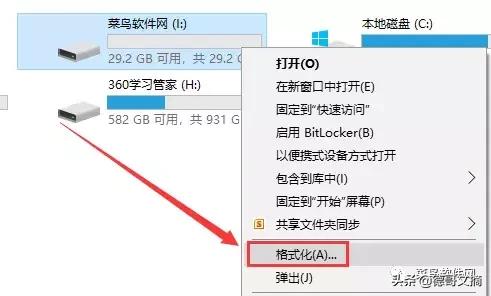
3、找到刚才插入的U盘盘符,比如我的U盘是【菜鸟软件网】并以此为例书写教程

4、鼠标右键点击【菜鸟软件网】盘符,弹出框选择【格式化】
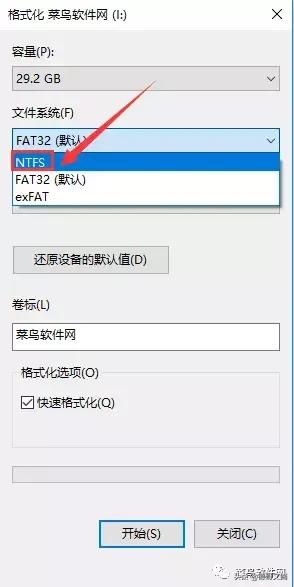
5、点击【文件系统】通过下拉框选择【NTFS】
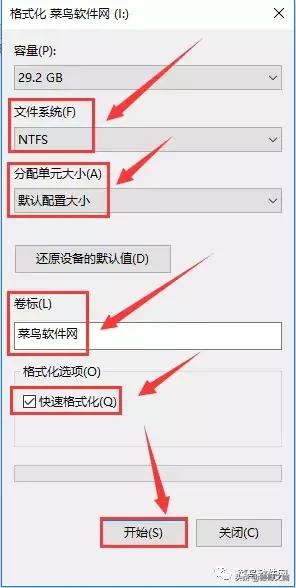
6、选择【NTFS】后,【分配单元大小】选择【默认配置大小】,卷标显示【菜鸟软件网】,没问题后点电脑击【开始】
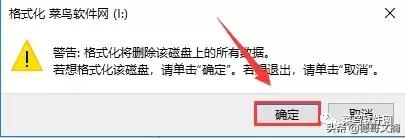
7、弹出【格式化】警告框,直接点击【确定】(确保U盘数据已经备份,否则会丢失)
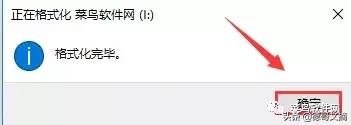
8、格式化完毕,点击【确定】
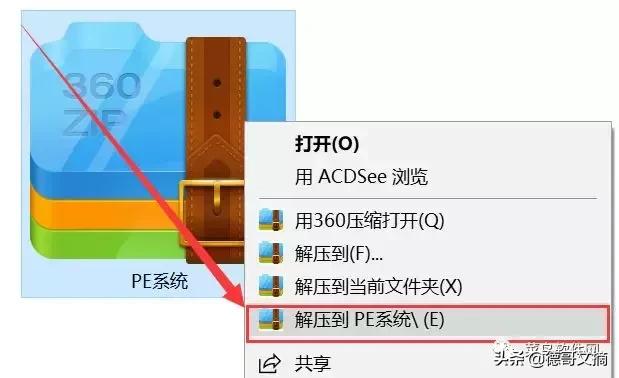
9、右键点击安装包【PE系统】,选择【解压到PE系统\E】
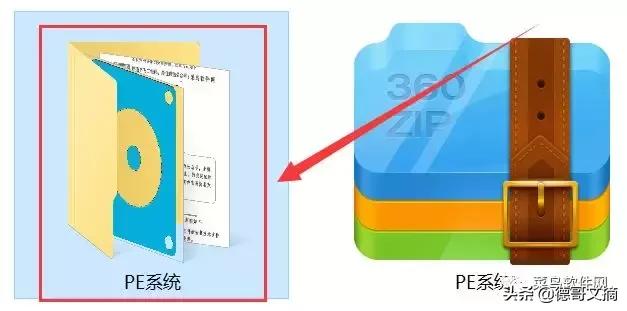
10、解压完成后,双击打开文件夹【PE系统】文件夹
11、找到【PE系统】程序并右键点击,弹出框选择【以管理员身份运行】
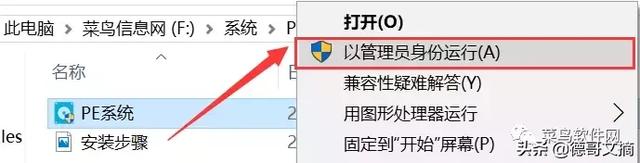
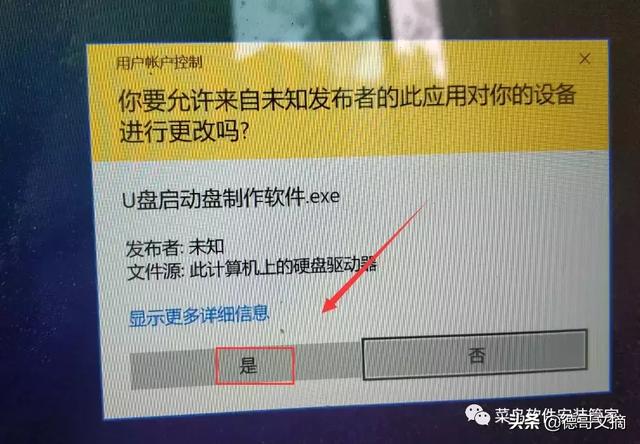
12、出现如图所示,直接点击【是】
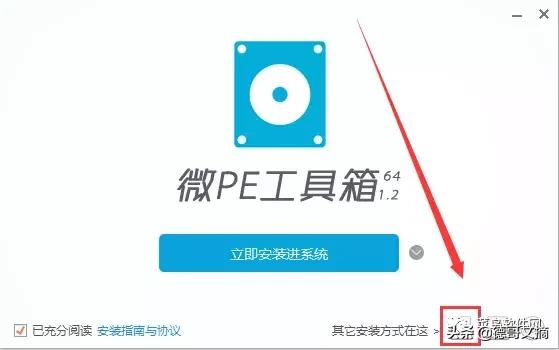
13、点击【图中U盘处】
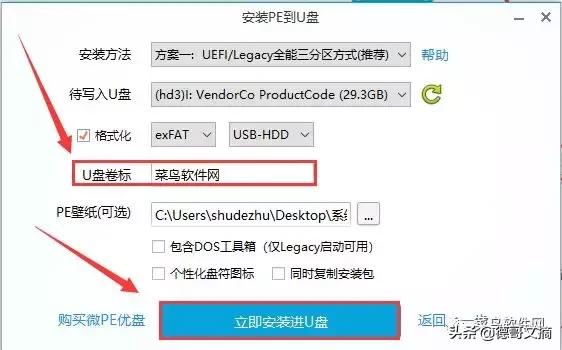
14、参数设置如图所示,U标处显示自己的U盘盘符,点击图中【...】可以设置启动盘在安装系统时的界面哦,当然也可以不用管,完成后,点击【立即安装进U盘】
15、点击【开始制作】

16、安装中,请稍等
17、直接点击【完成安装】
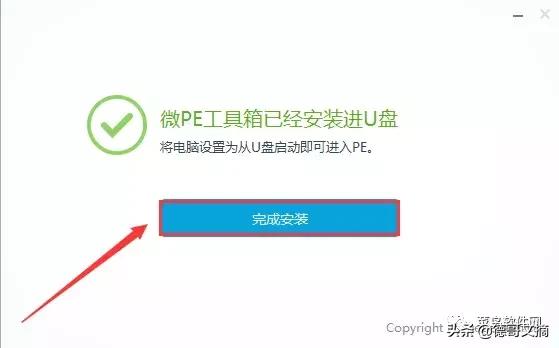
18、此时打开启动盘【菜鸟软件网】,如图就已经制作好启动盘(此时U盘分为两个区,大的为存储区,小的为引导区(如果是移动硬盘只有一个,属于正常现象)

19、此时打开U盘容量大的【菜鸟软件网】

20、进入微信公众号【菜鸟软件网】-【软件目录】找到Win10系统进行下载

温馨提示:本平台提供的所有链接为百度网盘链接,通过该链接可以获取相应的安装包资源!(安装包如何获取请点击查看)

21、将下载的系统文件拖到刚才制作好的启动盘里,此时U盘启动盘已经顺利制作完成(如图)
二、系统重装教程
22、将启动盘插入电脑USB端口
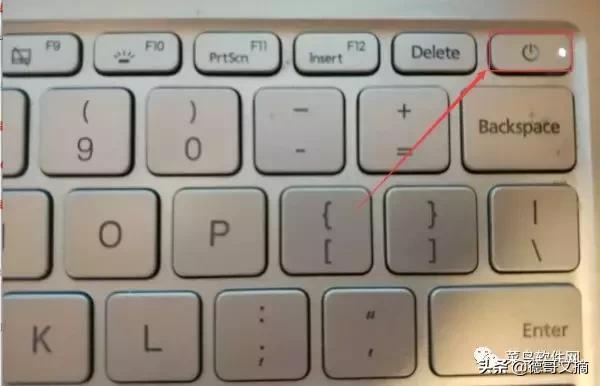
23、按下电脑【电源键】开始重装系统
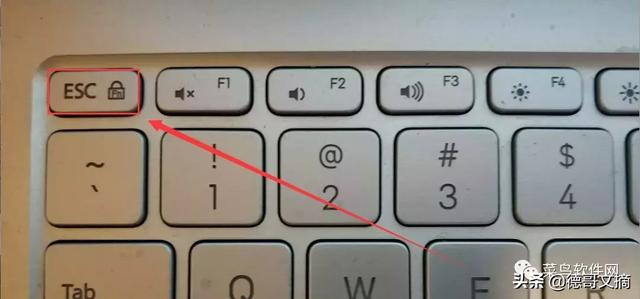
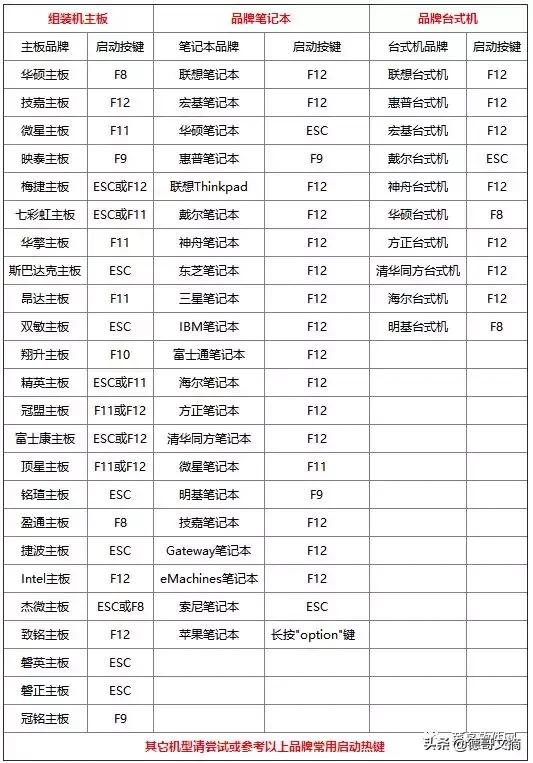
24、电脑开机画面出现后,立马按下【快捷键】选择U盘启动进行安装(本教程以华硕笔记本为例进行编写,通过下表查得快捷键为【ESC】,所以开机画面出现后不停按ESC)
常见电脑U盘启动快捷键一览:
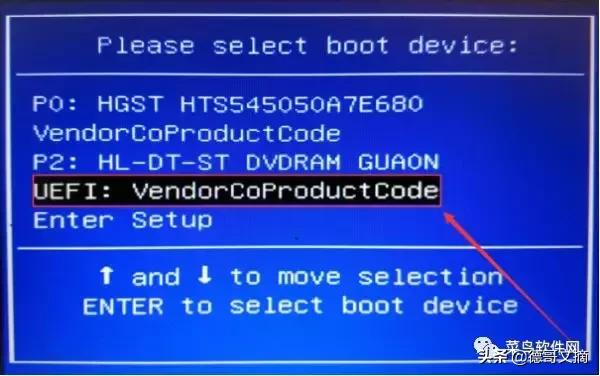
24、直至出现以下界面,通过上下键选择【选项有显示USB或你的U盘品牌英文名称】,
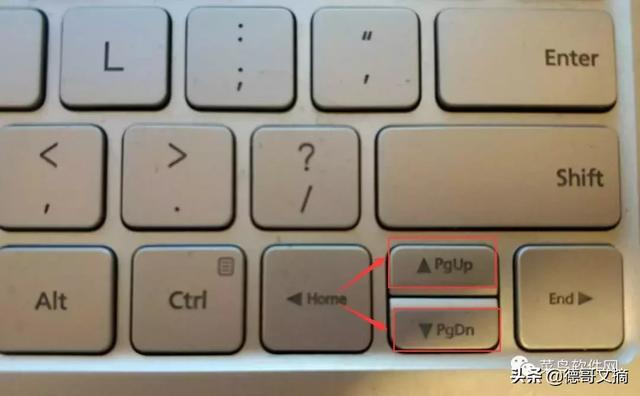
我这里选择【UFFI:VendorCoproduct Code】,然后点击回车键【Enter】
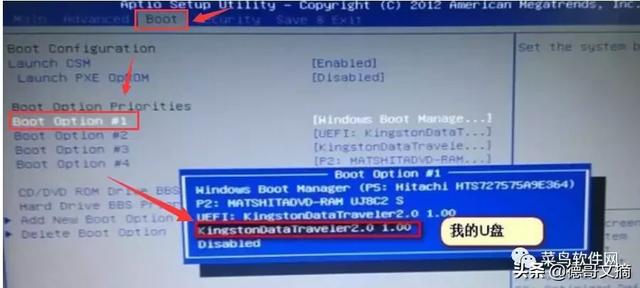
温馨提示:若按下快捷键没有显示上图界面,说明电脑Bios没有将U盘设为第一启动项,由于不同电脑进入Bios设置U盘启动各有差异(建议用户根据自己的电脑品牌自行搜索设置方法)。以下仅供参考开机出现【Press“ F2” to enter SETUP】 时,按【F2】键(具体以自己的电脑开机显示为准)。按键盘上的方向键切换到【Boot】项,点击【Boot Option #1】按回车键【Enter】,在弹出的【Boot Option #1】小窗口中选择u盘启动选项回车【Enter】确认,如下图所示:
25、按下回车键【Enter】后,出现以下界面,请稍等
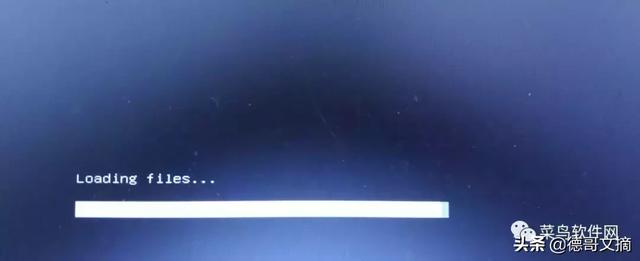
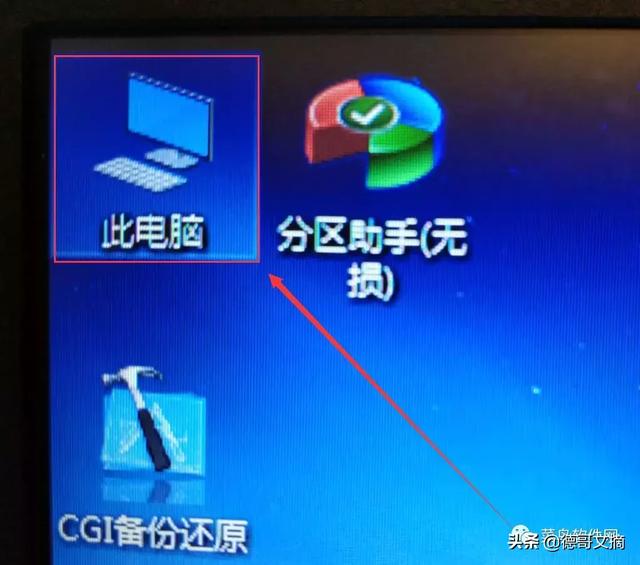
26、进入PE系统,双击【此电脑】打开磁盘
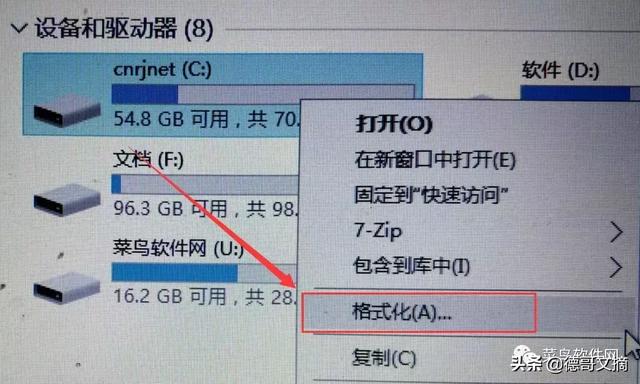
27、右键点击【C盘】弹出框选择【格式化】
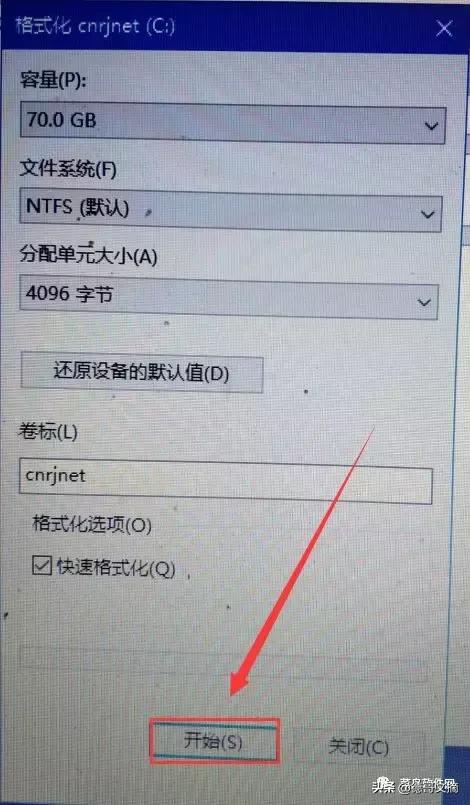
28、点击【开始】
29、点击【确定】
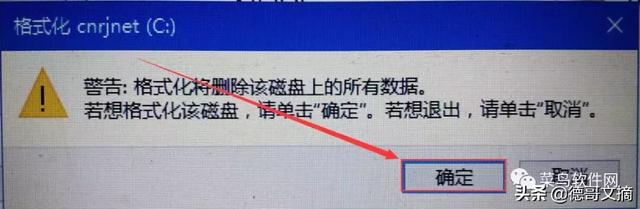
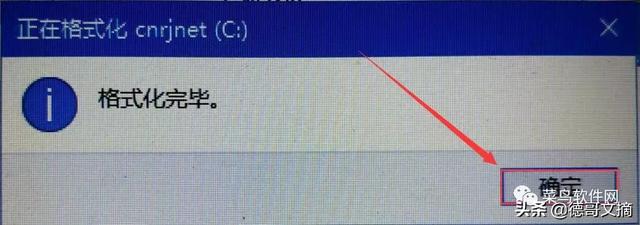
30、点击【确定】格式化完成,然后关闭格式化窗口
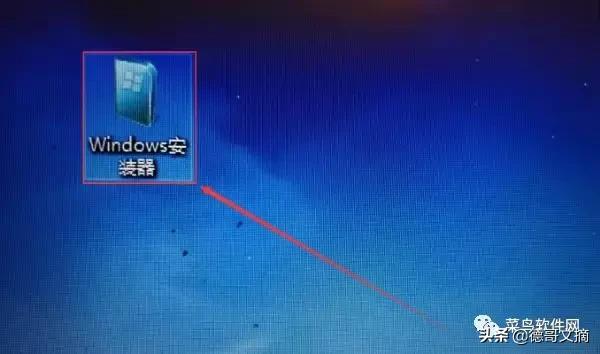
31、双击【Windows安装器】
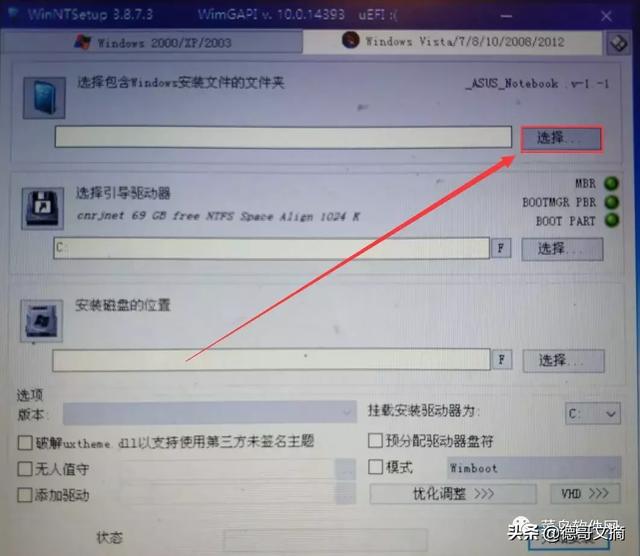
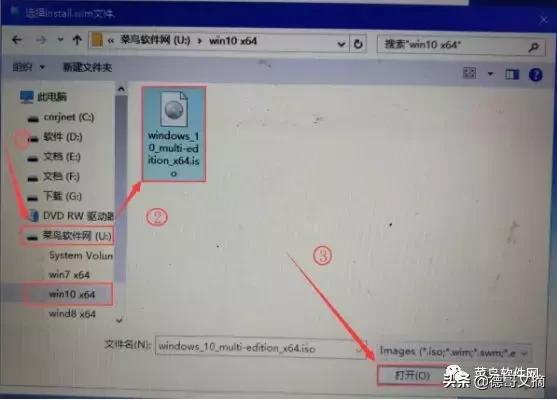
32、点击【选择】选择【操作系统】文件
33、点击U盘启动盘符,选择【Win10】系统镜像,然后点击【打开】
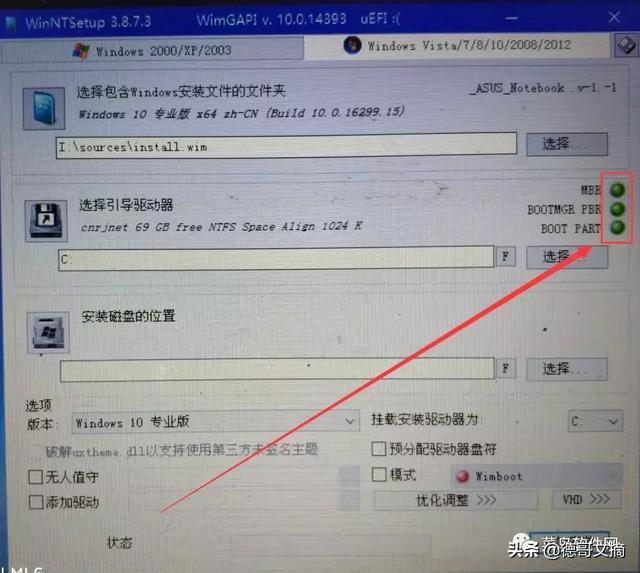
34、点击【选择】选择引导驱动器
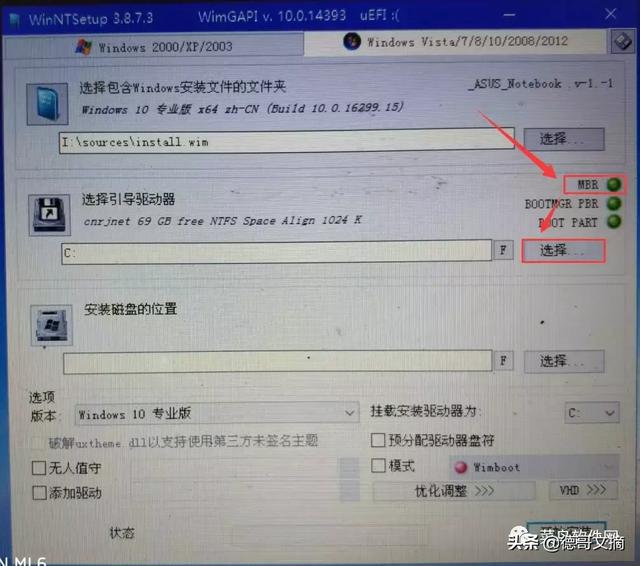
35、选择【C盘】,然后点击【选择文件夹】

当图中的三个灯不出现红灯(绿灯和黄灯均为正常)说明驱动器磁盘选择正确;若亮红灯说明选择引导驱动器磁盘选择错误。请重新选择引导驱动器磁盘,直到选择磁盘后不出现红灯
36、点击【选择】选择系统安装位置
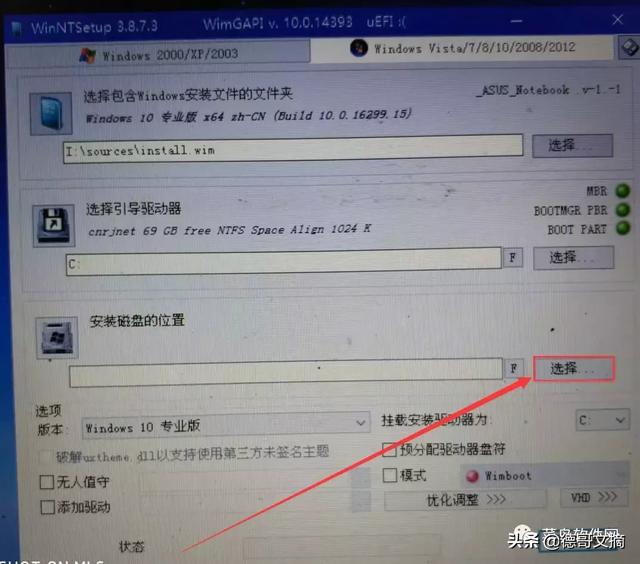
37、选择【C盘】,然后点击【选择文件夹】
电脑38、点击【下拉符合】选择需要安装的系统版本,我选择【Windows 10教育版】,然后点击【开始安装】
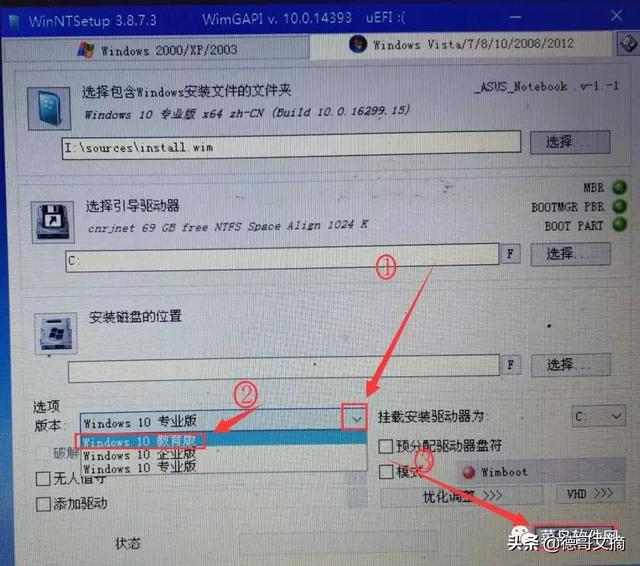
Windows 10各版本介绍:
1)Win10专业版也是面向个人电脑用户,相比家庭版要稍微好些,并且Win10专业版还面向大屏平板电脑,笔记本、PC平板二合一变形本等桌面设备。
2)Win10企业版,主要是在专业版基础上,增加了专门给大中型企业的需求开发的高级功能,适合企业用户推荐。
3)Win10教育版,主要基于企业版进行开发,专门为了符合学校教职工、管理人员、老师和学生的需求。
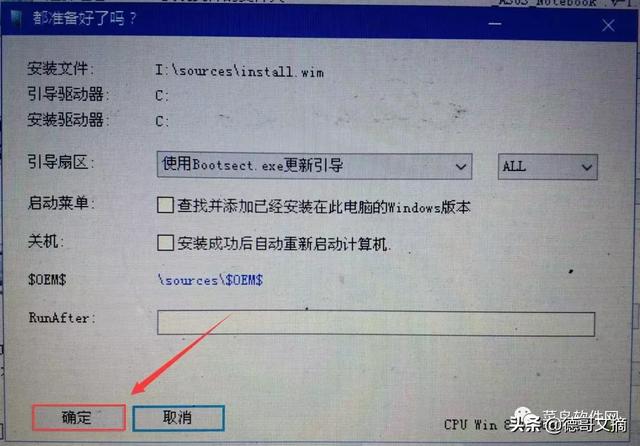
39、点击【确定】
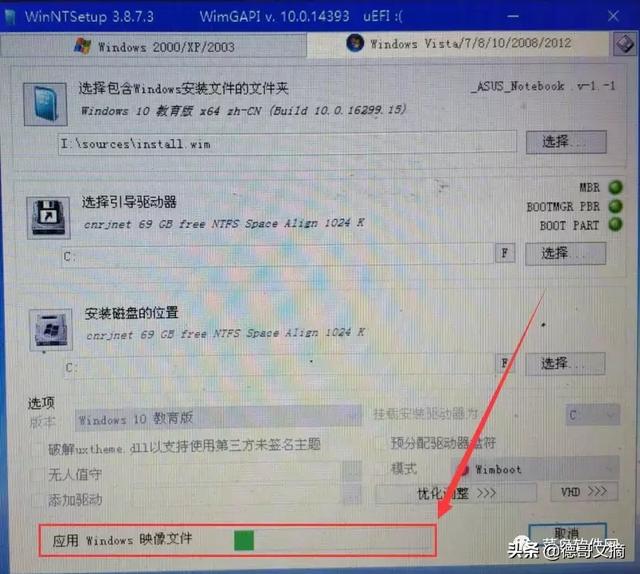
40、正在应用Windows映像文件,请稍等
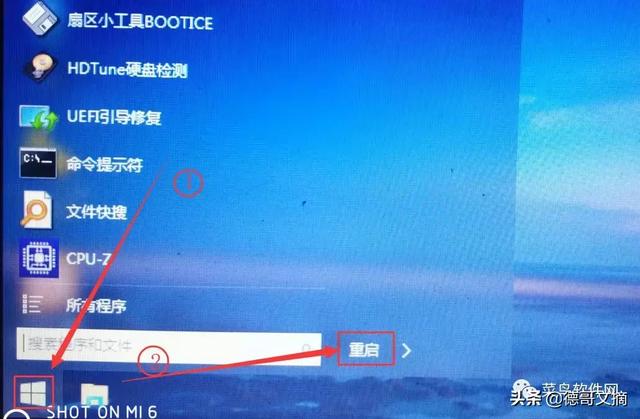
41、拔掉U盘,点击【重启】
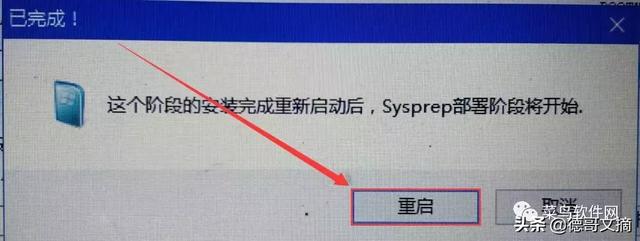
若重启未成功,则必须通过开始菜单完成重启
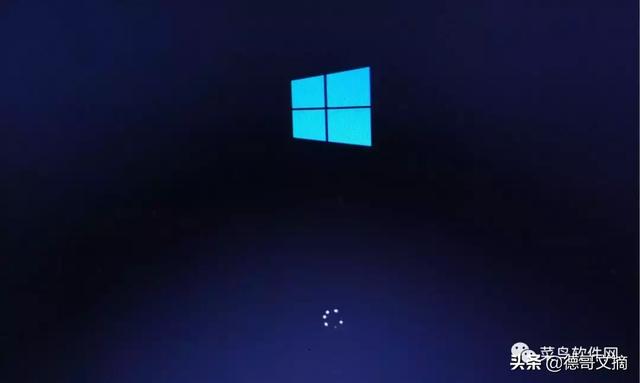
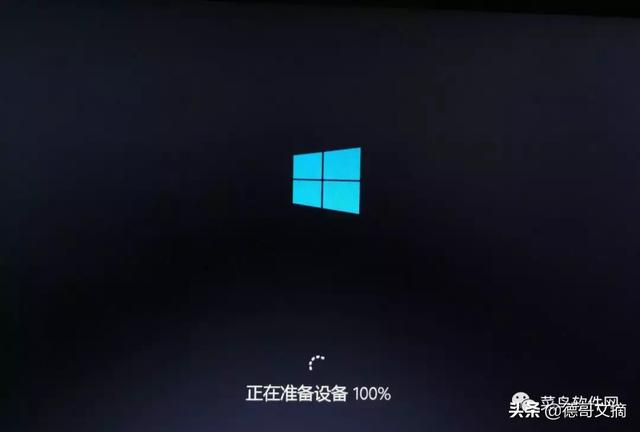
42、系统正在安装,请稍等(期间电脑会自动重启数次)
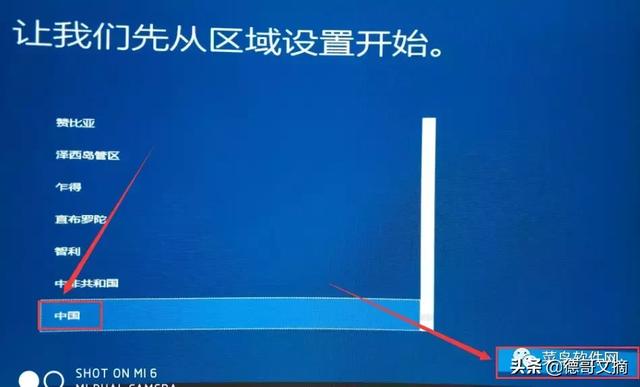
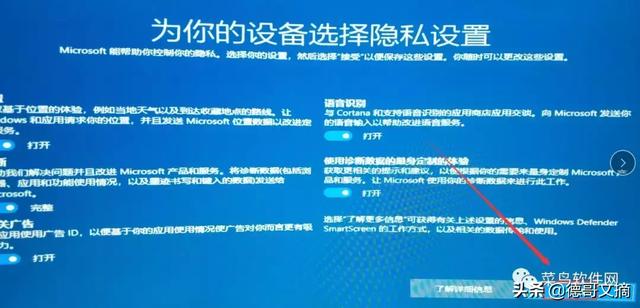
43、区域设置为【中国】,点击【是】
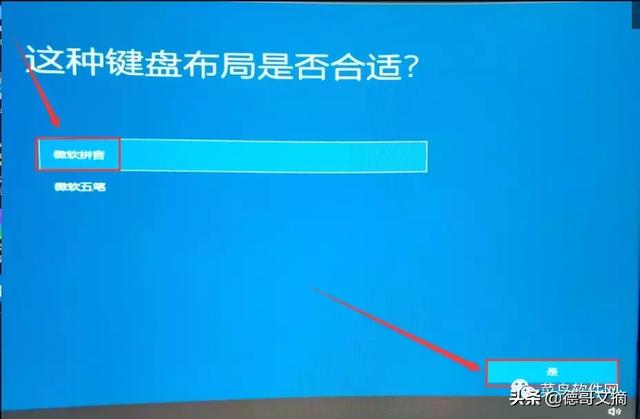
44、根据自己使用输入法的习惯选择,完成后点击【是】
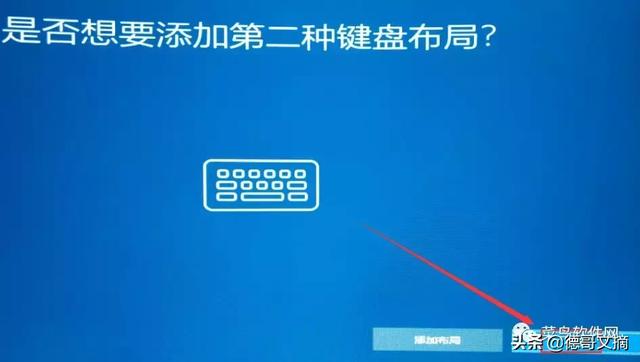
45、点击【跳过】
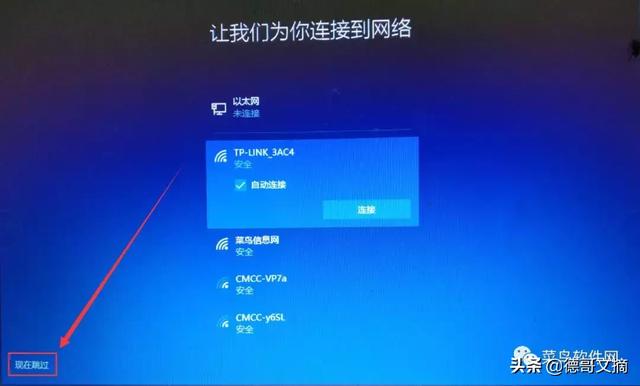
46、点击【现在跳过】
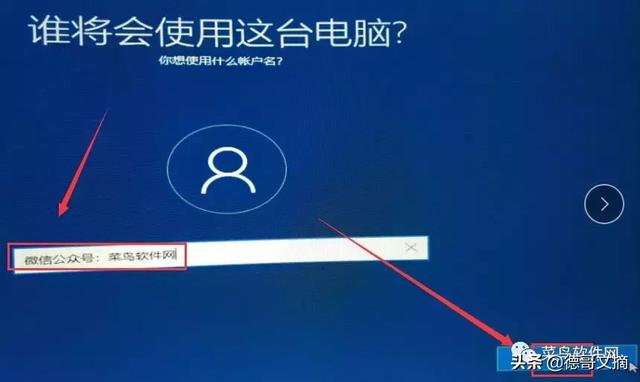
47、账户设置,根据自己意向填写帐户名,完成后点击【下一步】
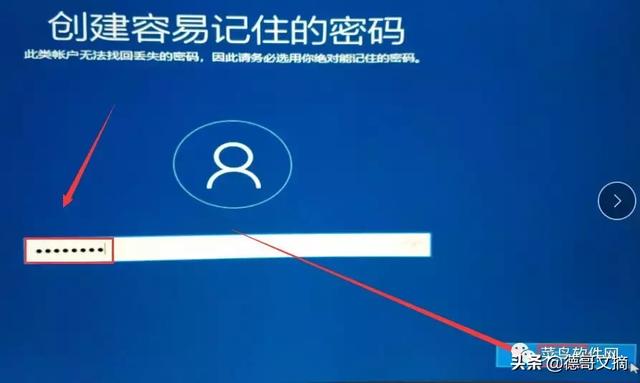
48、设置账户密码(必须记住,以后开机使用),点击【下一步】
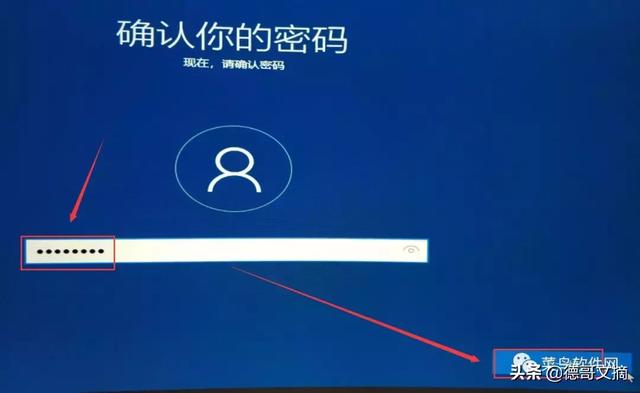
49、账户密码确定,输入刚才设置的密码,然后点击【下一步】
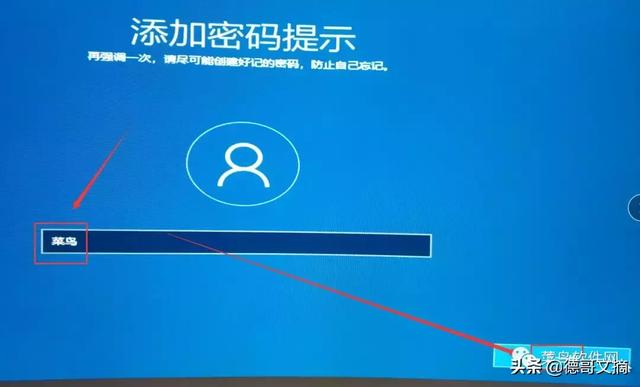
50、根据习惯,进行密码提示设置,然后点击【下一步】
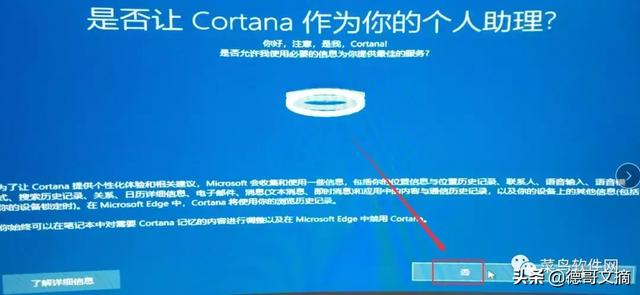
51、点击【否】
52、点击【接受】
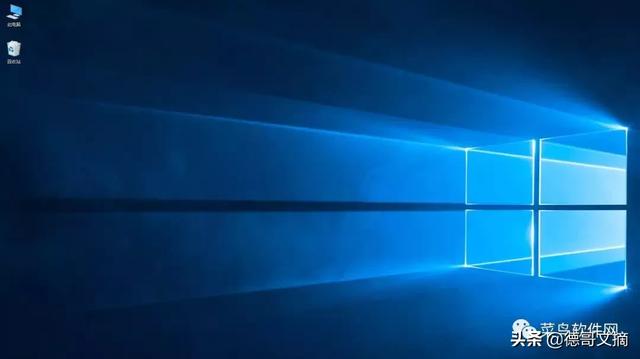
53、稍等几分钟,期间会重启几次,等待重启完成即可

54、系统安装成功,接下来进行系统激活授权操作
二、解压软件的安装
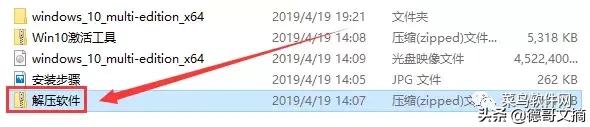
55、找到刚才使用的win10系统安装包,找到【解压软件】并双击打开(温馨提示:开始进行解压软件的安装,以便后面解压【win10激活工具】)
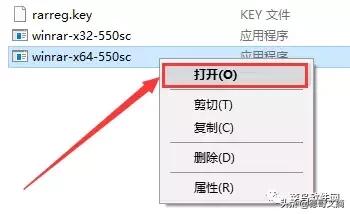
56、根据自己安装的系统位数,选择对应程序,同时右键点击该程序,并选择【打开】
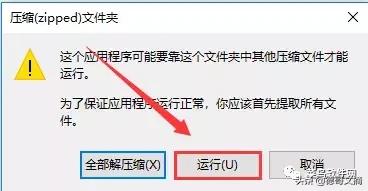
57、点击【运行】
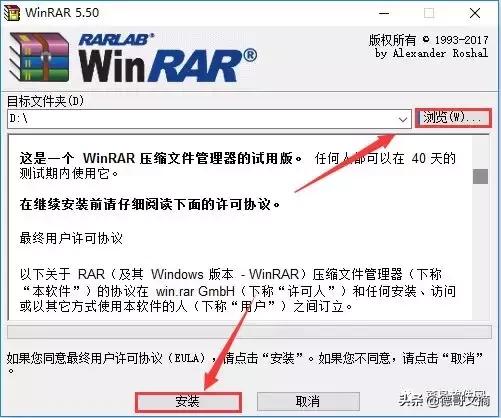
58、点击【浏览】修改安装路径,点击【安装】
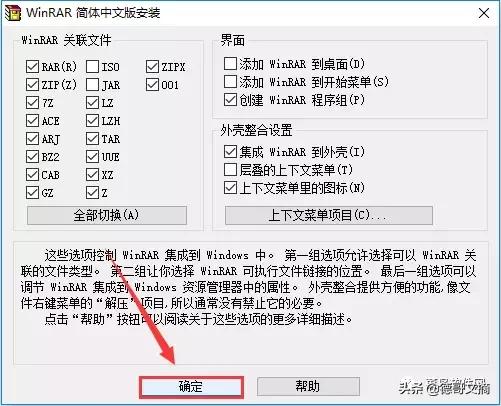
59、点击【确定】
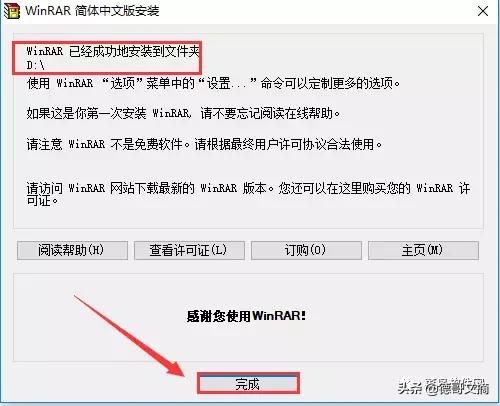
60、安装成功,点击【完成】
三、系统的激活
61、返回系统安装包,找到【win10激活工具】并右键点击,弹出框选择【解压到win10激活工具\E)
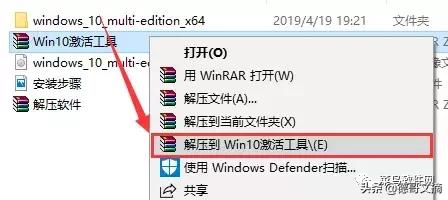
62、解压完成后,双击打开【win10激活工具】文件夹

63
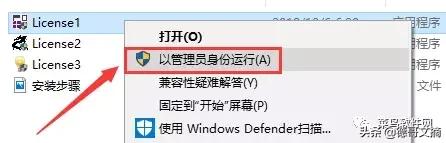
激活方式一:右键点击【License1]】选择【以管理员身份运行】
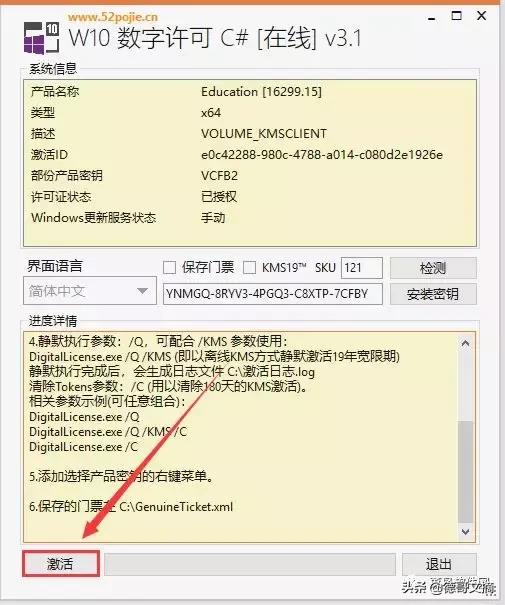
64、点击【激活】
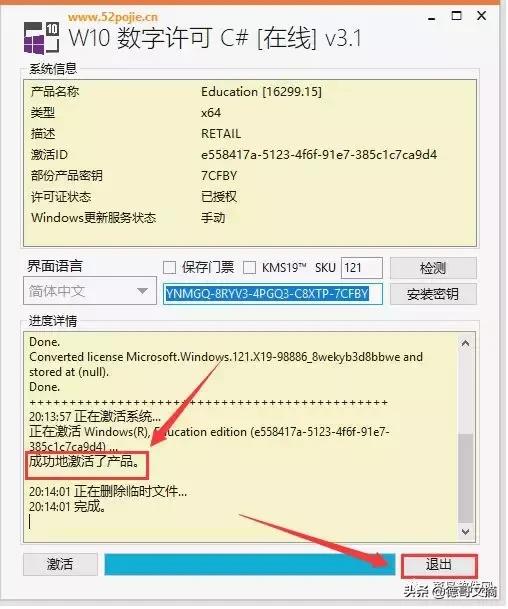
65、显示【成功地激活了产品】,点击【退出】(若未激活成功,不用担心,则采用激活方式二进行激活)
66、激活方式二:右键点击【License2]】选择【以管理员身份运行】

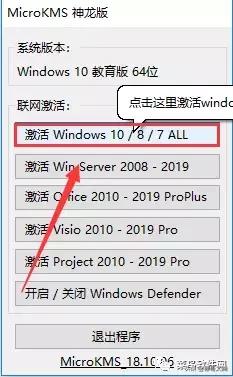
67、点击【激活windows10/8/7ALL),激活成功,点击【退出程序】(若激活失败,尝试方法三)
68、激活方式三:右键点击【License3]】选择【以管理员身份运行】
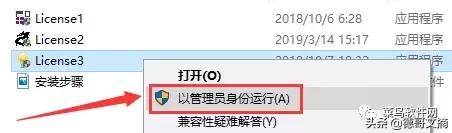
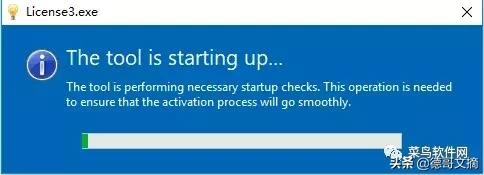
69、程序启动中......请稍等
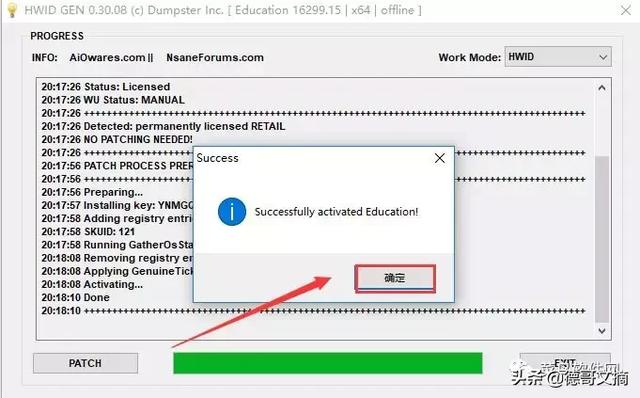
70、点击【PATCH】
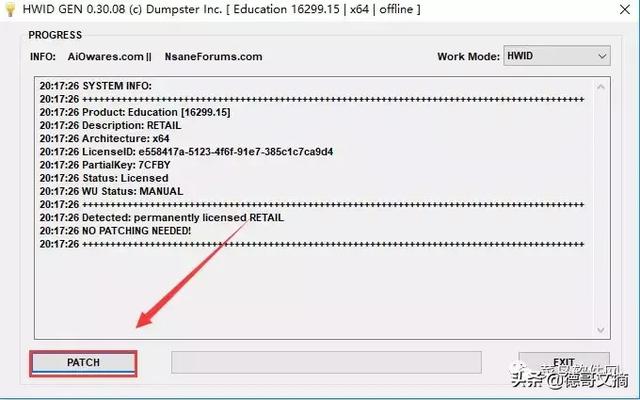
71、弹出激活成功框,点击【确定】
四、系统激活验证
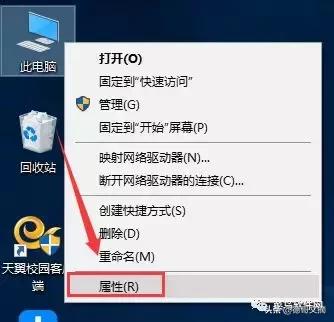
72、右键点击桌面【此电脑】选择【属性】
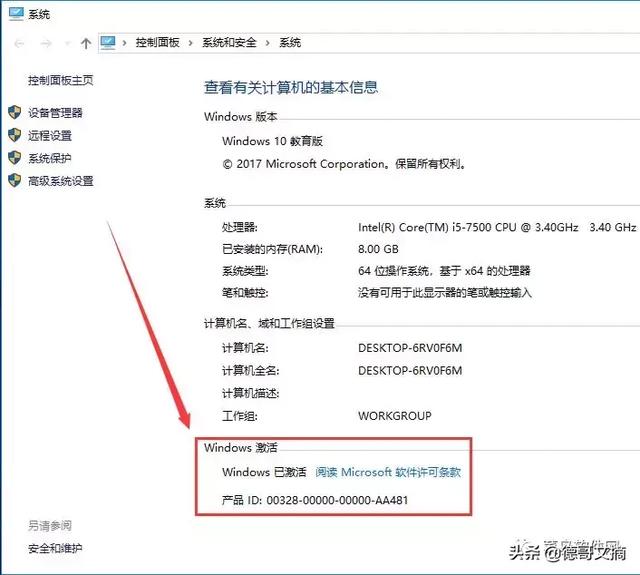
73、显示win10系统已经被激活,即可开始使用
这么详细的教程,不相信你不会!!!