win10系统自动更新怎么关闭不-(Win10系统自动更新怎么关闭)
来源:电脑知识学习网时间:2022-11-26 03:32:17
win10系统自动更新怎么关闭不
(Win10系统自动更新怎么关闭)
许多小伙伴都尝试关闭过Win10自动更新服务,但是奇怪的是,屡次修改却依然无效,系统还是不断的推出自动更新功能。对此小编就与大家分享一下有关Win10彻底永久关闭自动更新系统的方法。
工具/原料Windows10注册表1.6组策略,计划任务
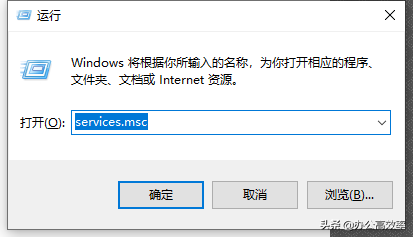
方法/步骤1第一步:关闭Windows Update服务。打开“运行”窗口,输入“services.msc"打开。
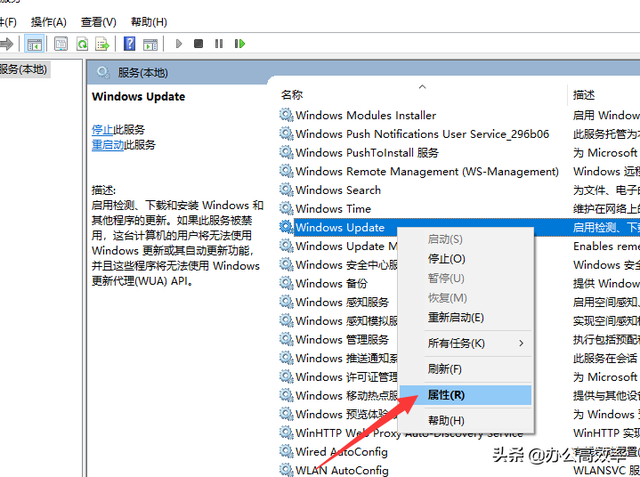
2在其”服务“界面中,找到”Windows Update"项双击打开。
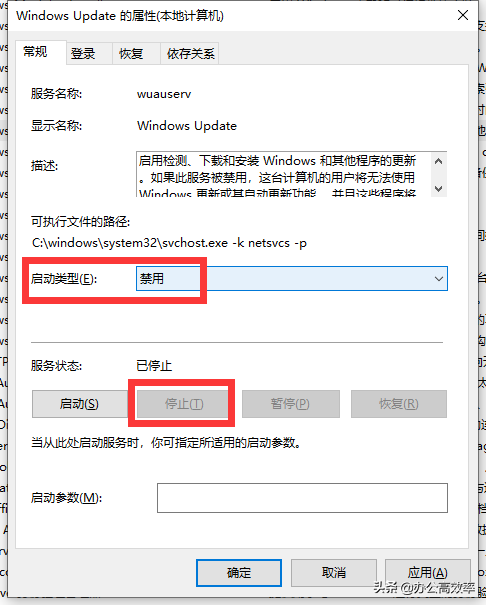
3接下来在其“属性”界面中,点击“停止”按钮后,再将“启动类型‘设置为”禁用“项。
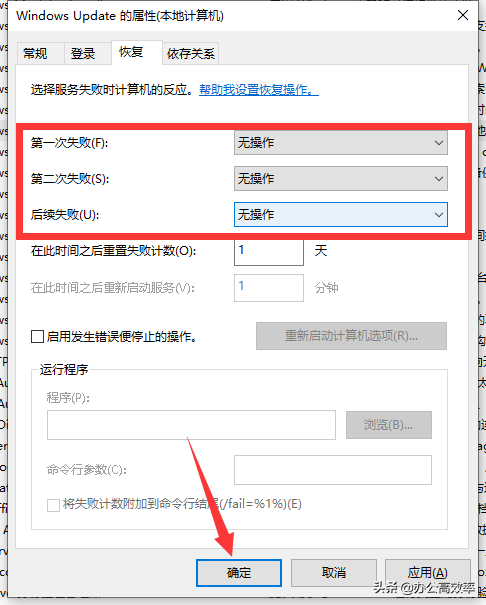
4然后再切换到“恢复”选项卡,将默认的“重新启动服务”改为“无操作”项,最后点击“应用”和“确定”按钮即可。
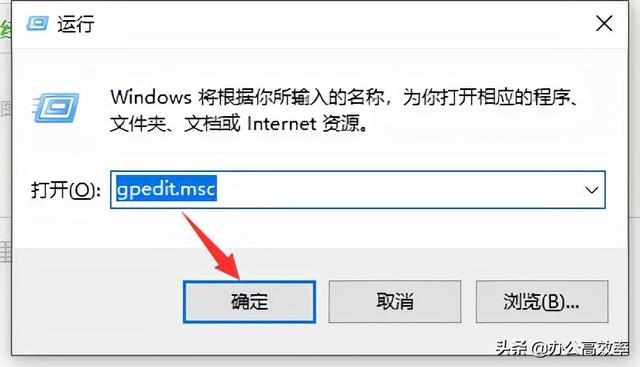
5第二步:在组策略中关闭Win10自动更新服务。打开”运行“窗口,输入’gpedit.msc"打开。
6待打开组策略编辑界面后,按图示进行操作依次展开 计算机配置 -> 管理模板 -> Windows组件 -> Windows更新项进行双击打开。
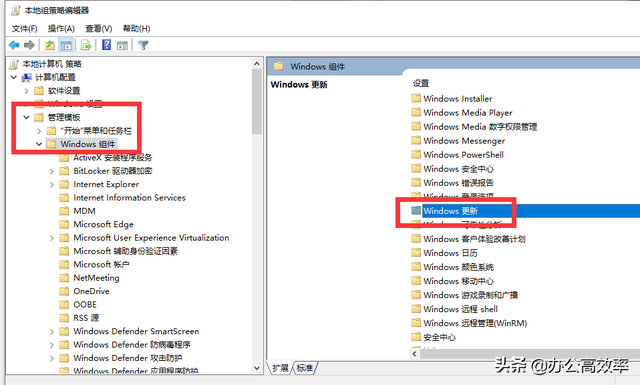
7接下来找到”配置自动更新 “项并双击进入,在其弹出的窗口中勾选”已禁用“项,点击”确定“按钮。
 电脑
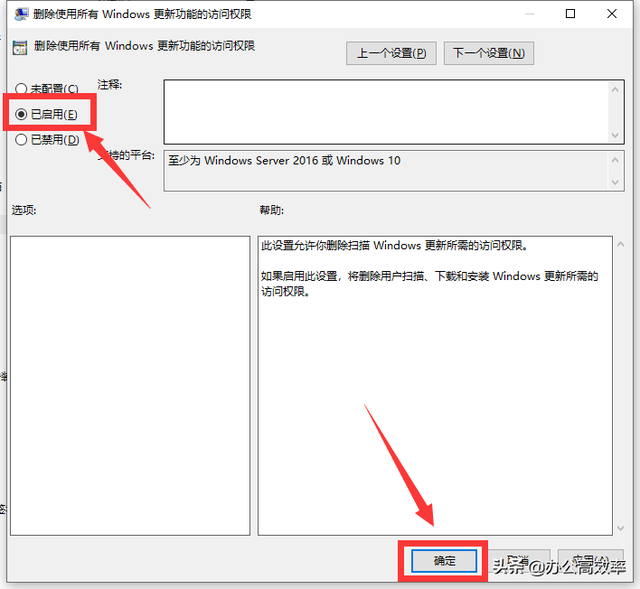
电脑8同时我们还需要在找到“删除使用所有Windows更新功能的访问权限”选项,在”属性“界面中,选择已启用项,最后点击”确定“按钮即可。
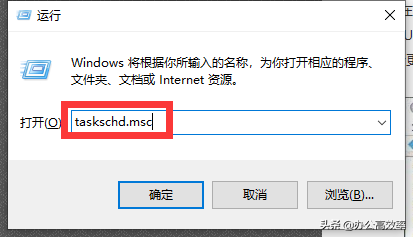
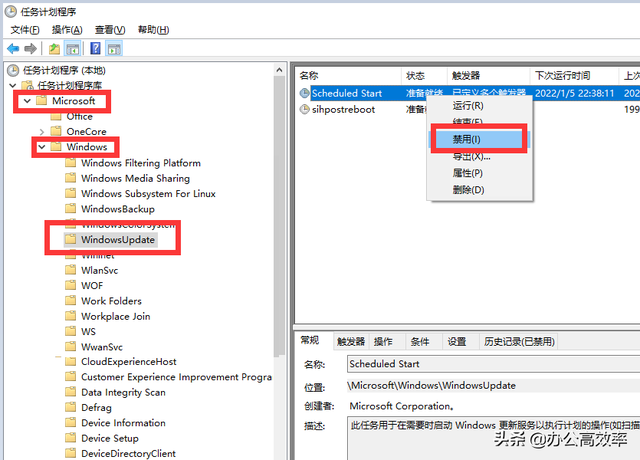
9第三步:禁用计划任务中的“自动更新系统”相关进程。在其“运行”窗口中输入“taskschd.msc”进入。
10在其“计划任务”界面后,扫图示操作,依次展开 【任务计划程序库 -> Microsoft -> Windows -> WindowsUpdate】,在此直接将其中的所有项目禁用即可。
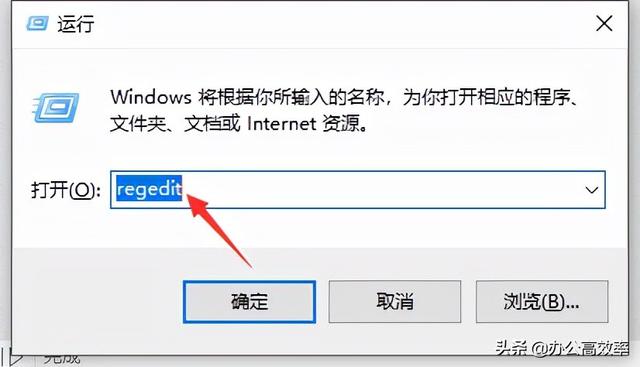
11第四步:在注册表中禁用Windows Update更新系统
电脑服务。在“运行”窗口中输入“regedit"打开并进入。
12从打开的注册表界面中,依次展开[HKEY_LOCAL_MACHINE\SYSTEM\CurrentControlSet\Services\UsoSvc],并在右侧找到“Start”键。
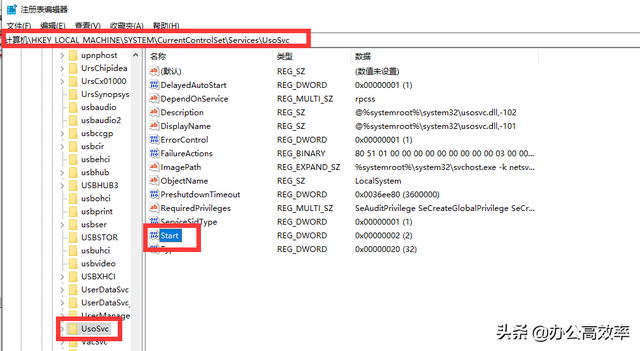
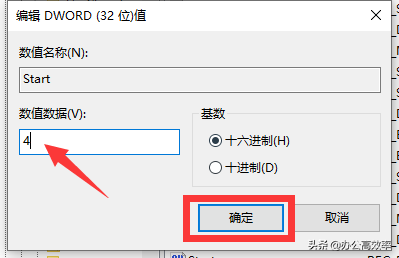
13双击”Start“键值打开,将其中的数值设置为”4“,点击”确定“按钮。
14接着我们在找到“FailureActions”键,双击打开,并将“0010”、“0018”行的左起第5个数值由原来的“01”改为“00”,最后点击“确定”即可。
电脑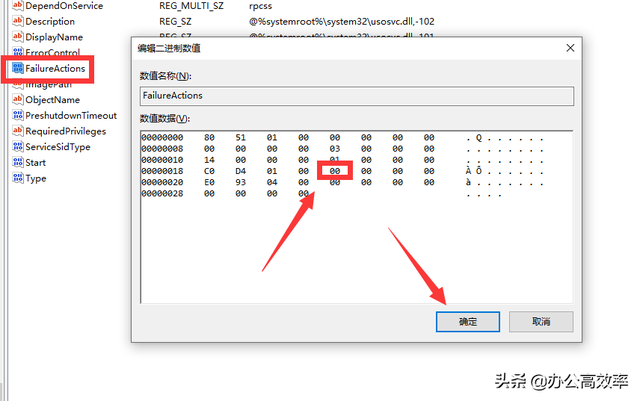
15至此,我们就实现了彻底永久关闭Windows10自动更新功能了。