按照以前的重装系统方式,我们使用它ISO镜像文件或Ghost通过U盘安装系统的工具。
整个过程大概是:制作启动盘-下载镜像文件-设置电脑从u盘开始进入PE—用安装工具安装系统。

但是对于一些电脑新手来说,这些操作还是有点困难的!
所以这个介绍Win10 2020版增加的云重装相当于自动化系统安装。
那云重装真的这么简单吗?下面,一起来看看吧!
一、能正常进入系统的云重装
单击开始菜单,单击设置按钮。
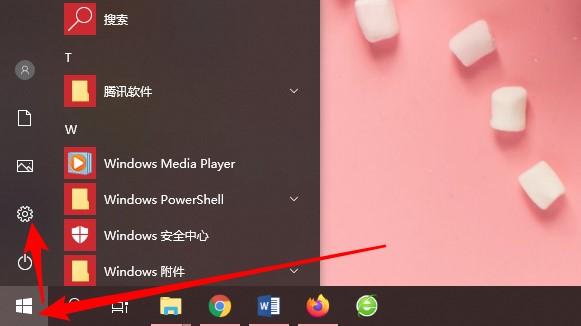
2、在打开的Windows选择更新与安全进入窗口。

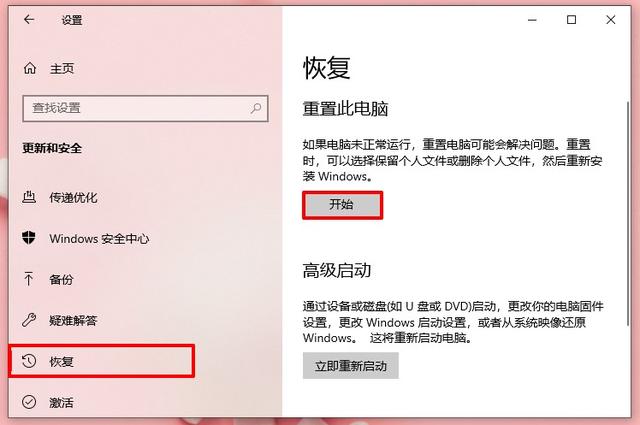
点击左侧菜单栏中的恢复,然后在右侧界面重置此计算机下的开始。
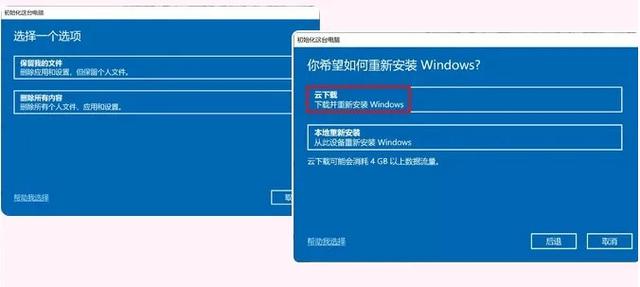
4.根据自己的需要选择保留我的文件或删除所有内容。
大白菜选择保留我的文件D盘、E磁盘中的文件将被保留。

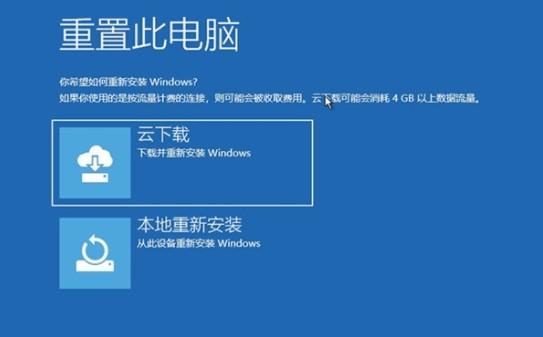
5.下一步,我们将看到云下载和本地重新安装两个选项,点击云下载。
PS:如果点击本地重新安装,我们需要提前准备好镜像。
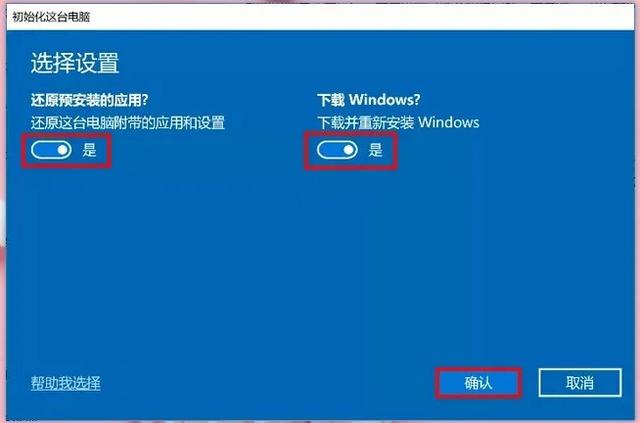
6.选择是否恢复计算机附带的应用和设置和下载和重新安装Windows大白菜在这里选择是。
若全部选择否,即默认计算机重新安装Windows,并删除计算机制造商安装的应用程序。和以前版本的重置一样。
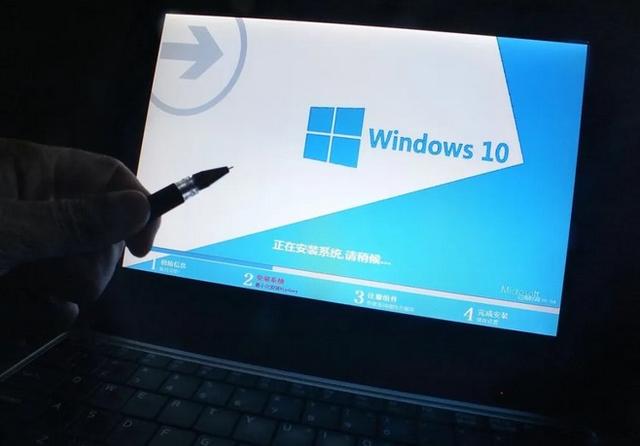
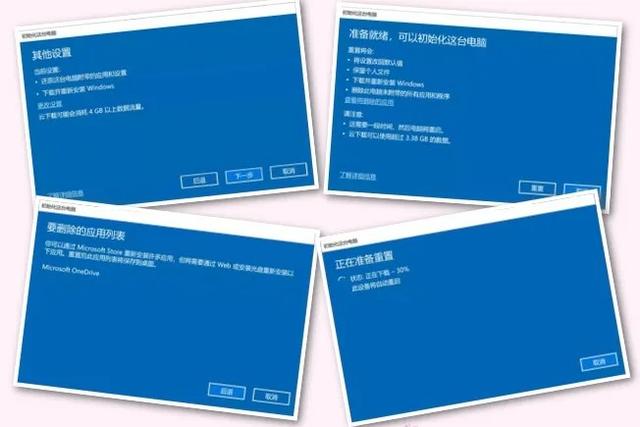
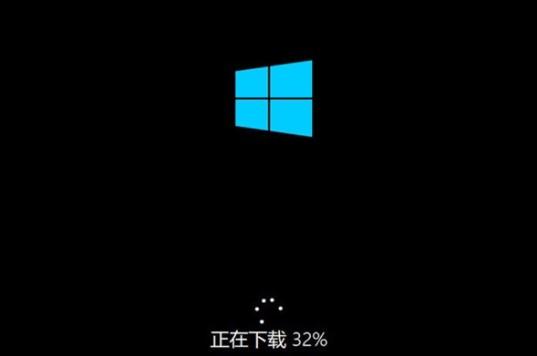
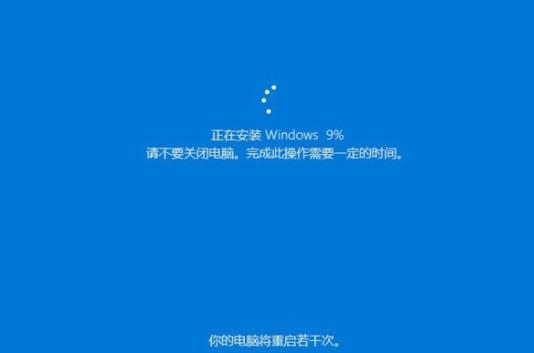
7.完成上述操作后,系统将从云中下载系统镜像。镜像下载后,将重新启动计算机进行重置,这可能需要很长时间,耐心等待。
二、云重装不能正常进入系统
当计算机无法进入系统时,我们必须强制系统进入修复模式,然后才能重新安装云。
1.强制系统需要重启计算机才能进入修复模式。长按电源键,一出现启动画面就关机。重复此操作2~3次,然后强制系统进入修复模式。

在接下来的界面中,依次点击高级选项-疑难答案-重置此计算机。

3.选择保留我的文件或删除所有内容。

此时,系统会要求您输入管理员密码。
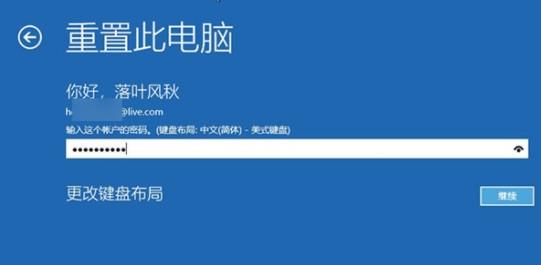
完成后点击云下载按钮。
6.系统开始自动下载镜像,整个过程不需要手动,我们可以耐心等待完成。
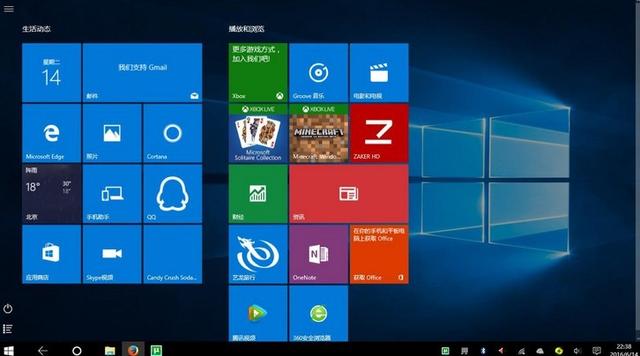
以上介绍了这两种云重新安装方法,节省了制作启动盘、准备镜像文件、启动u盘等过程。整个过程基本上由操作系统完成,大大降低了系统维护的操作难度。
总的来说,Win这个新功能十分实用!
最后,如果您想了解更多关于u盘重装系统的信息,请参考以下步骤。
U盘重装系统步骤:
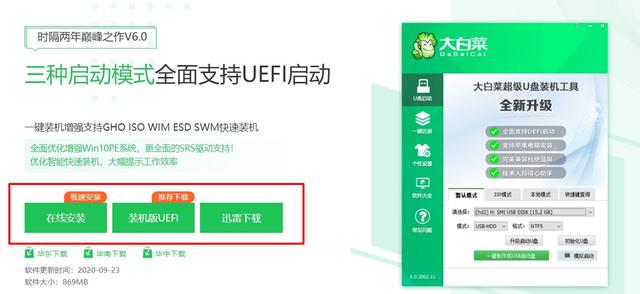
1.下载大白菜U盘启动盘制作工具。
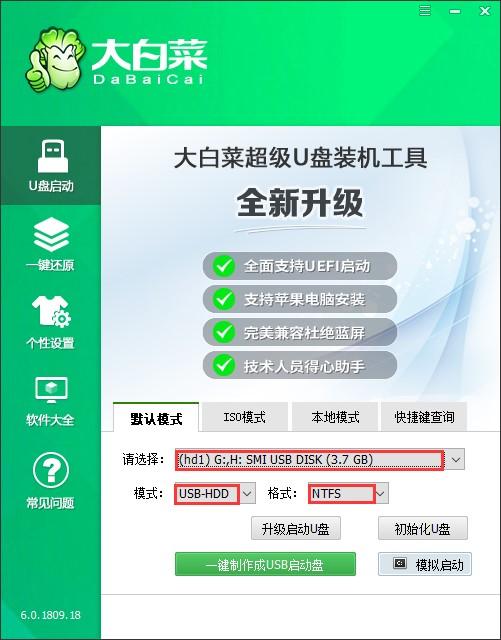
2、将一个4G制作上述U盘winpe启动盘。
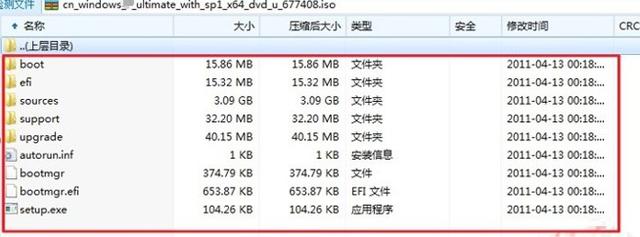
3.下载需要安装的系统镜像,并将其复制到U盘目录。
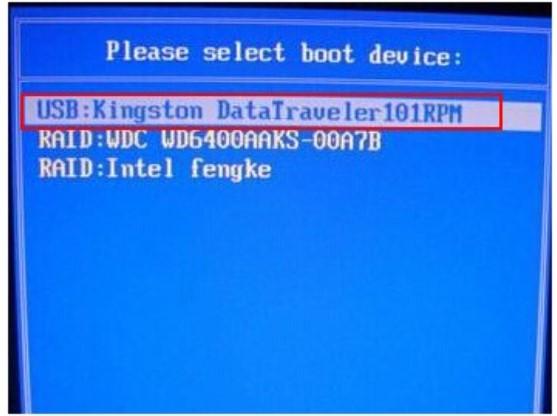
4、设置winpe启动盘进入PE系统。
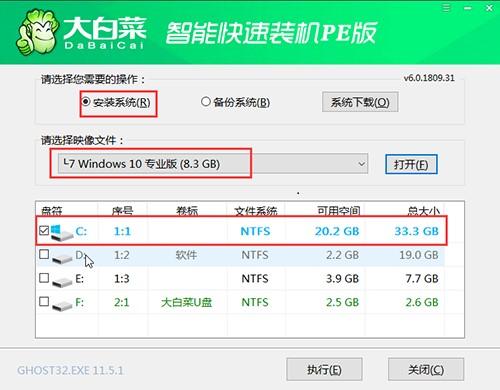
5.最后打开一键安装软件,按照下图所示的提示完成重装。