MDT 是自动部署桌面操作系统和服务器操作系统的工具。 您可以使用它来创建操作系统镜像,或者使用它作为操作系统部署的完整解决方案。 MDT不仅可以减少操作系统的部署时间,还可以规范操作系统的部署。MDT 支持自动化部署 Windows 11、Windows 10和 Windows Server 等待操作系统。
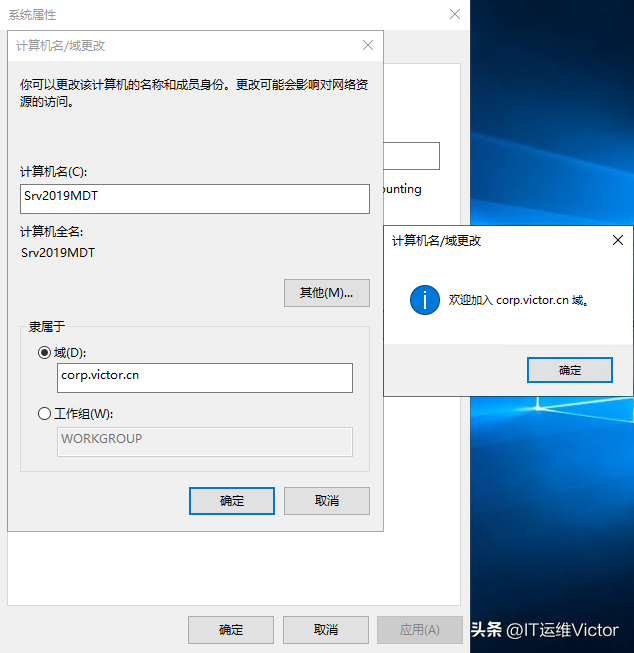
准备安装MDT步骤1:准备Windows Server 2019 Standard 准备服务器基线配置,修改主机名加域。
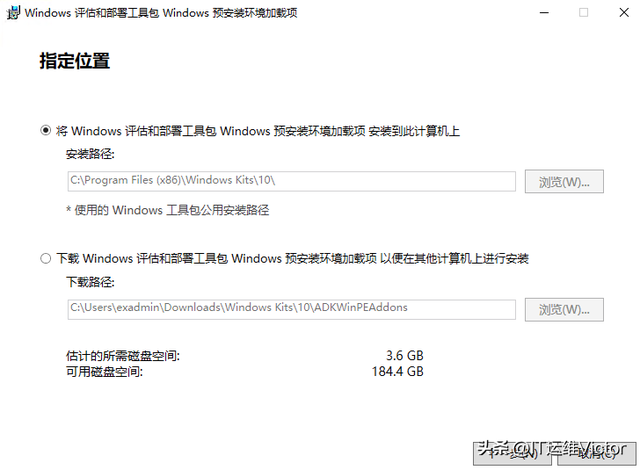
 安装Windows ADK
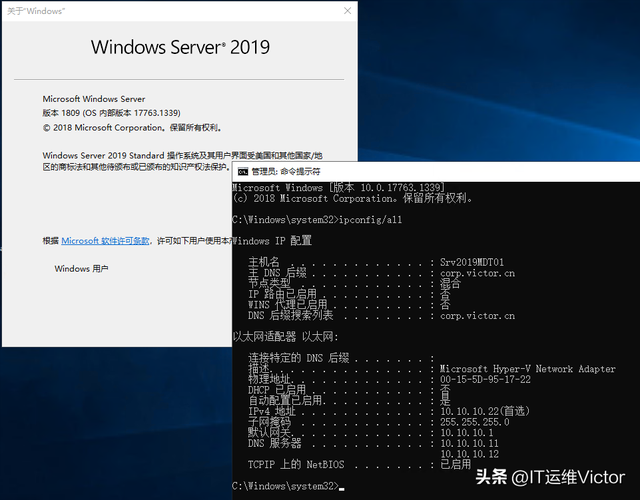
步骤1:作为管理员登录Srv2019MDT01服务器。
步骤2:下载Windows ADK。
Windows ADK for Windows 10 版本 2004
https://go.microsoft.com/fwlink/?linkid=2120254
ADK 版本 2004 的 Windows PE 加载项
https://go.microsoft.com/fwlink/?linkid=2120253
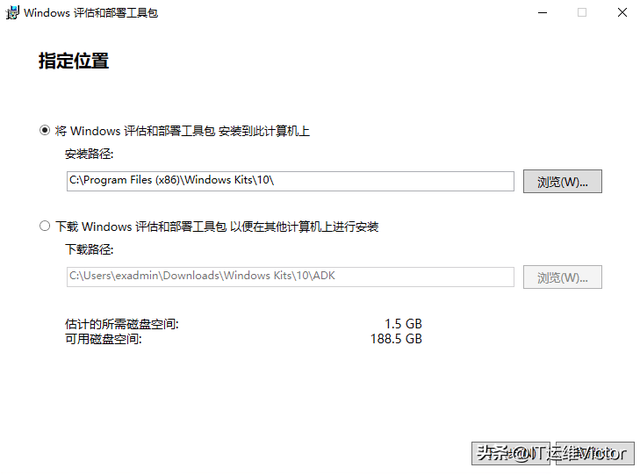
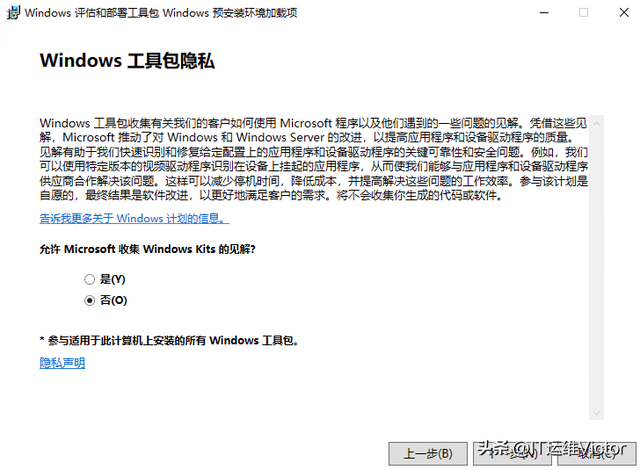
步骤3:运行"adksetup.exe",点击"下一步"。
步骤4:选择"否"。
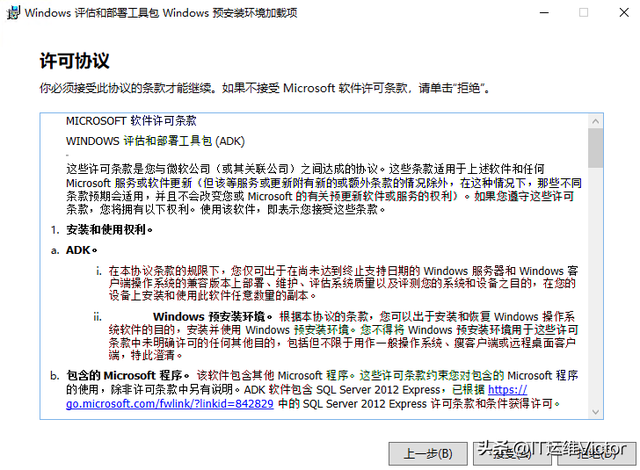
步骤5:点击"接受"。
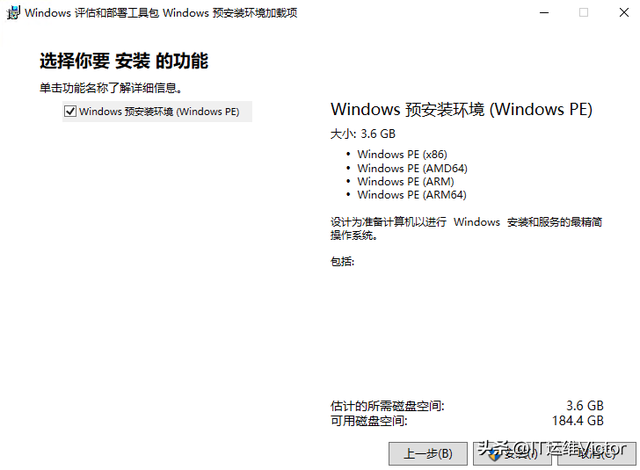
步骤6:点击"安装"。
步骤7:安装完成。
步骤8:运行"adkwinpesetup.exe",点击"下一步"。
步骤9:选择"否"。
步骤10:点击"接受"。
步骤11:点击"安装"。
步骤12:安装完成。
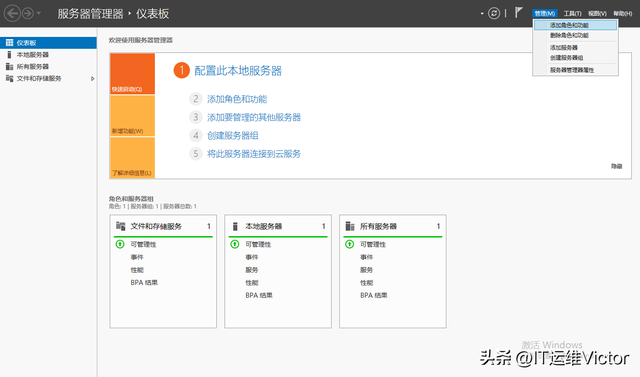
 部署及配置DHCP服务。
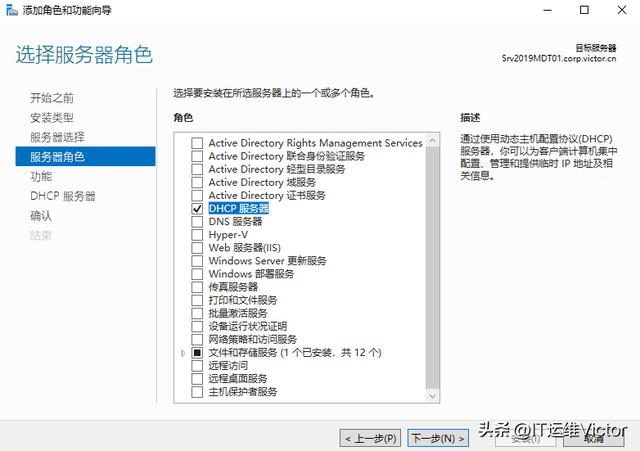
步骤1:添加"角色和功能"。
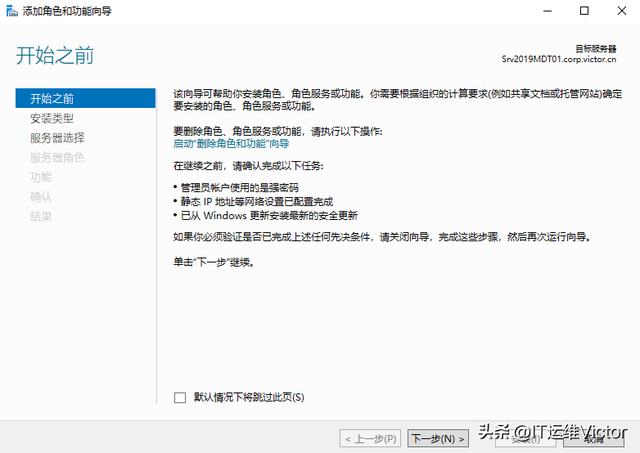
步骤2:开始前点击"下一步"。
步骤3:"基于角色或功能的安装",点击"下一步"。

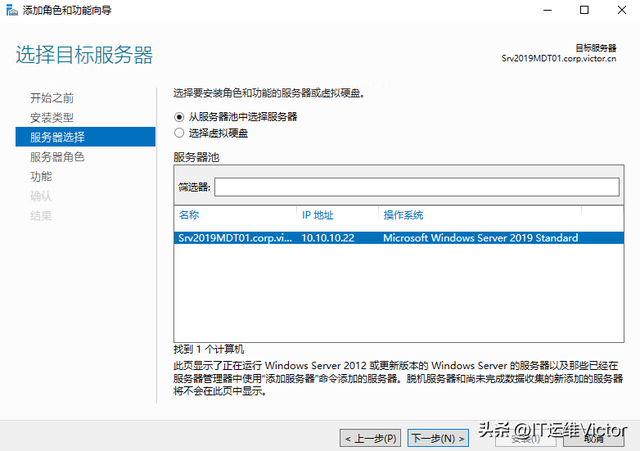
步骤4:"从服务器池中选择服务器",点击"下一步"。
步骤5:"添加DHCP服务器",点击"下一步"。
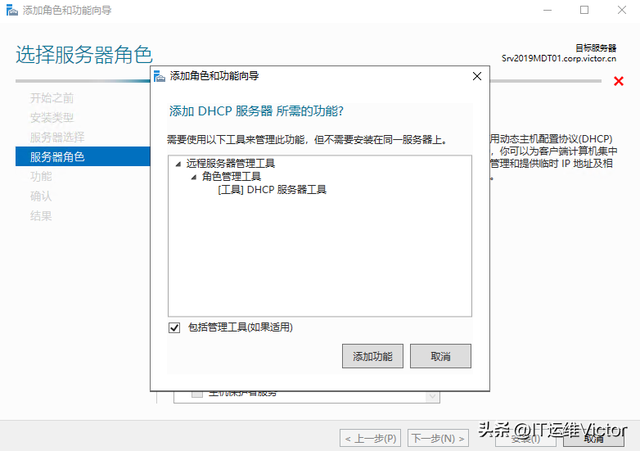
步骤6:"添加DHCP服务器",点击"下一步"。
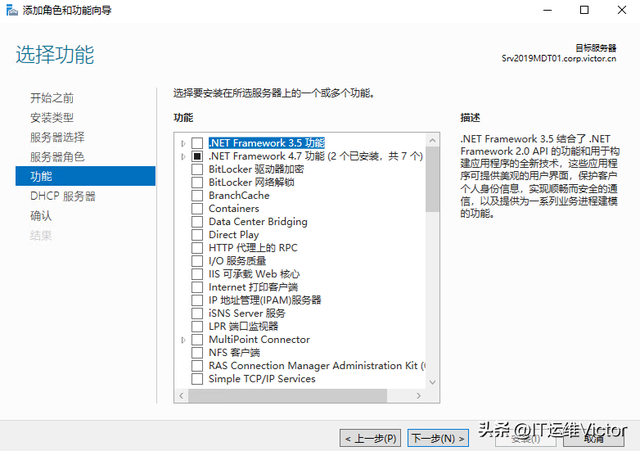
步骤7:"功能",点击"下一步"。
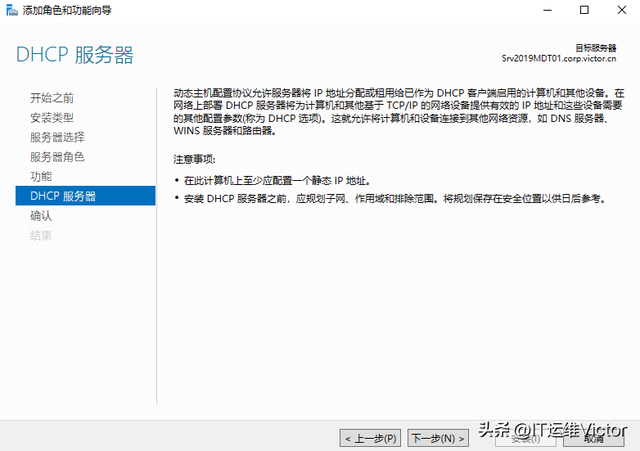
步骤8:点击"下一步"。
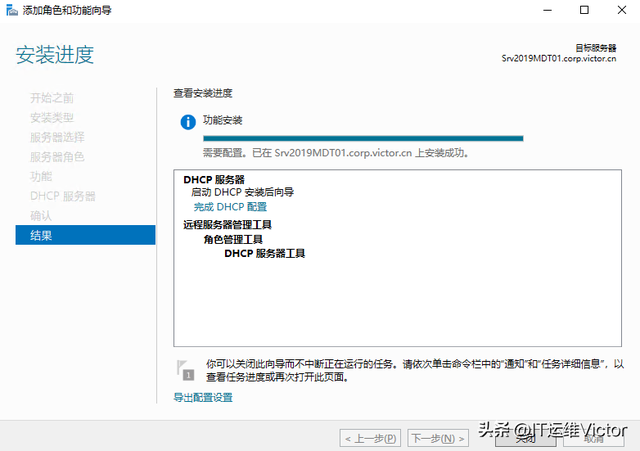
步骤9:点击"安装"。
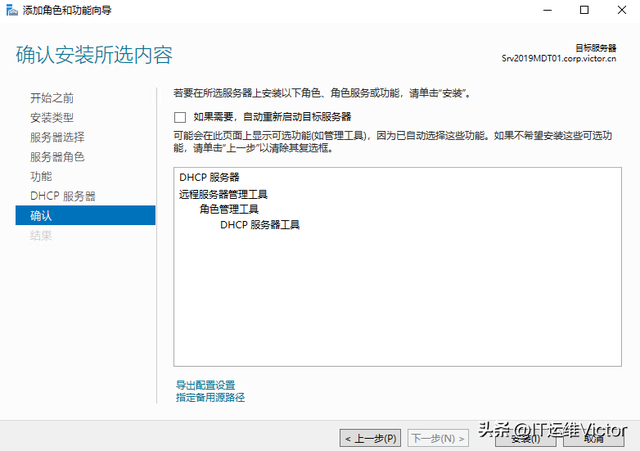
步骤10:点击"完成DHCP配置"。
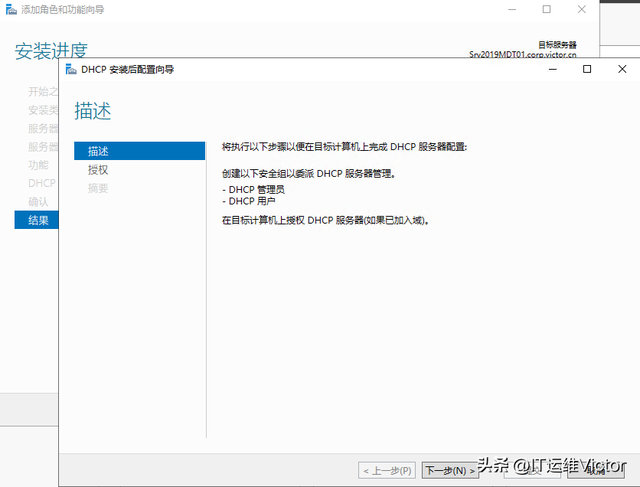
步骤11:"描述",点击"下一步"。
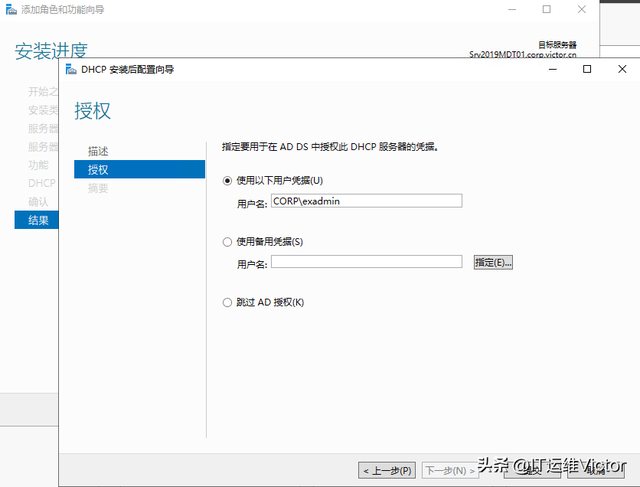
步骤12:"使用以下用户凭证",点击"提交"。
步骤13:点击"关闭",完成"DHCP服务器配置"。
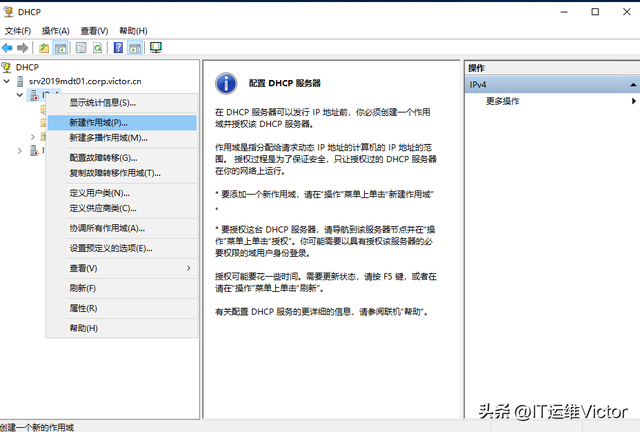
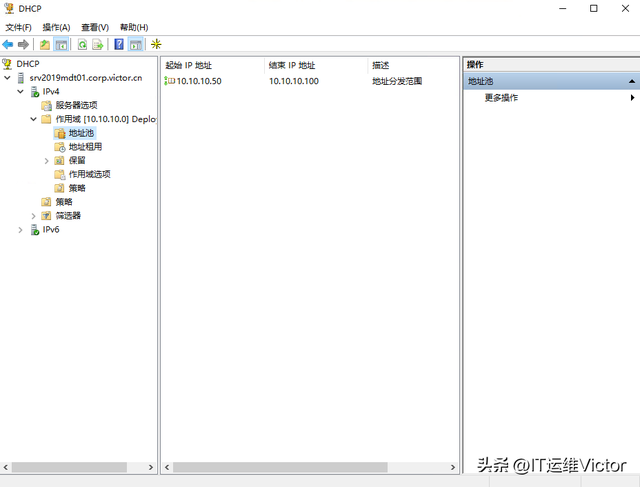
步骤14:"新建作用域"。
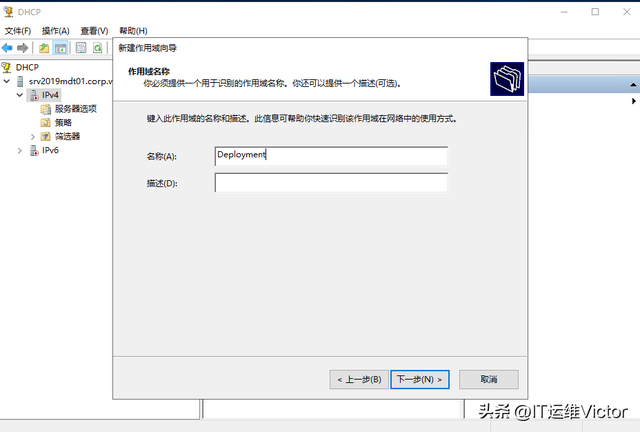
步骤15:DHCP作用域名称"Deployment"。
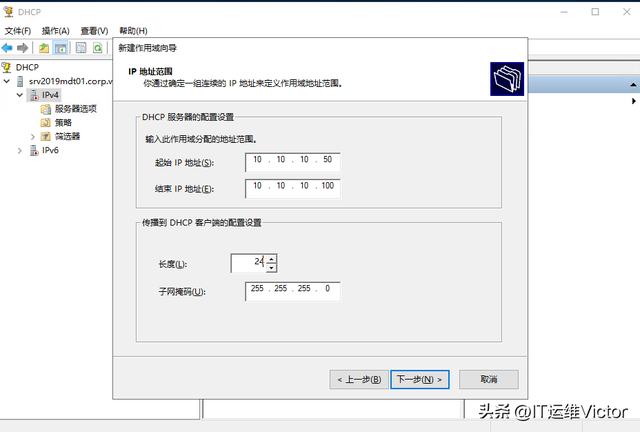
步骤16:DHCP作用域"IP地址范围"。
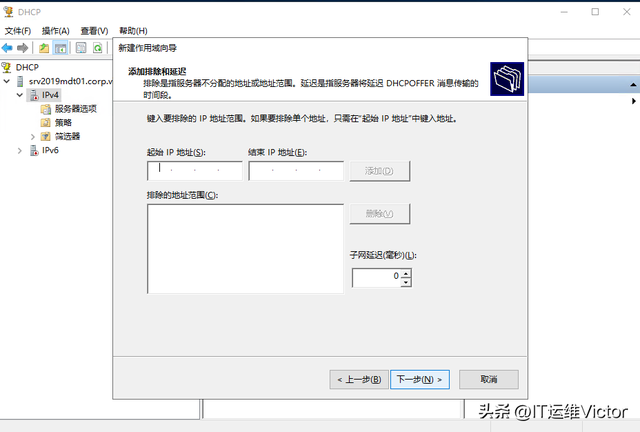
步骤17:添加"DHCP排除"。
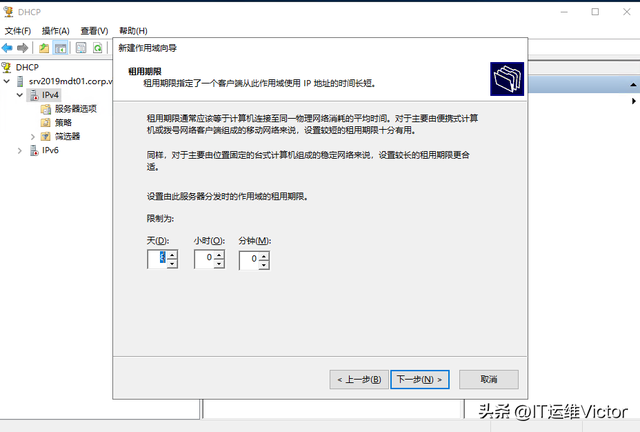
步骤18:配置"DHCP租期"。
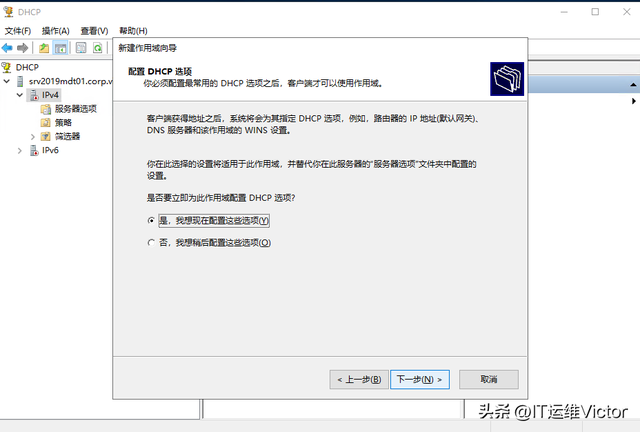
步骤19:配置"DHCP选项"。
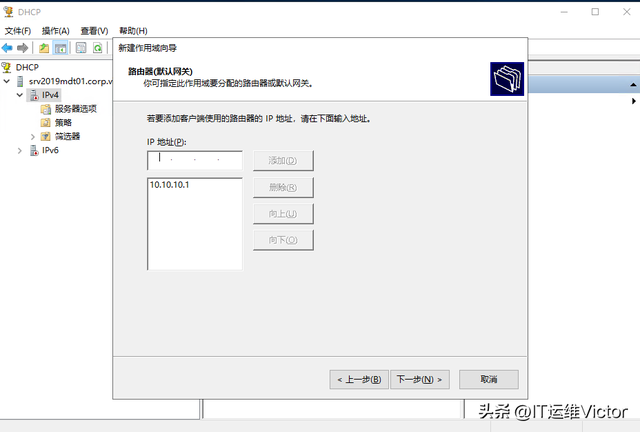
步骤20:配置DHCP作用域"网关"。
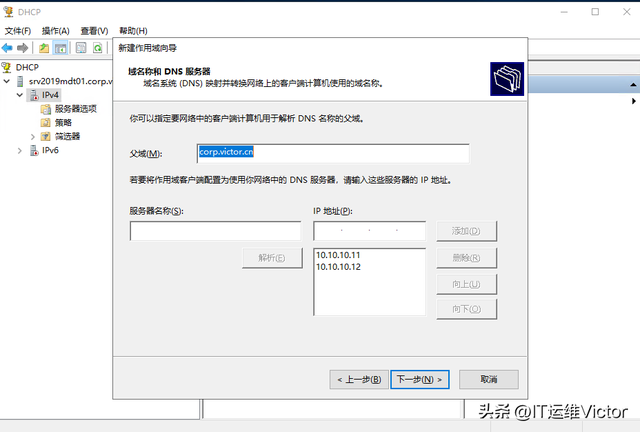
步骤21:配置作用域"DNS"。
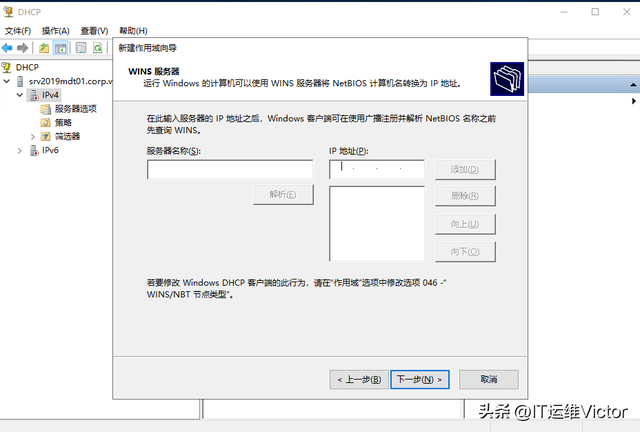
步骤22:配置DHCP作用域"WINS服务器"。
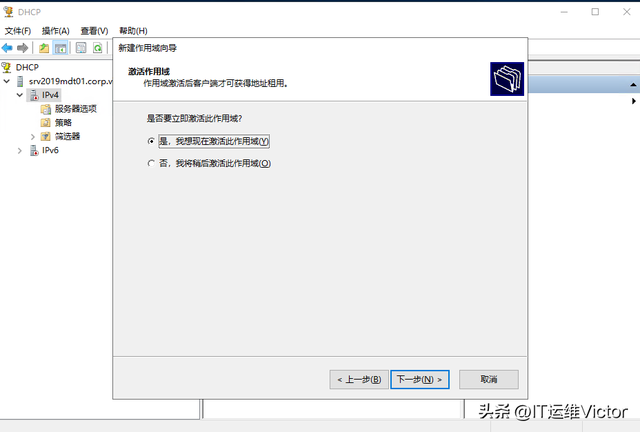
步骤23:"激活"DHCP作用域。
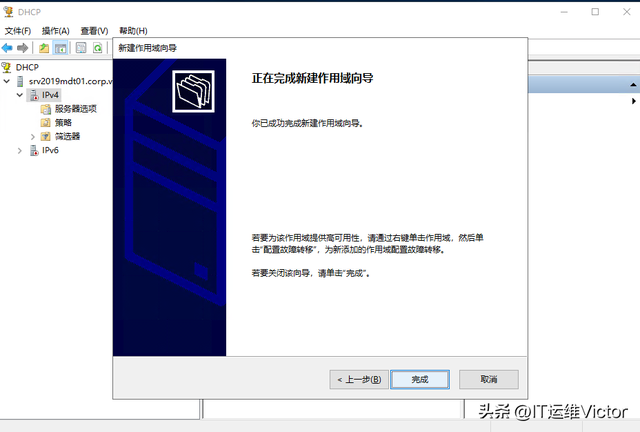
步骤24:完成DHCP作用域创建导向。
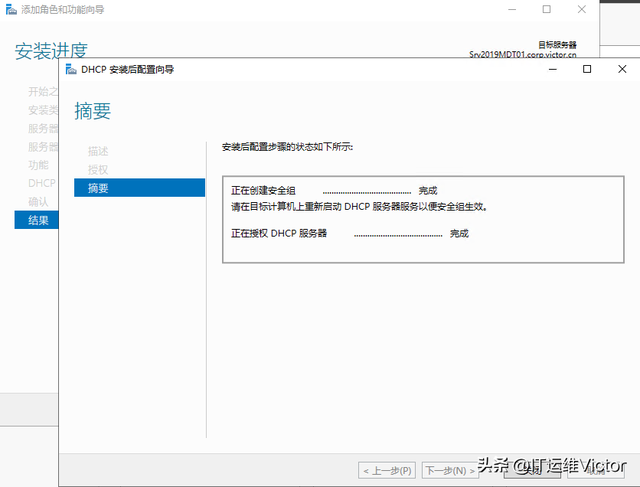
步骤25:"DHCP服务";完成配置。
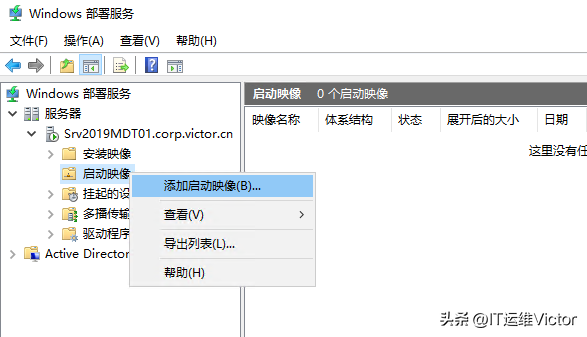
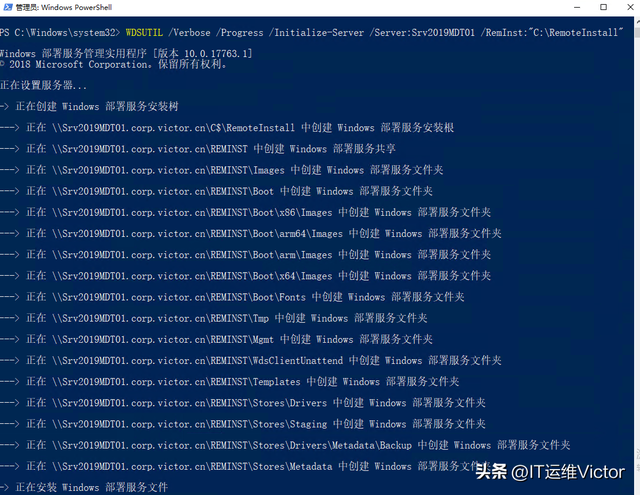
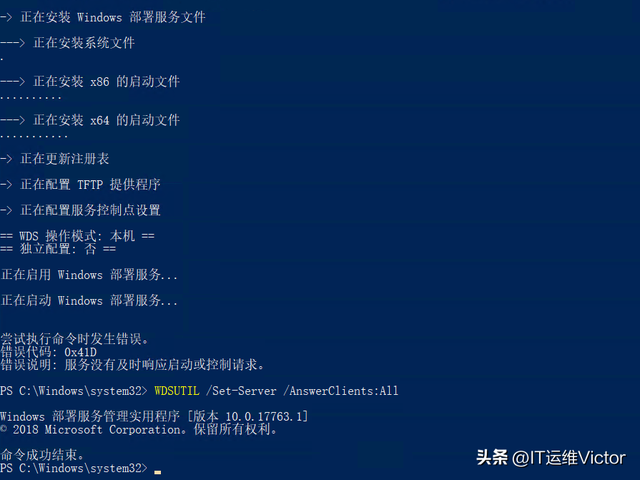
作为管理员运行Windows PowerShell并输入以下命令。
Install-WindowsFeature -Name WDS -IncludeManagementToolsWDSUTIL /Verbose /Progress /Initialize-Server /Server:Srv2019MDT01 /RemInst:"C:\\RemoteInstall"WDSUTIL /Set-Server /AnswerClients:All
 安装MDT
安装MDTMicrosoft Deployment Toolkit 文档:
https://learn.microsoft.com/zh-cn/mem/configmgr/mdt/
MDT下载地址:
https://www.microsoft.com/en-us/download/details.aspx?id=54259
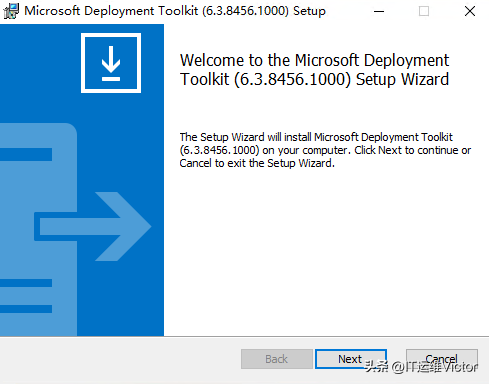
步骤1:运行"MicrosoftDeploymentToolkit_x64.msi",点击"下一步"。
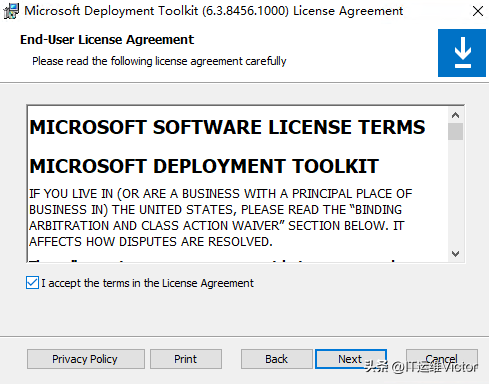
步骤2:勾选"同意",点击"下一步"。
步骤2:勾选"
 同意
同意",点击"
下一步"。
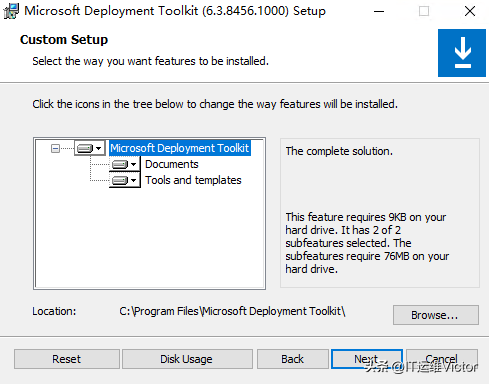
步骤3:点击"
下一步"。
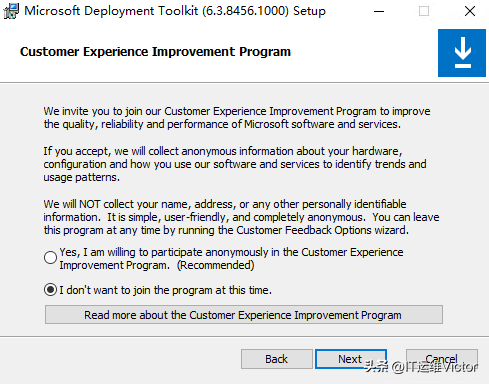
步骤4:点击"
下一步"。
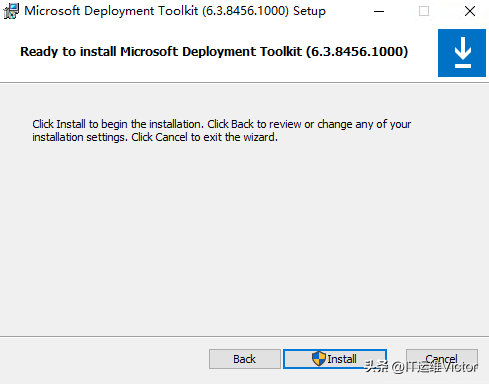
 步骤5:点击"安装
"。
步骤6:安装完成。
步骤1:创建MDT服务账号MDT_BA。
登录域控服务器,作为管理员运行Windows PowerShell并输入以下命令创建MDT服务账号MDT_BA。
New-ADUser -Name MDT_BA -UserPrincipalName MDT_BA@corp -path "OU=User,DC=corp,DC=victor,DC=cn" -Description "MDT Build Account" -AccountPassword (ConvertTo-SecureString "pass@word1" -AsPlainText -Force) -ChangePasswordAtLogon $false -PasswordNeverExpires $true -Enabled $true
步骤2:创建MDT加域账号MDT_JD及赋权。
作为管理员运行Windows PowerShell并运行以下命令创建MDT加域账号MDT_JD,给予加域权限。New-ADUser -Name MDT_JD -UserPrincipalName MDT_JD@corp.victor.cn -path "OU=User,DC=corp,DC=victor,DC=cn" -Description "MDT join domain account" -AccountPassword (ConvertTo-SecureString "pass@word1" -AsPlainText -Force) -ChangePasswordAtLogon $false -PasswordNeverExpires $true -Enabled $true
D:\\Logs文件夹。
New-Item -Path C:\\Logs -ItemType directoryNew-SmbShare -Name Logs$ -Path C:\\Logs -ChangeAccess EVERYONEicacls C:\\Logs /grant '"MDT_BA":(OI)(CI)(M)'
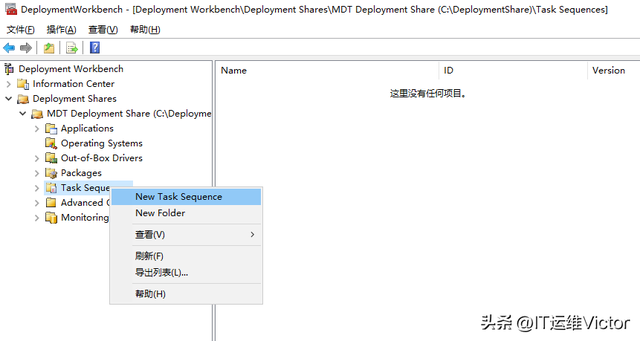
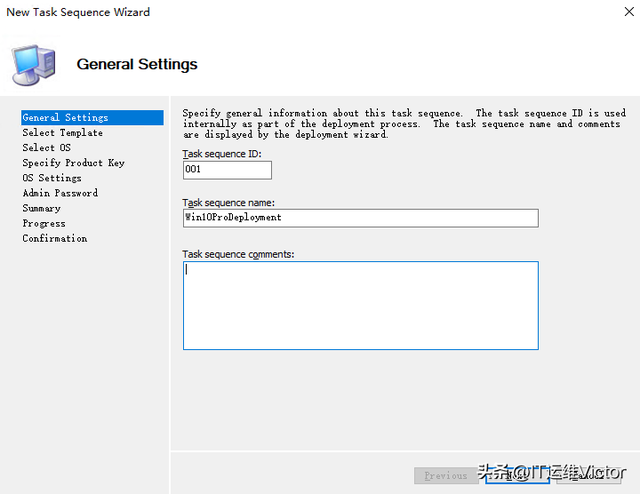
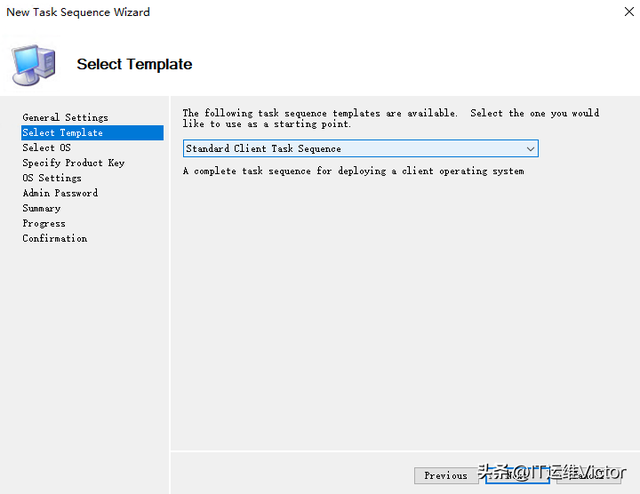
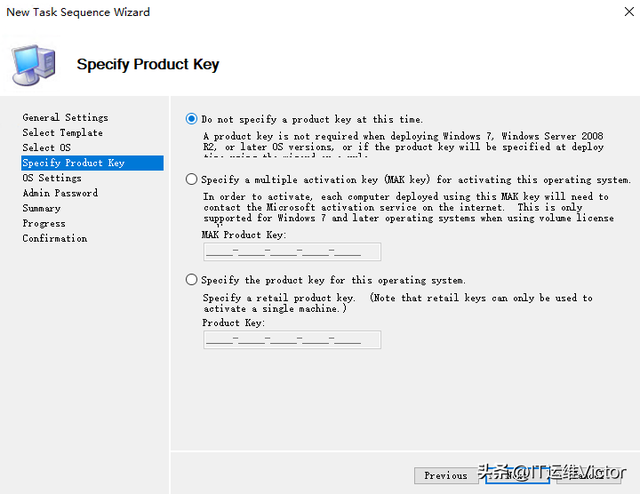
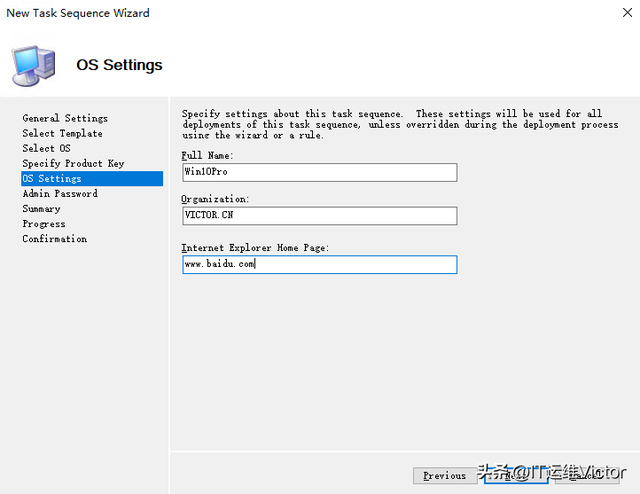
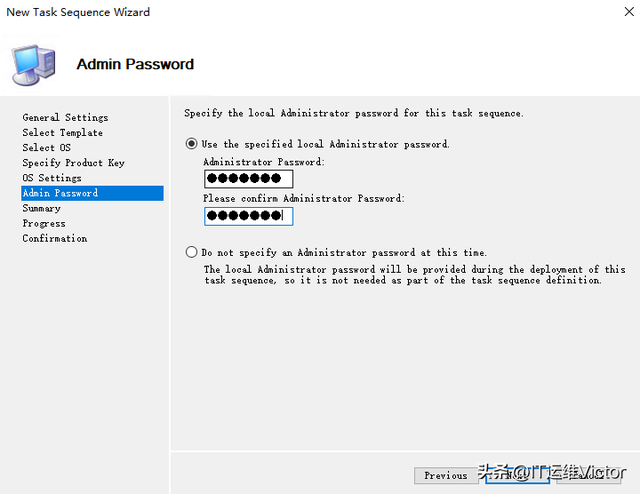
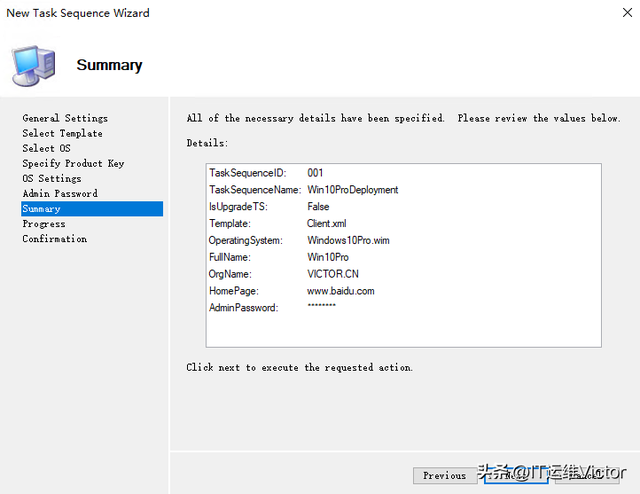
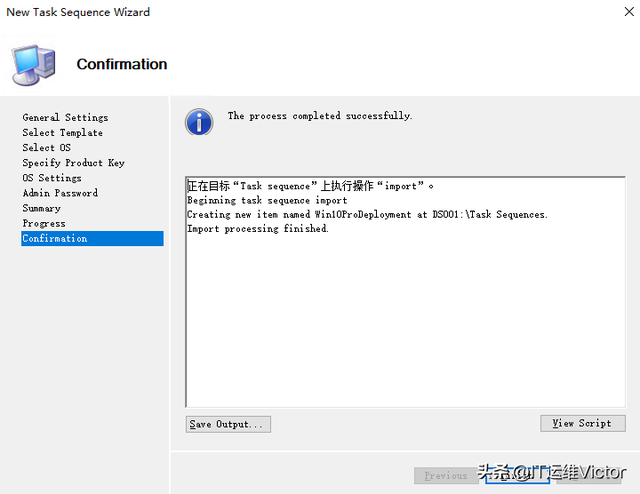
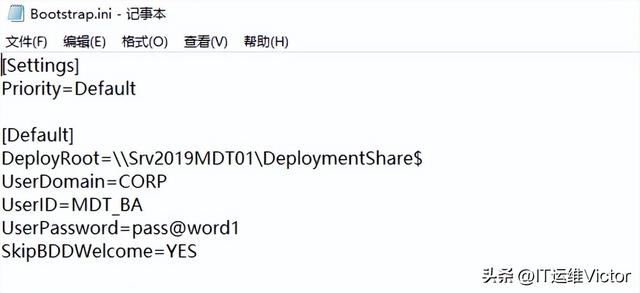
 使用 MDT 部署 Windows 10 镜像
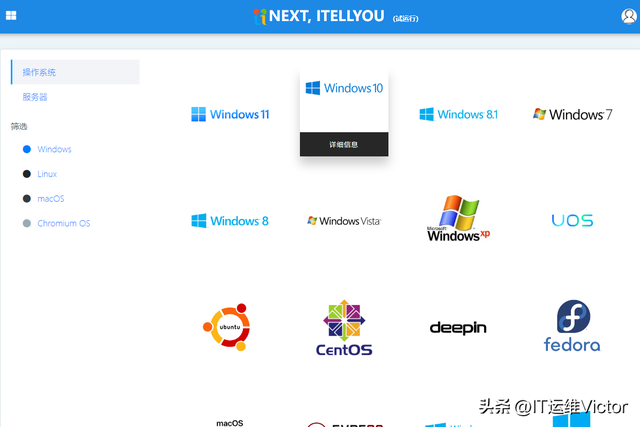
步骤1:下载"Win10镜像
"。
Win10镜像下载地址:
https://msdn.itellyou.cn/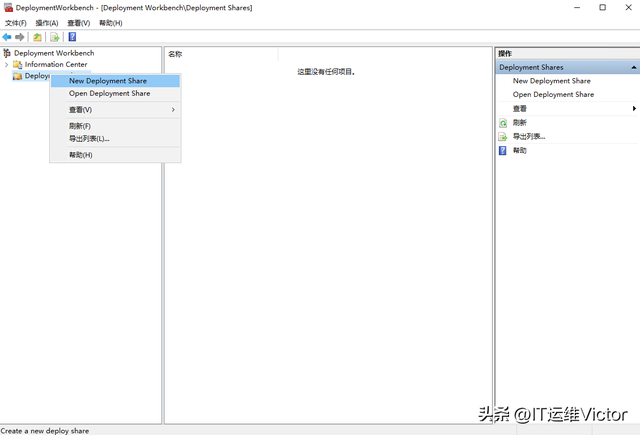
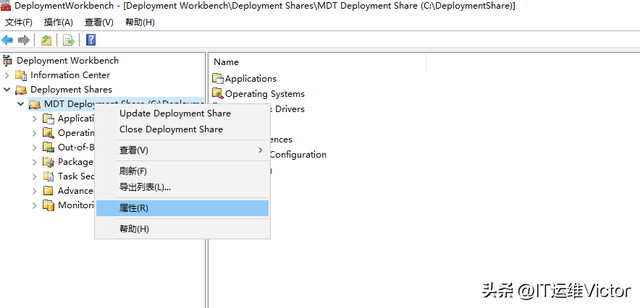
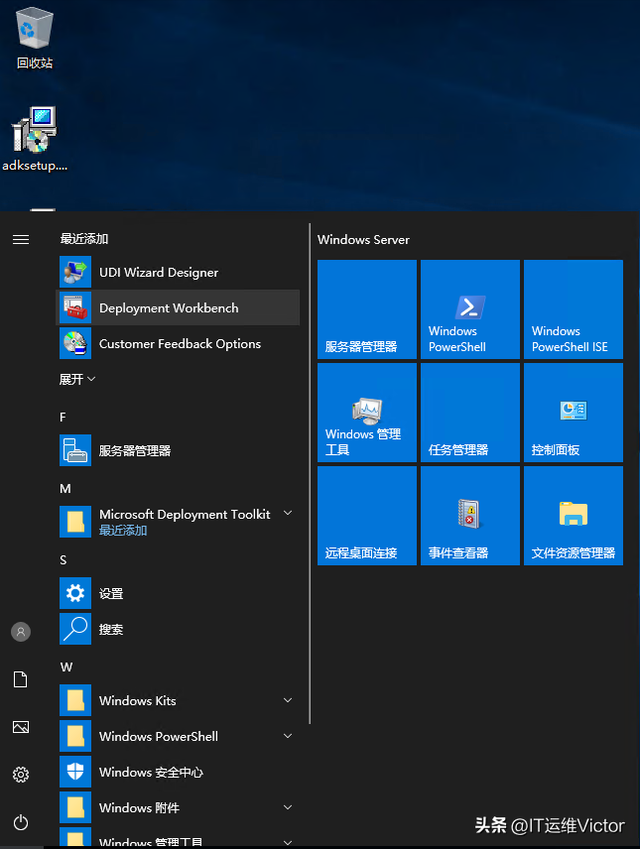
第二步:开始程序,打开程序"
Deployment Workbench"程序。步骤3:右键"新部署共享
"。
步骤3:右键"新部署共享"。
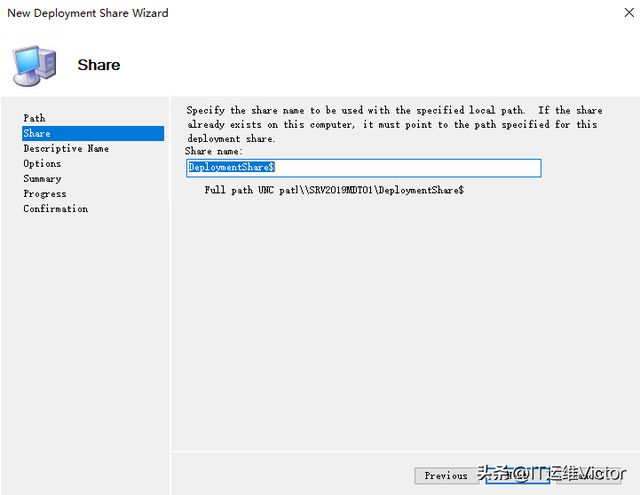 步骤4:"
步骤4:"Path"选择"C:\\DeploymentShare",点击"下一步
"。
第五步:共享名称"DeploymentShare$
",点击"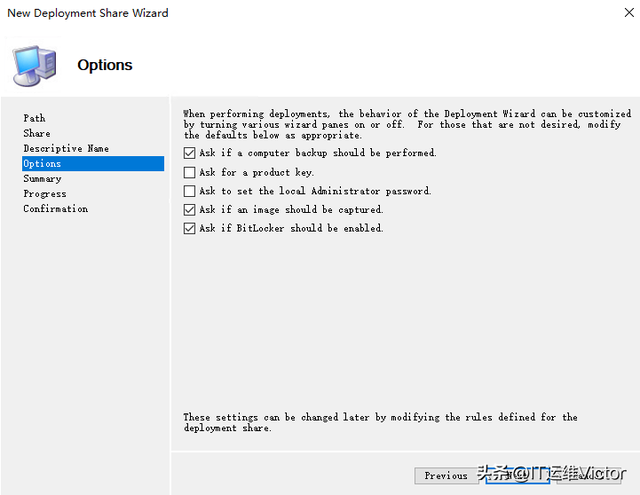 下一步
下一步"。
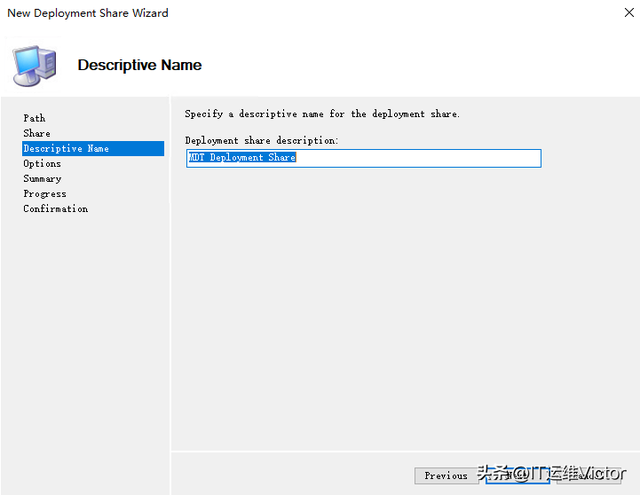
第六步:共享描述"
 MDT Deployment Share
",点击"
下一步"。
步骤7:默认选项,点击"
下一步"。
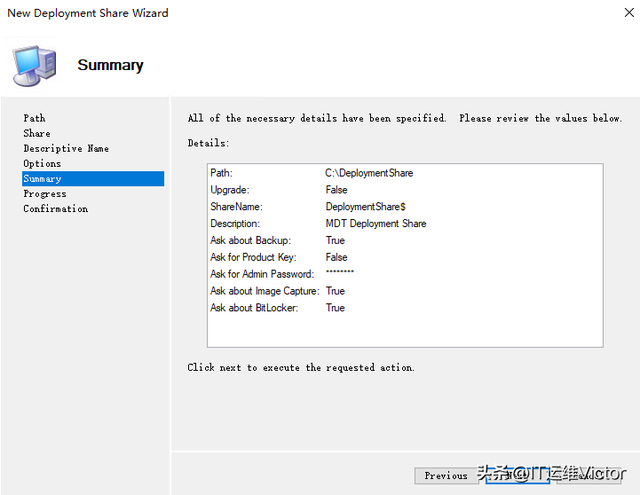
步骤8:默认总结,点击"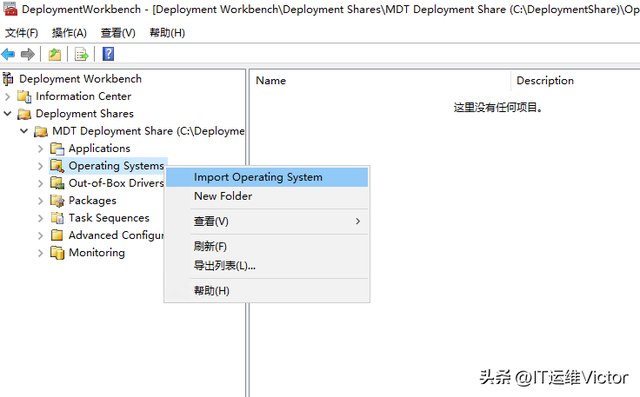 下一步
下一步"。
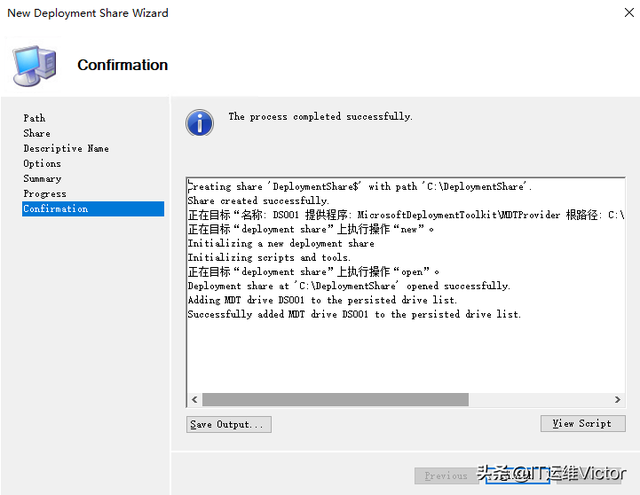
步骤9:安装完成后,单击"完成
"。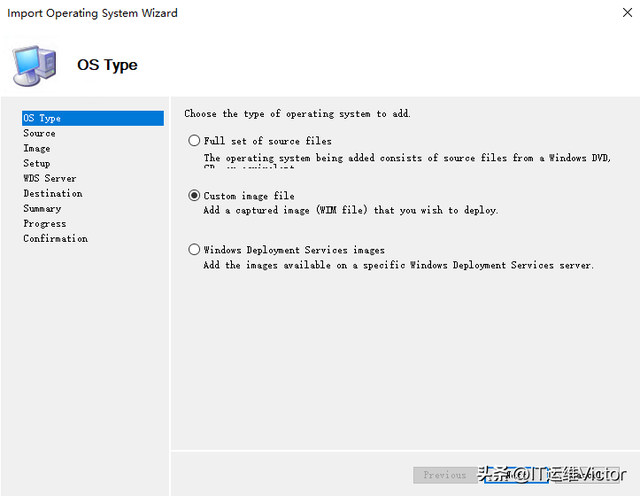
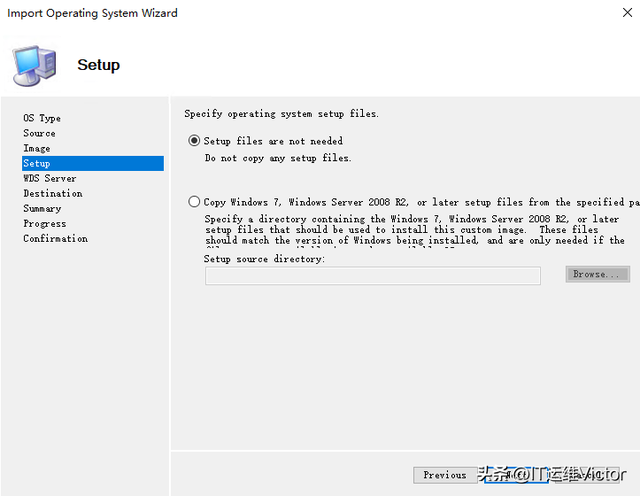
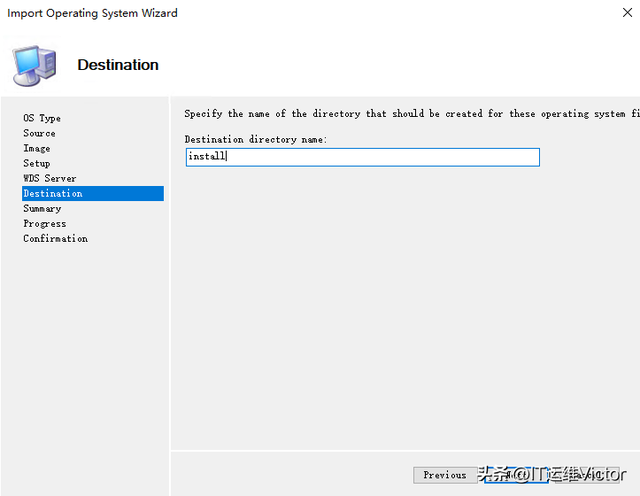
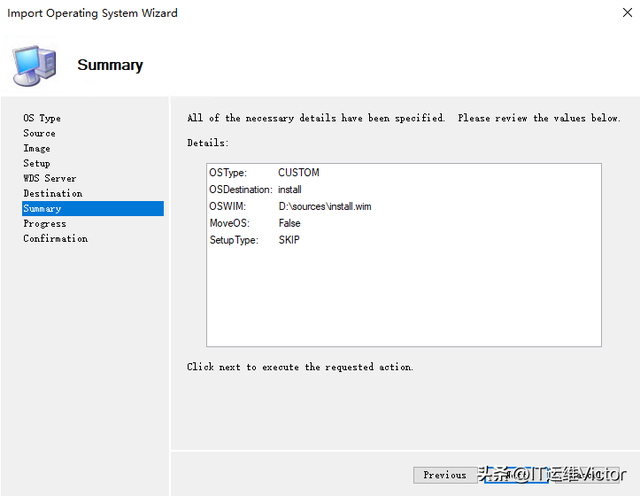
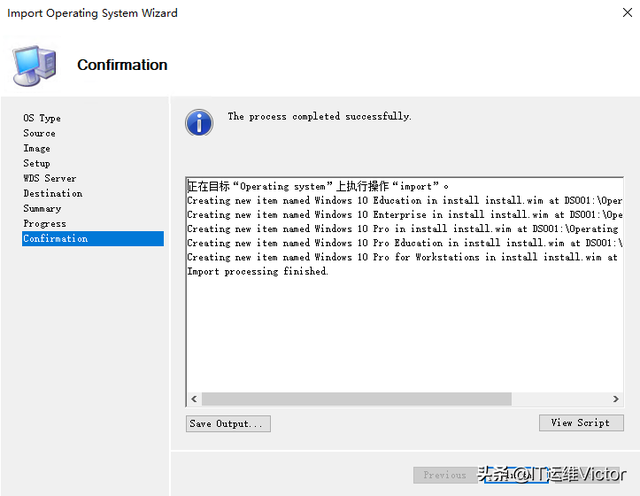
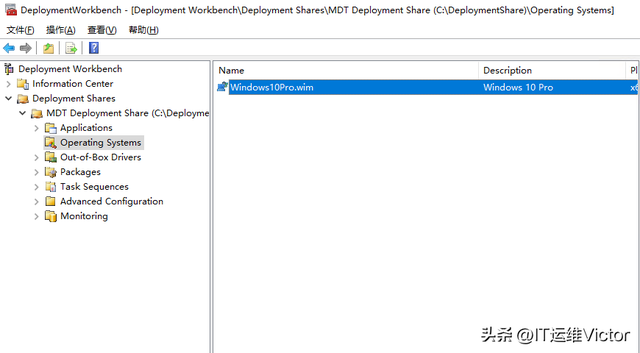
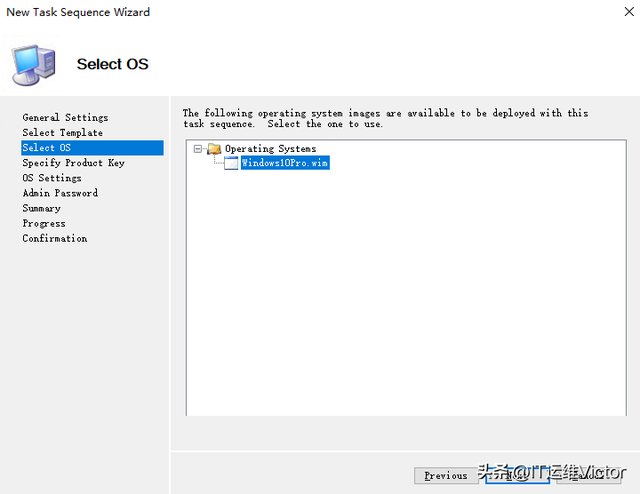
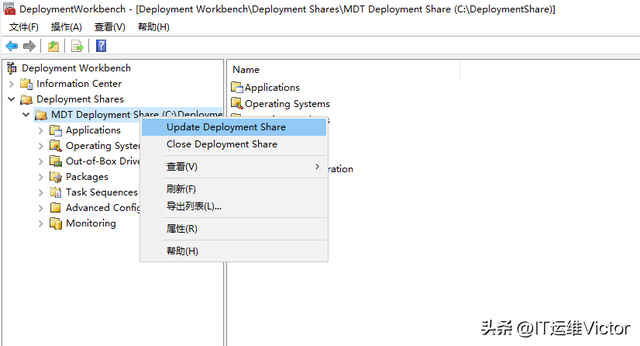
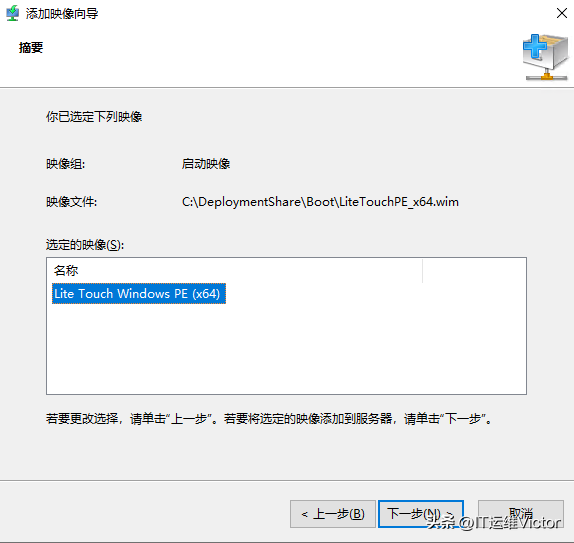
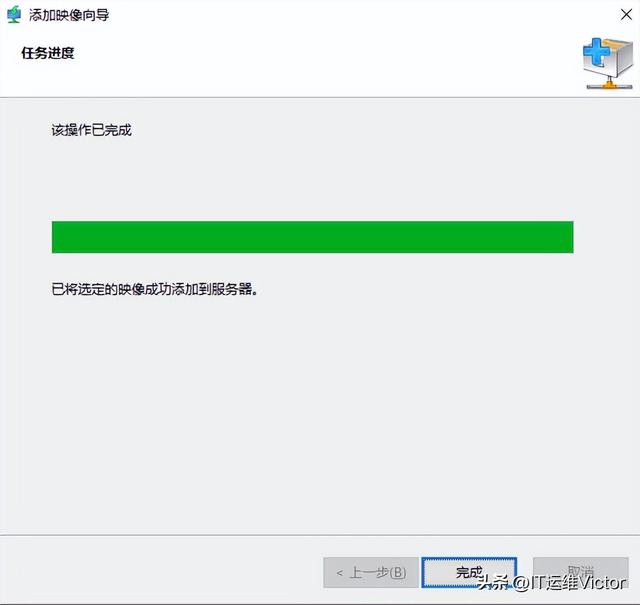
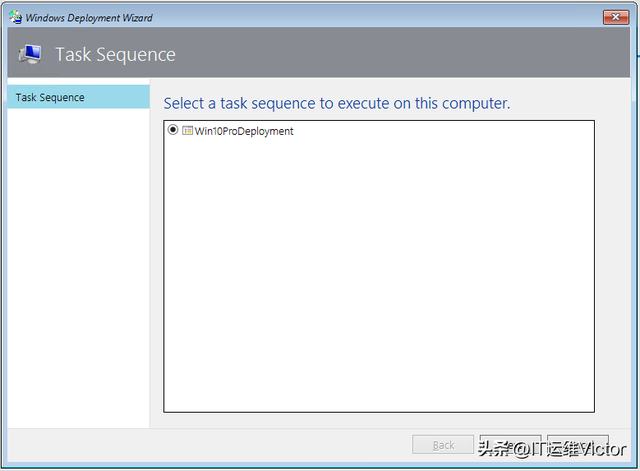
步骤10:选中"Operating System",右键 选择