使用Windows 你可能会感觉到10操作系统Windows 10网速和以前的老系统,比如Windows 7网速要慢一些。这只要是Windows 如果需要使用,10系统默认将带宽限制在20%的网速上Windows 带宽可用于以下设置10满血。
让Windows 10更新速度提高。借助以下功能,可以打开以下功能P2P来下载Windows 更新内容10,提高下载速度。
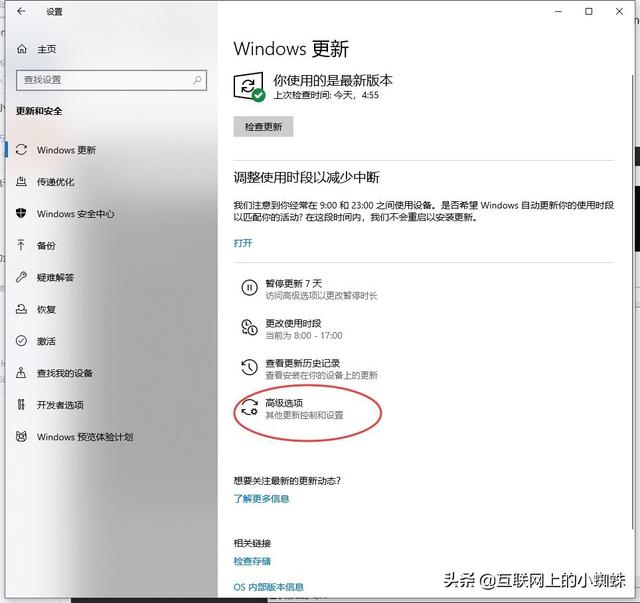
打开Windows 10设置界面,选择设置界面中的更新与安全Windows 更新界面下的高级选项。
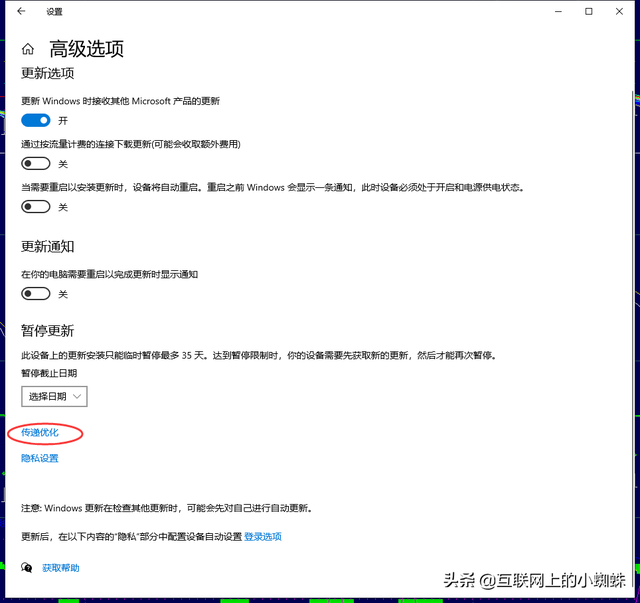
在高级选项下,设置传输优化。
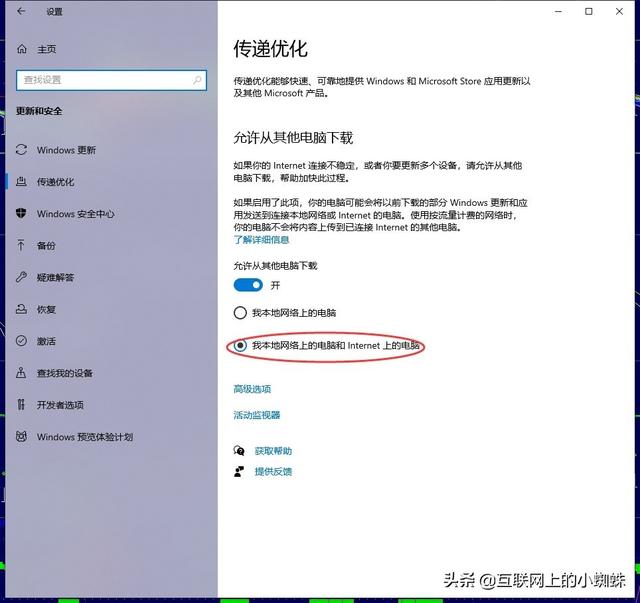
在传输优化界面中,如果需要达到最佳速度,可以选择我本地网络上的电脑和电脑Internet上面的电脑,这样的设置当然提高了速度。但它带来了另一个问题。你的电脑也会成为种子点。这个可以根据你的需要打开。
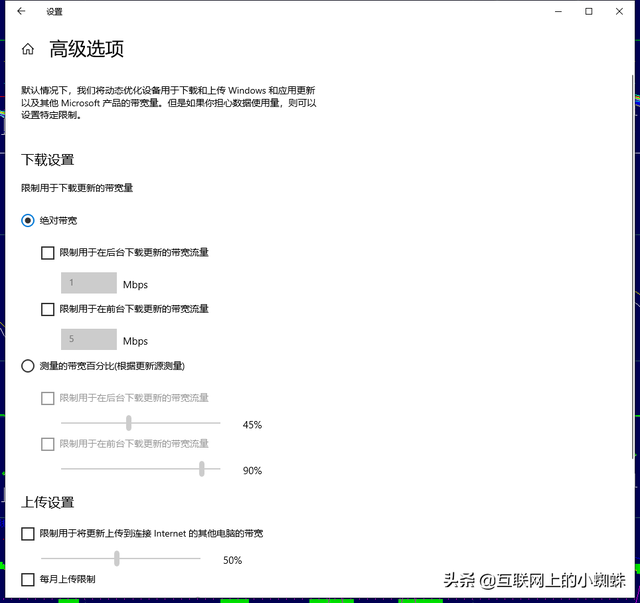
上传的流量也可以自行控制。点击高级选项限制下载和上传流量。
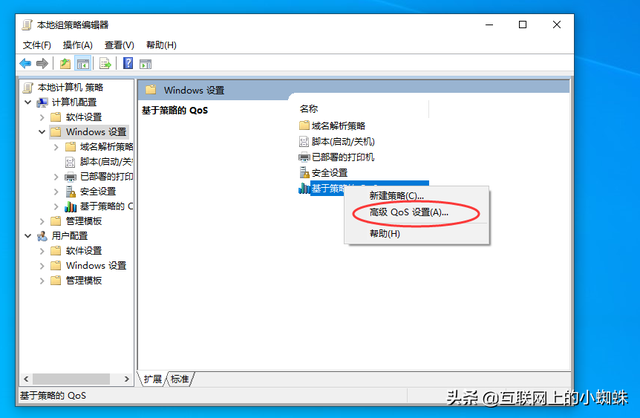
如何解除20%宽带限制?可使用开启Qos数据包解开Windows 网速限制10。进入Windows 10组战略设置。可在运行中输入gpedit.msc命令开启。打开Windows 10的组策略。
计算机配置-Windows 设置”。用鼠标右键点击右侧的基于策略的Qos在弹出菜单中选择高级Qos设置“。
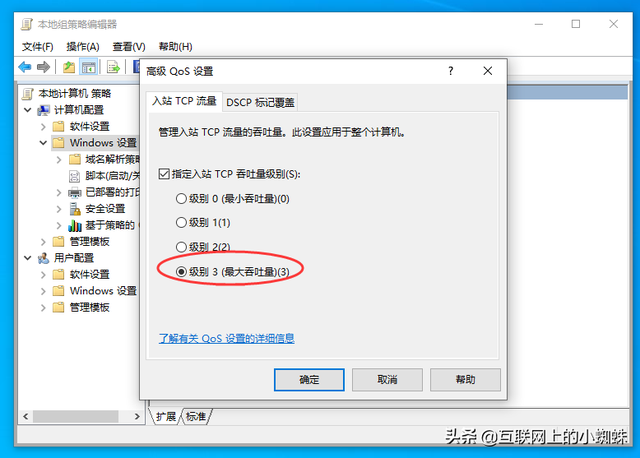
在高级Qos入站设置界面中的入站TCP在流量选项卡中勾选指定入站TCP吞吐量等级。吞吐量分为0-3级,0级最小,3级最大。根据您的需要设置相应的级别。完成设置后,点击确定保存相关设置。
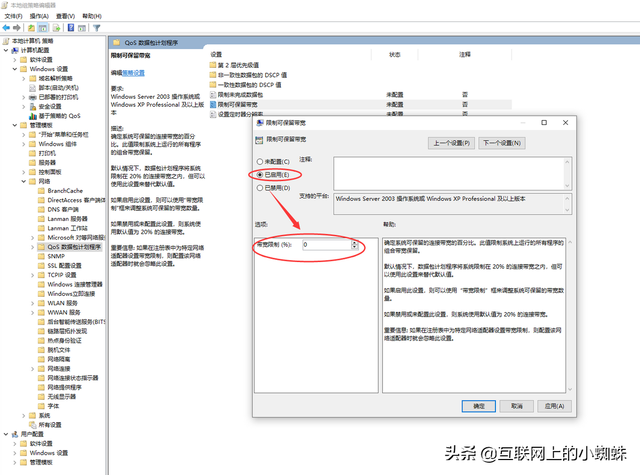
接下来,打开接下来Qos数据包计划程序。本地组战略编辑器依次展开,计算机配置-管理模板-网络-Qos数据包计划程序。点击右侧的限制可保留宽带选择已启用。点击确定保存设置,选择以下宽带限制值为0。这样就取消了Windows 宽带限制10。
完成上述设置后,可以让Windows 10网速满血复活。在设置之前体验不同的网速。