UEFI开始取代传统Legacy现在大势所趋,现在大部分电脑都默认了UEFI启动,有的甚至不支持Legacy启动(笔记本里见的比较多),但在实践中发现还是有很多技术人员不熟练。本教程的目的是让大家熟悉UEFI环境下安装GHOST系统,方便大家能够快速便捷地装机。教程比较长,希望还不了解这块的小伙伴能耐心看完。
有关UEFI,GPT,Legacy,MBR你可以自己百度这些名词的概念。
Legacy在启动模式下,计算机读取磁盘MBR,再读取DPT(分区表)找到第一个激活的主分区启动。不支持超过2TB大容量硬盘只支持4个主分区或3个主分区和一个扩展分区。一般来说,我们常用的分区方法是在主分区中加入一个扩展分区,然后在扩展分区中分为逻辑分区。支持32位和64位系统。
UEFI在启动模式下,计算机读取磁盘ESP通过本文件指定的分区启动分区中的指导文件,支持2个以上TB大容量硬盘最多支持128个分区和64个系统。
所以,我们只需要记住,一般情况下,Legacy启动搭配MBR,UEFI启动搭配GPT就行了。
以宏基某型号笔记本为例,下面的教程将展示如何在宏基上演示EFI启动下安装GHOST系统:
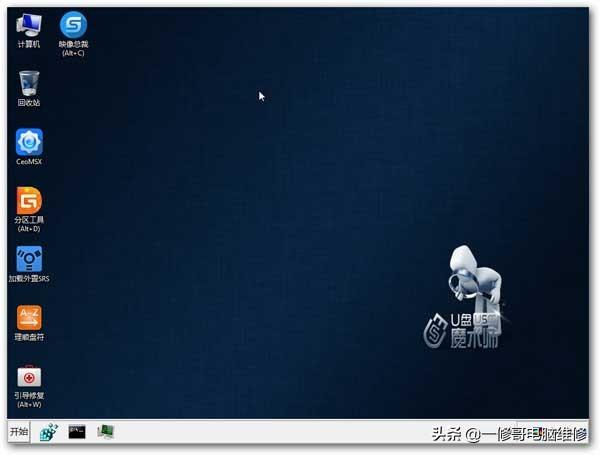
1.准备一UEFI启动的U盘PE(这里是系统总裁的USM例如,下载地址),输入BIOS,设置启动模式为UEFI启动并将U盘设置为第一个引导项,保存重启并进入PE。
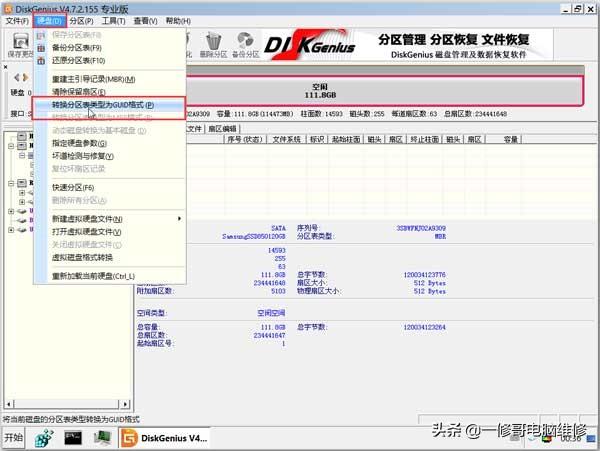
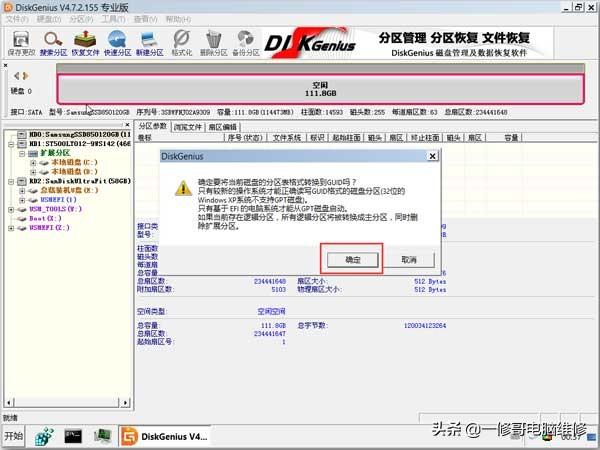
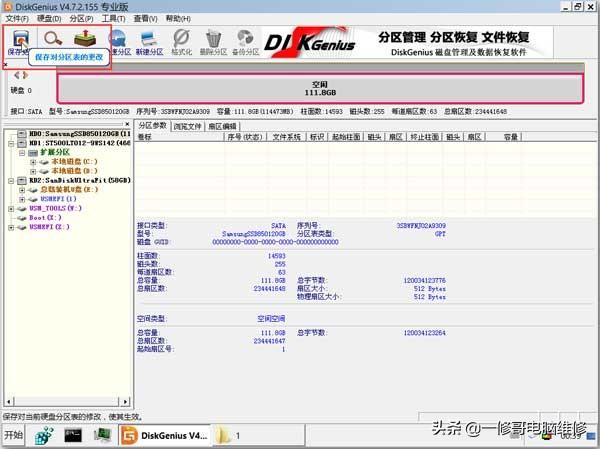
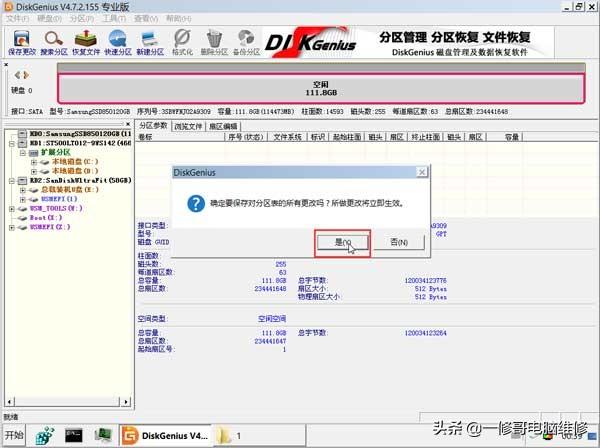
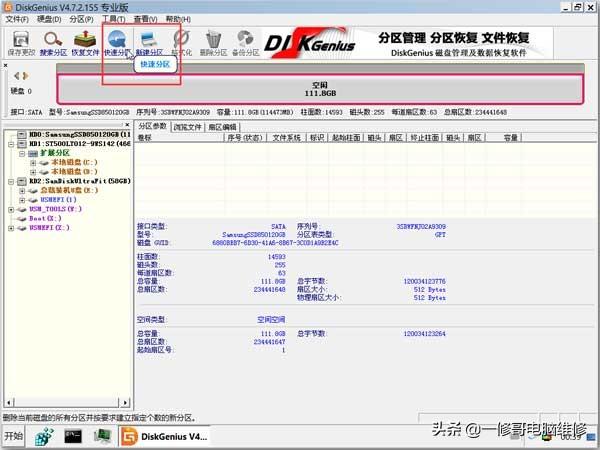
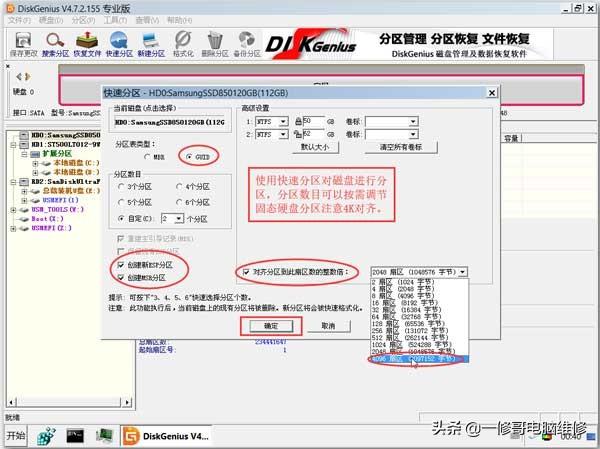
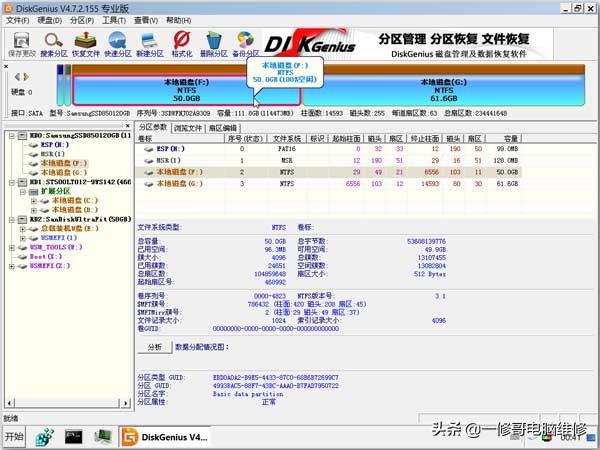
打开磁盘分区工具diskgenius例)将需要安装系统的目标磁盘转换为GPT磁盘,分区格式化。例如,目标磁盘已经存在GPT磁盘只能分区或格式化。另外MBR类型转换为GUID类型前,需要删除所有分区后再转换(注意备份数据)。
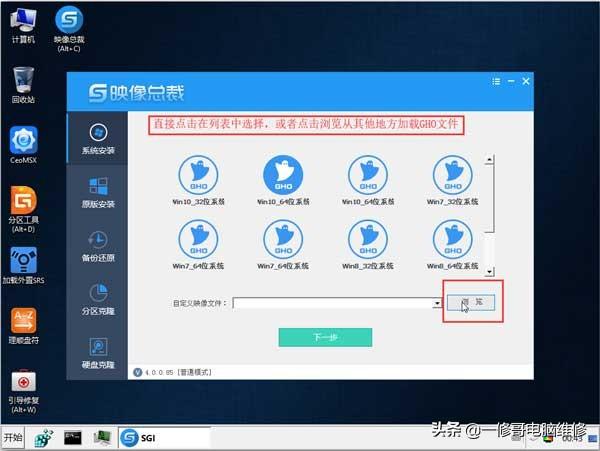
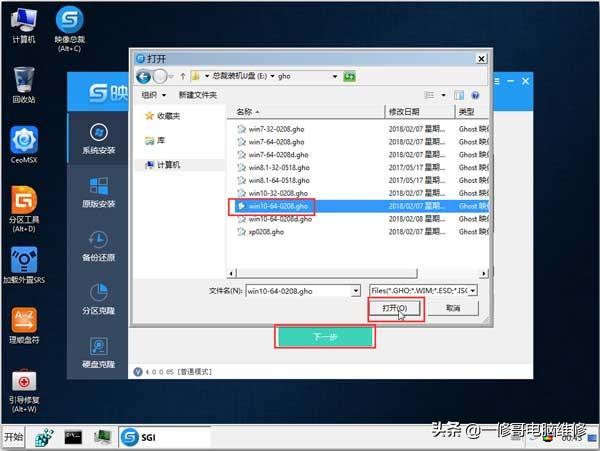
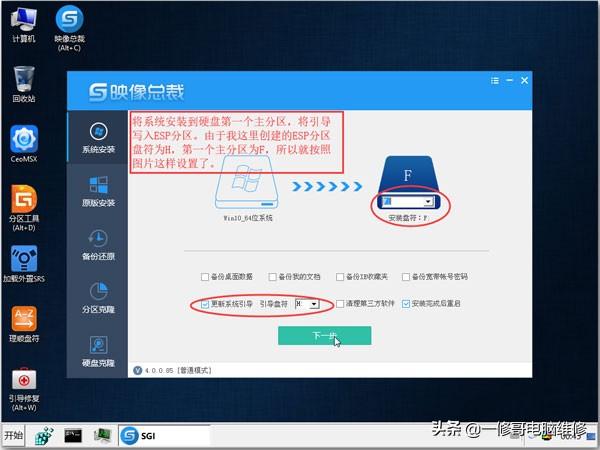
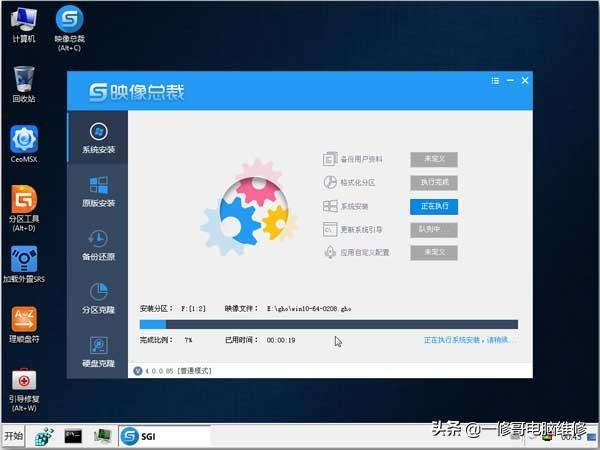
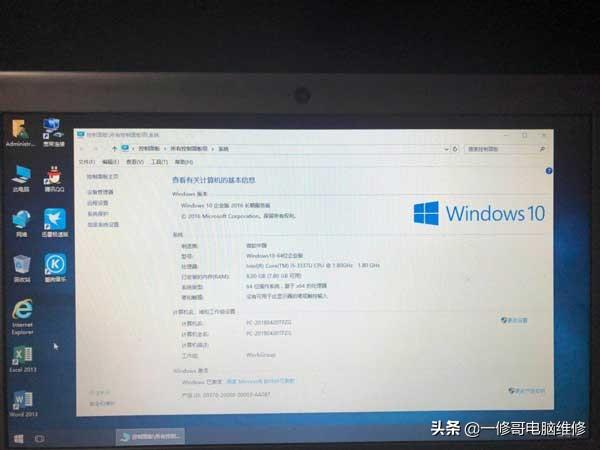
3、打开PE桌面上的形象总裁,选择GHO系统安装文件。注意这里使用的GHO文件必须是64位,一般建议使用Win10(Win也可以,但据说Win7对UEFI支持不是很完美,但是Win8、8.注定要跟着当年Vista所以,你知道的!)。
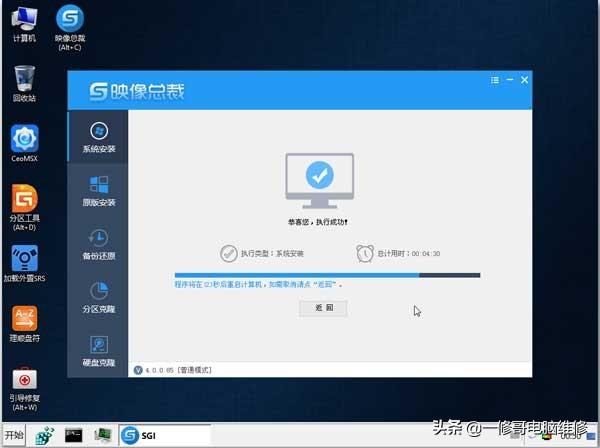
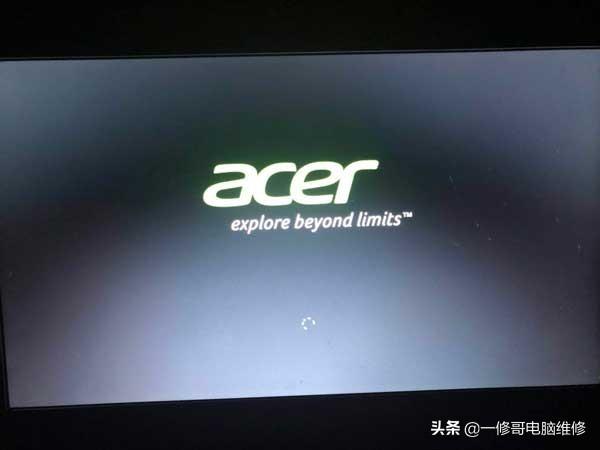
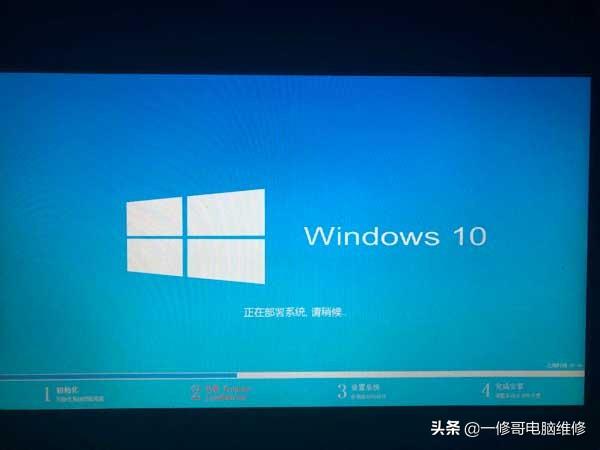
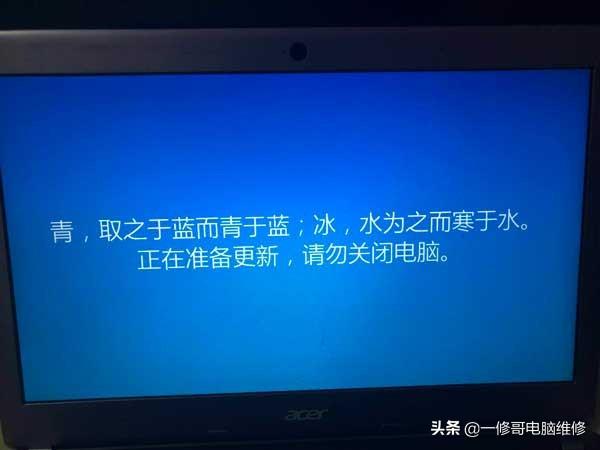
4.重启机器,拔出U盘,自动进入系统安装,然后大功告成!

关注我每天学到更多的电脑知识