在老毛桃官网下载u盘启动器
(下载老桃毛u盘启动盘)
准备工作:
1、下载新毛桃u盘启动盘制作工具并安装,然后8G以上U盘制成U盘启动盘。

注:生产过程中,U盘会格式化,请注意备份U盘中的重要文件。C盘C盘需要安装系统,请不要将重要文件放在C盘和桌面上。
2.由于版权问题,新毛桃不提供系统下载服务,用户需要在网上搜索他们想要安装的系统,然后下载win11系统镜像并存储在u盘启动盘中。
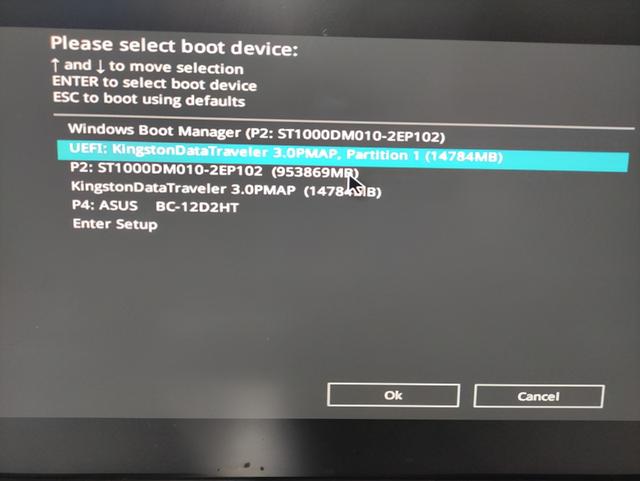
第一步:以华硕电脑主板为例:F8进入安装界面-选择安装界面-选择UEFI _——点OK 如图所示
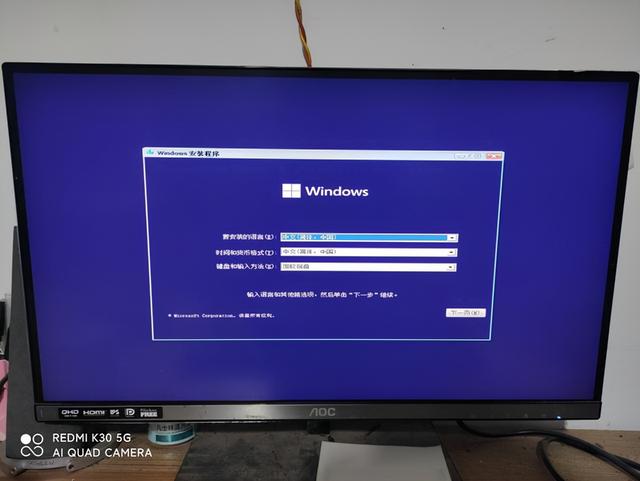

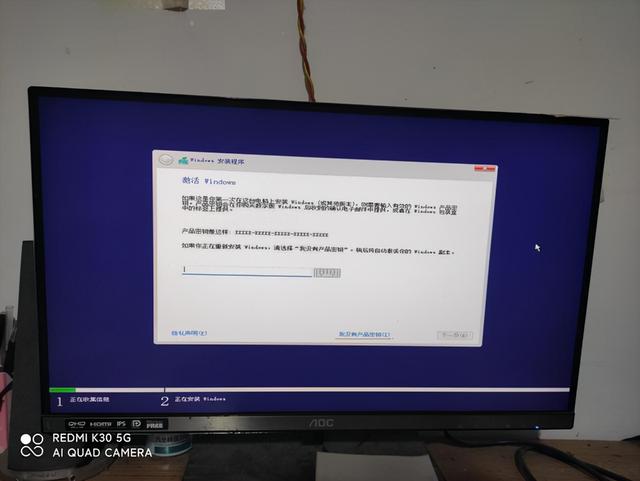
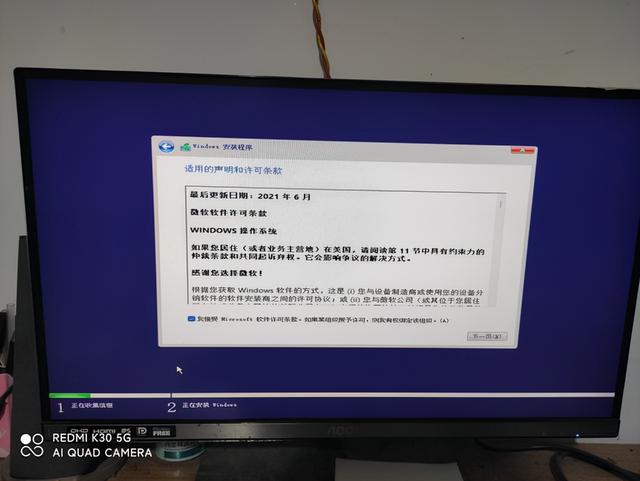
第二步:选择 我没有产品密钥 ——勾选协议-下一步 如图所示
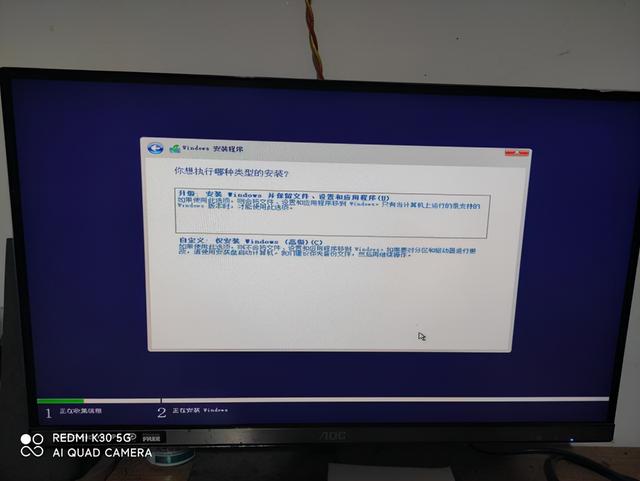
第三步:我们选择定制安装 如图所示
第四步:硬盘分区,硬盘建议1TB以上硬盘:新硬盘,在这一步分区硬盘!以1TB以硬盘为例:C D E F 4个区 【C盘建议200G D盘200G E盘300G 剩下的成F盘】按 1GB=1024MB计算 .
旧硬盘需要重新分区,请备份有用的信息依次删除每个磁盘 按上述方法分区。
注:小编在这里演示的是老硬盘.只安装在C盘上,不重新分区
红色方框中的四个盘符请仔细查看示例图片 如图所示
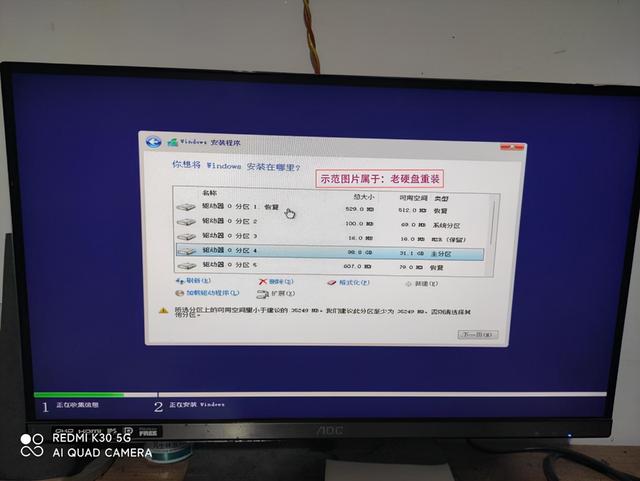
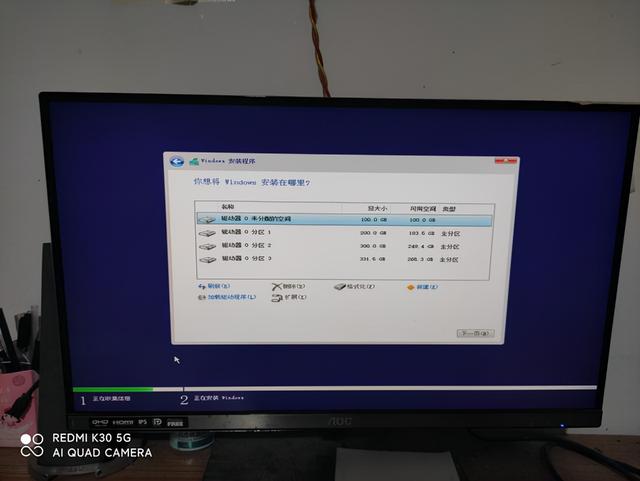
第五步:依次删除红色方框中的盘符.按删除键,删除三个盘符.最后得到0分区 选中它 点下一步 .如图所示
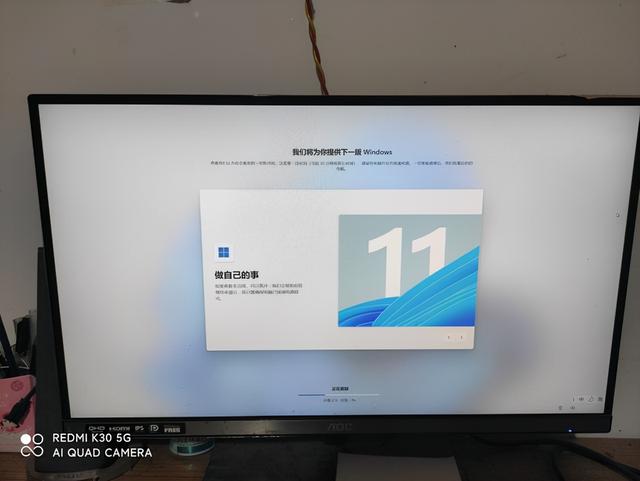
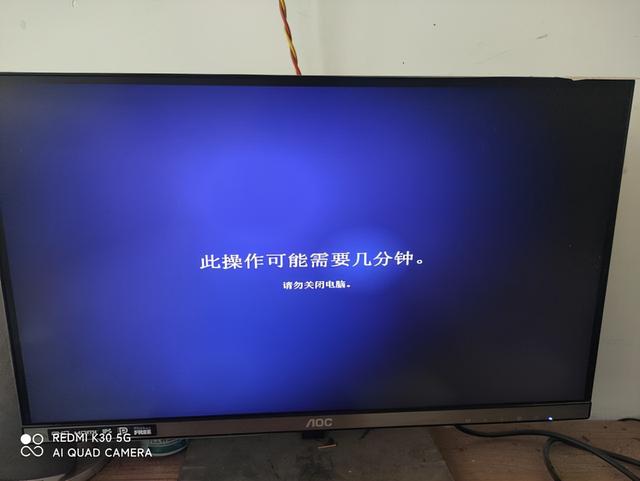
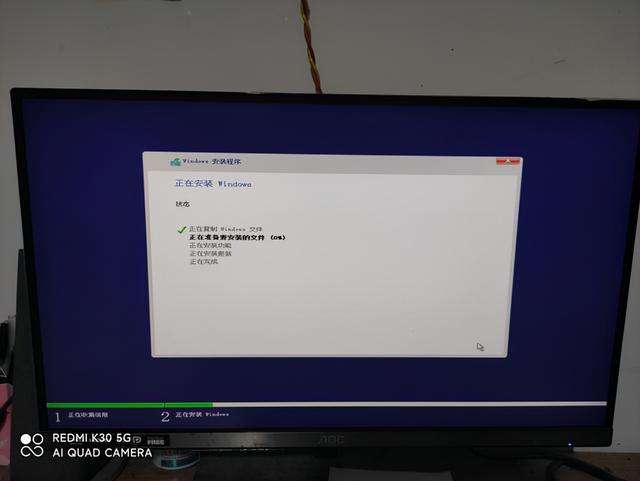
第六步:把任务交给电脑: 你先休息一下 再回来


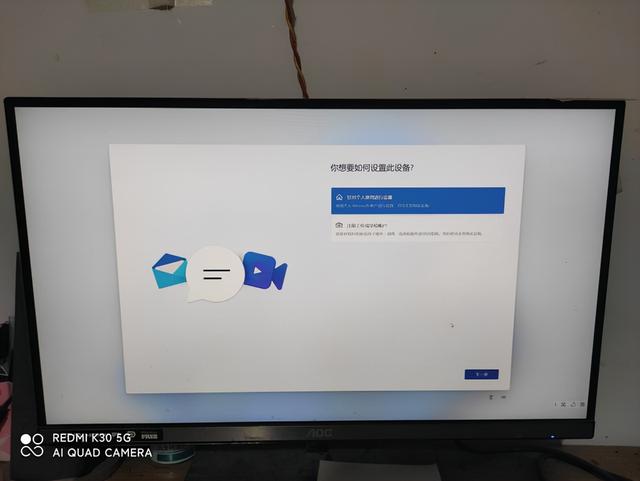
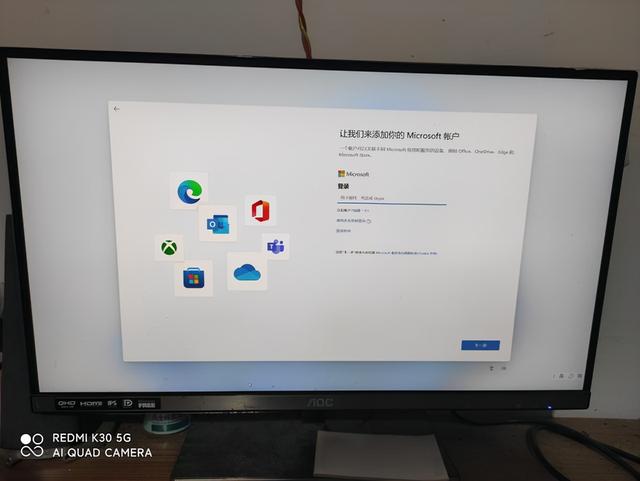
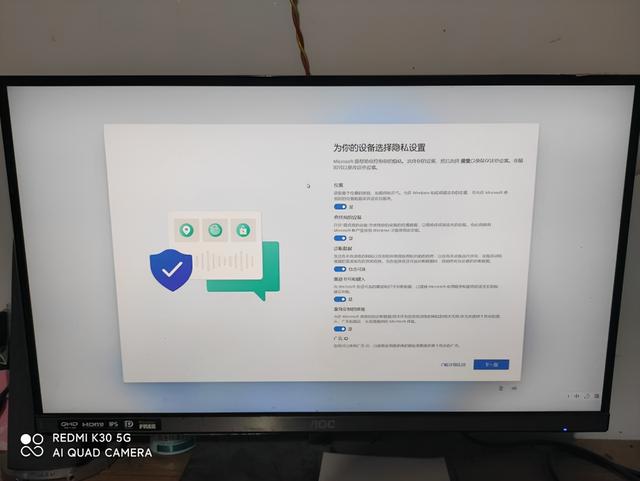
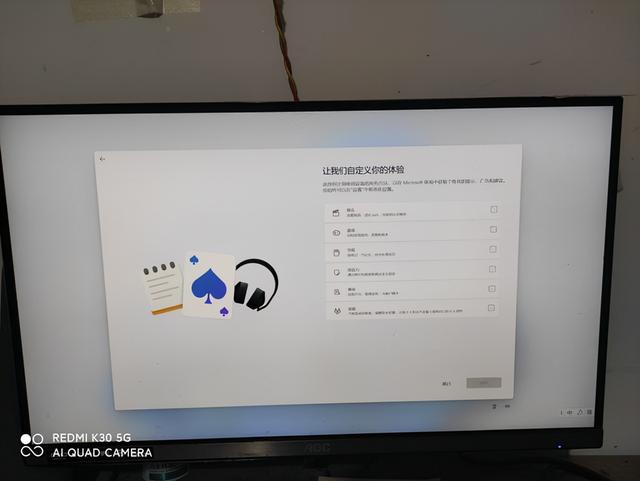
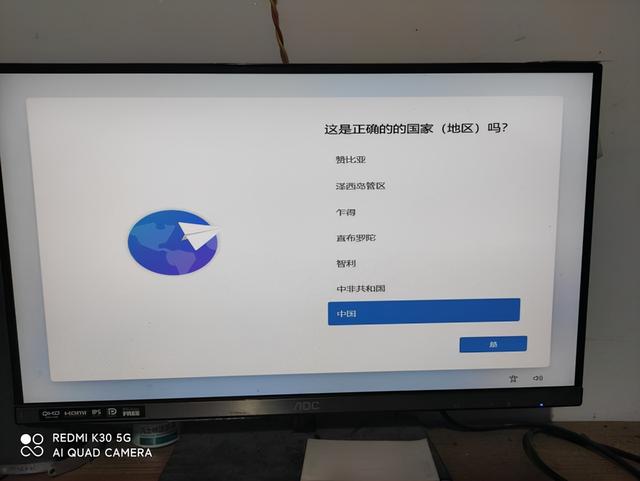
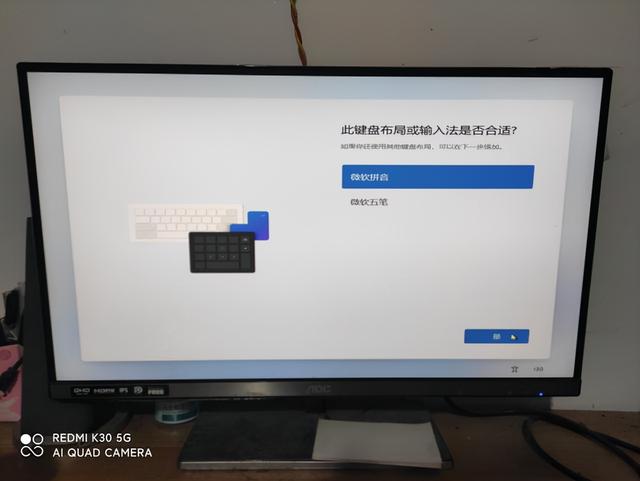
第七步:根据系统屏幕提示完成一些简单的设置
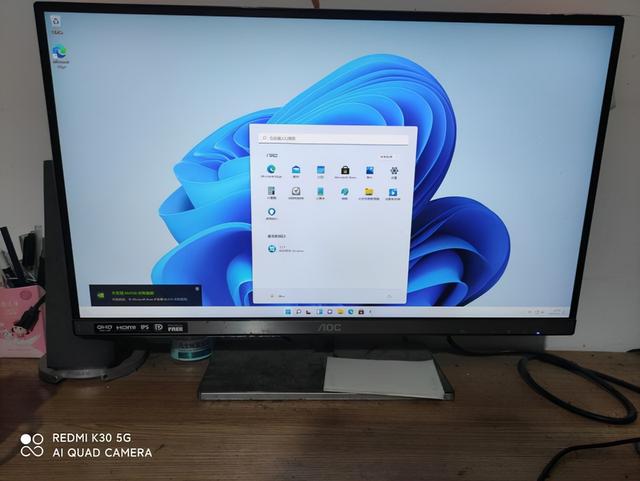
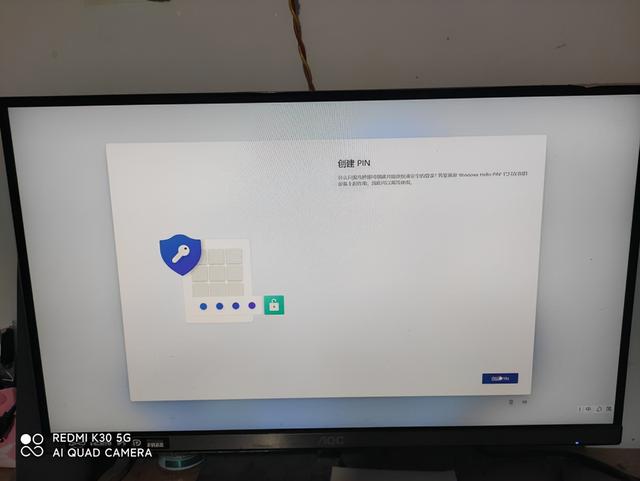
第八步:按提示创建账户-命名计算-设置密码-添加安全保密 完成安装